
Kristian’s guitar will be the next to be finished but while waiting for glue to dry, wood to settle, and parts to come, I had a chance to get stuck into Rohan’s, which is the star of the design session video I posted recently.
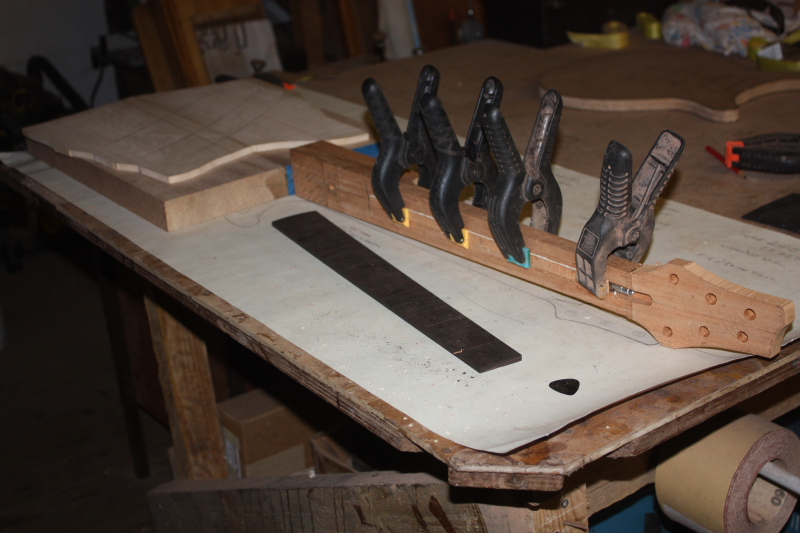
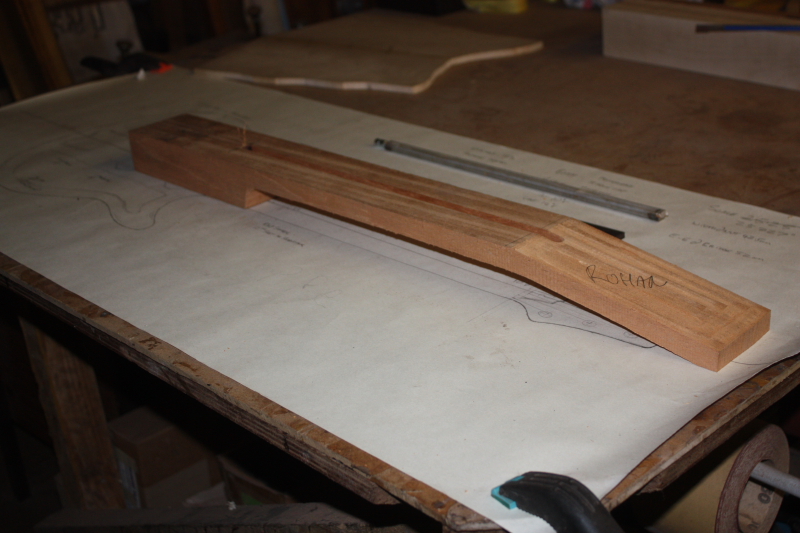
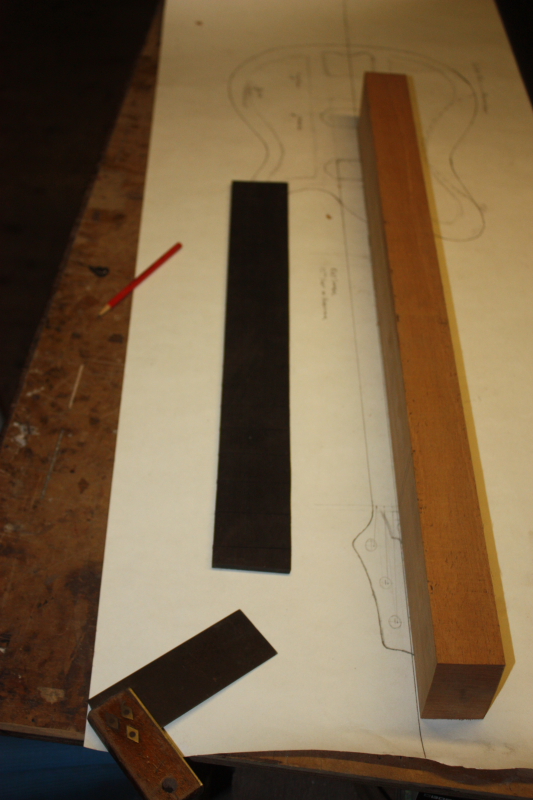
As usual I like to start with the neck. The mahogany I have been getting for necks recently has been exceptionally good quality- perfectly quartersawn, nice weight and a great tap tone which translates to a solid, stable and reliable neck.
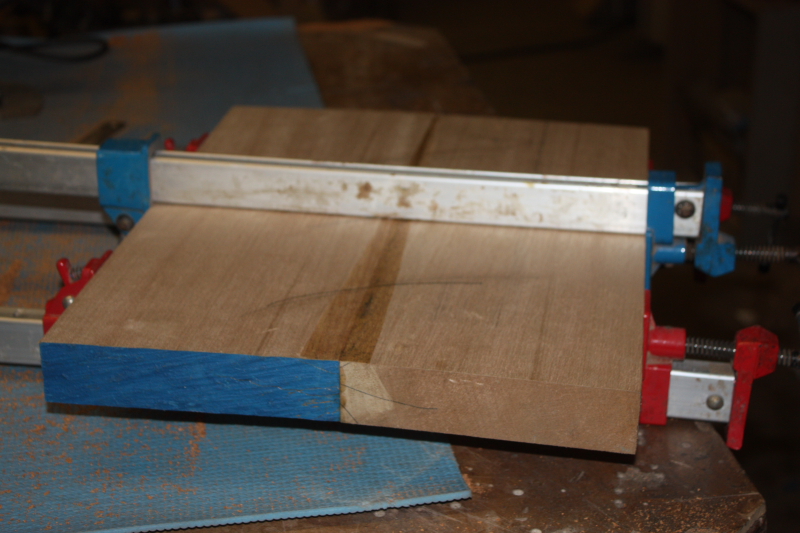
I also glued up the Sycamore for the cap and Meranti for the back, but won’t be able to glue the cap on just yet until after I have made the chambers in the body.
The order of events here should be familiar to my avid regular readers…
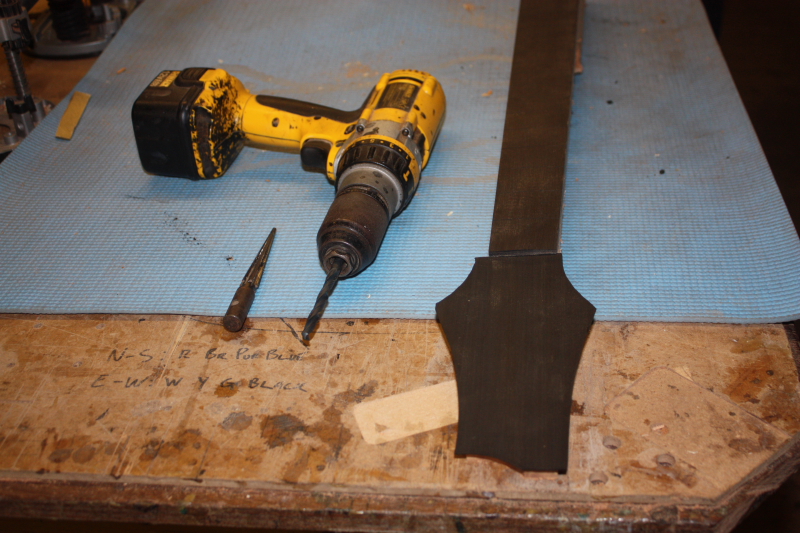
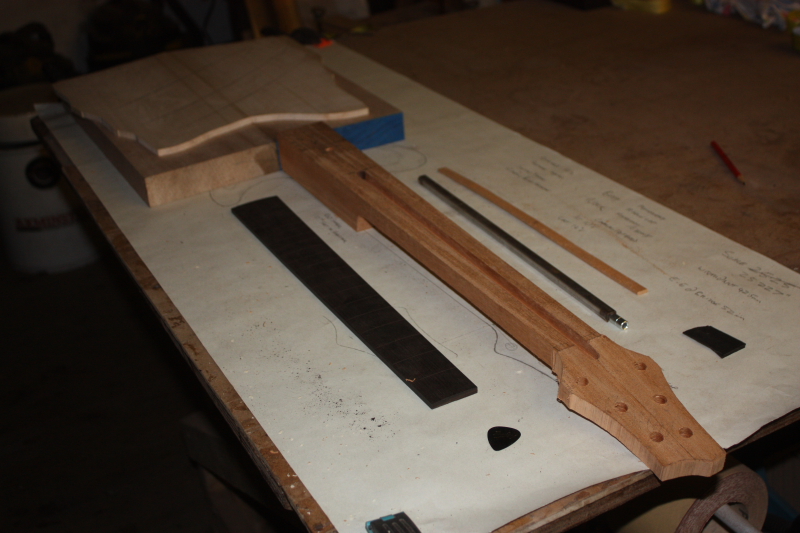
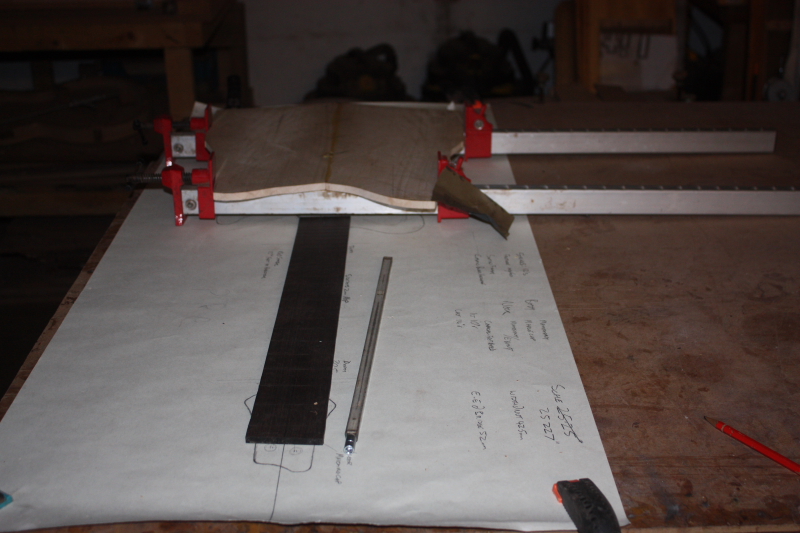
Mark out the Neck
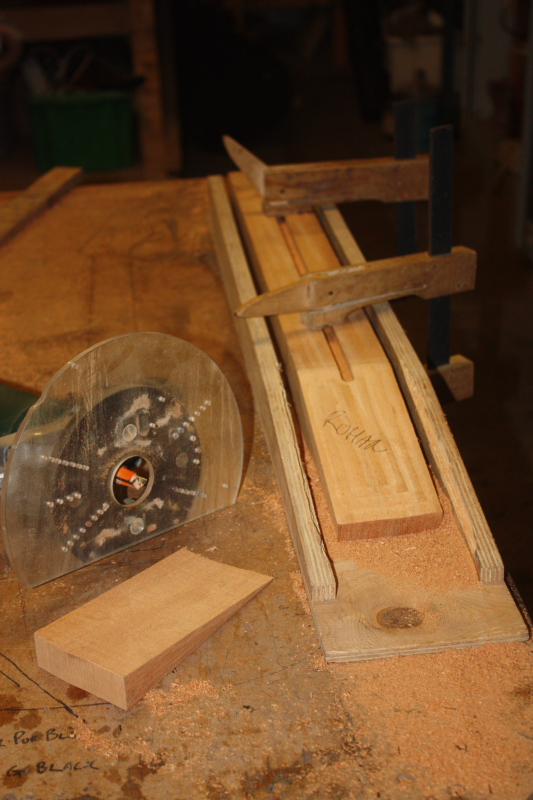
Truss rod slot
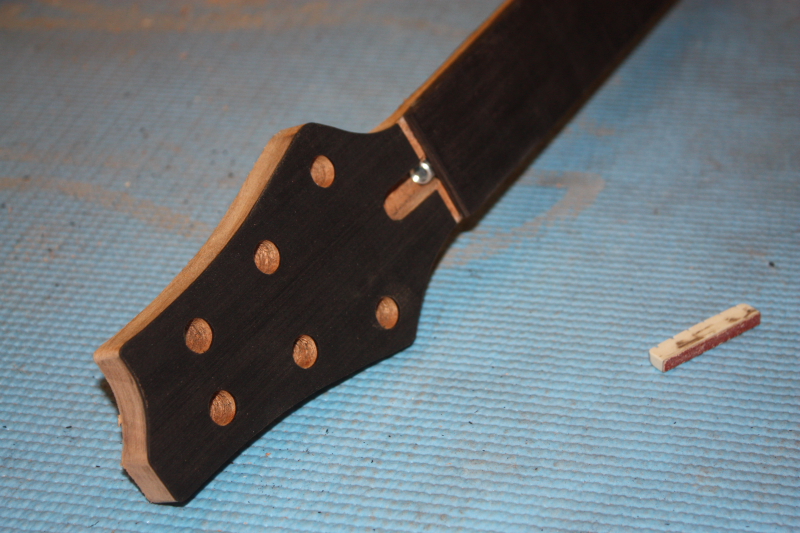
Headstock angle
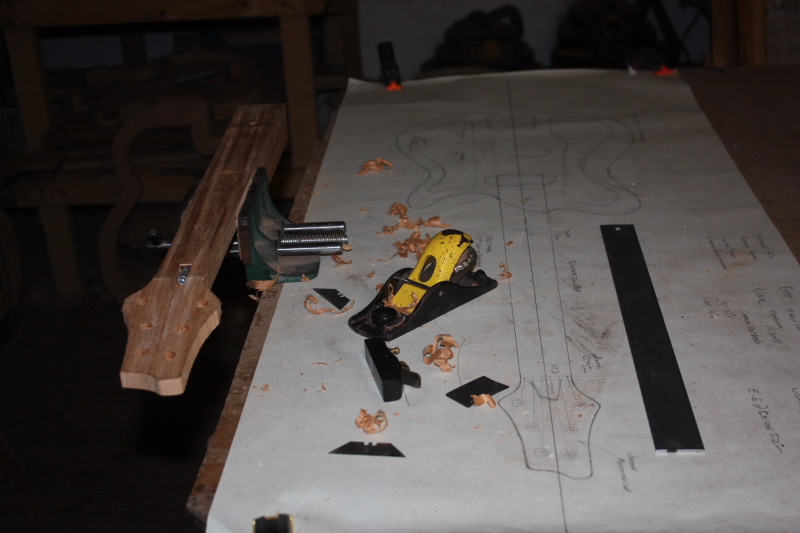
Side Profile
Front Profile
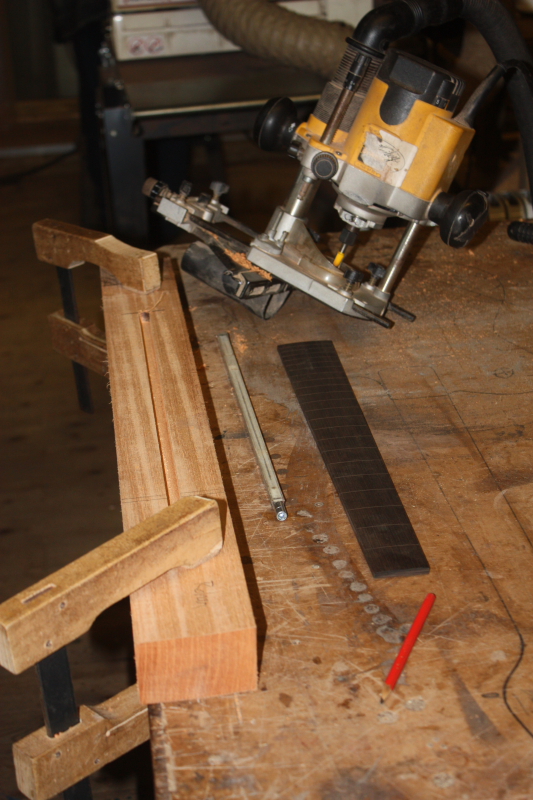
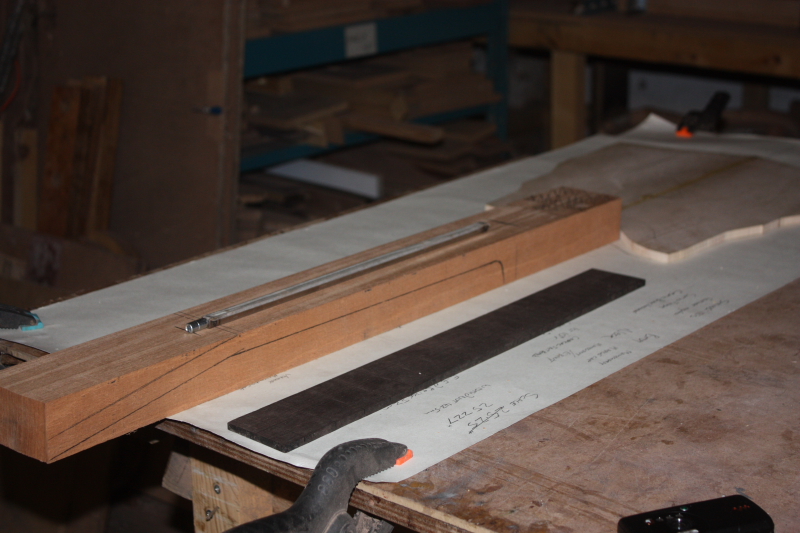
Install truss rod
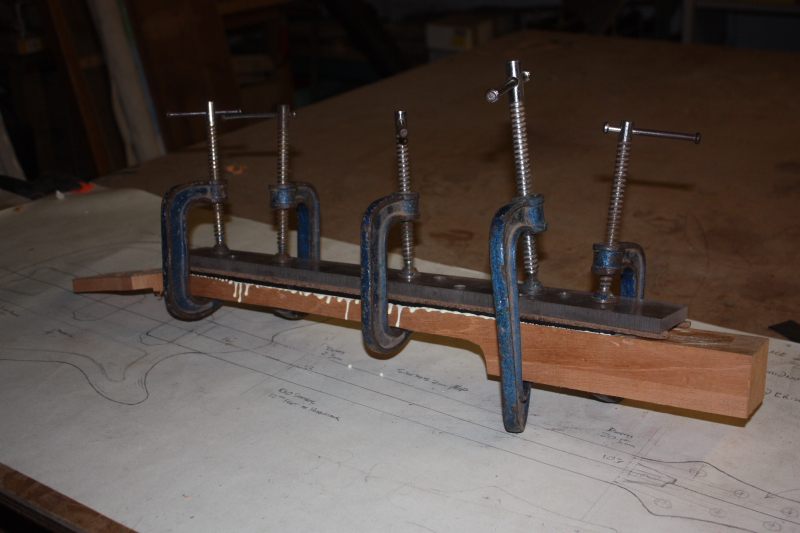
Glue fretboard
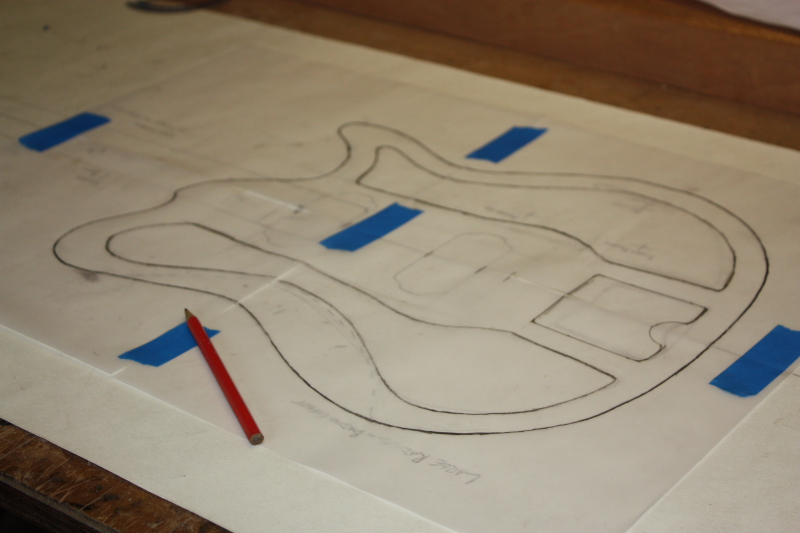
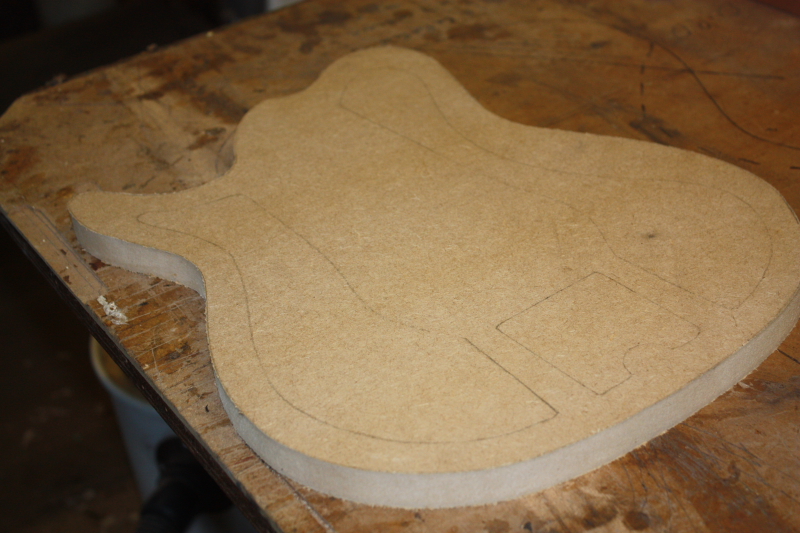
While the glue was drying I started to make the body profile pattern. I will cut the shape of the body chambers into the same pattern, for copy routing into the body before I glue on the cap.
Rohan designed every detail of this guitar including choosing the wood, the scale length, number of frets, pickups, hardware, and custom body and headstock shapes. If you are interested in having a custom guitar made for you contact us or have a look at some finished guitars in the Bailey Online Shop.
Full Spec and Design Session | Rohan Custom Build Part 1 | Rohan Custom Build Part 2 | Rohan Custom Build Parts 3 | Rohan Custom Build Completed Pictures