…Carving the body…

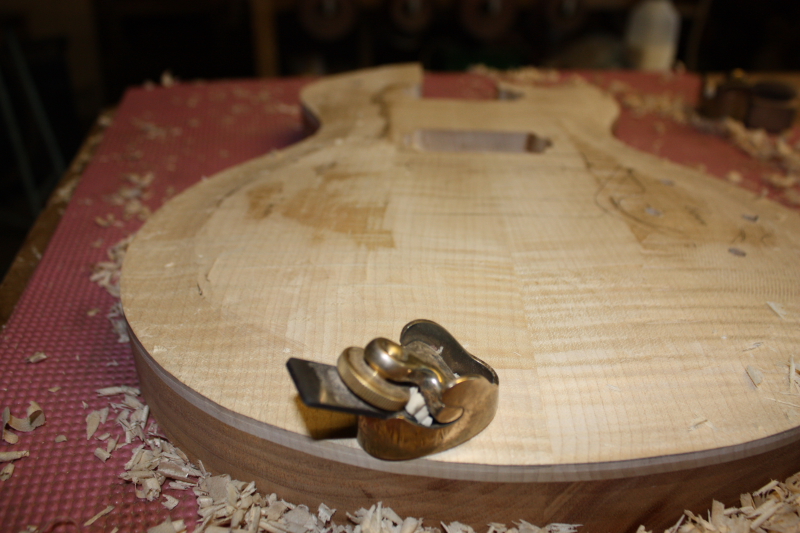
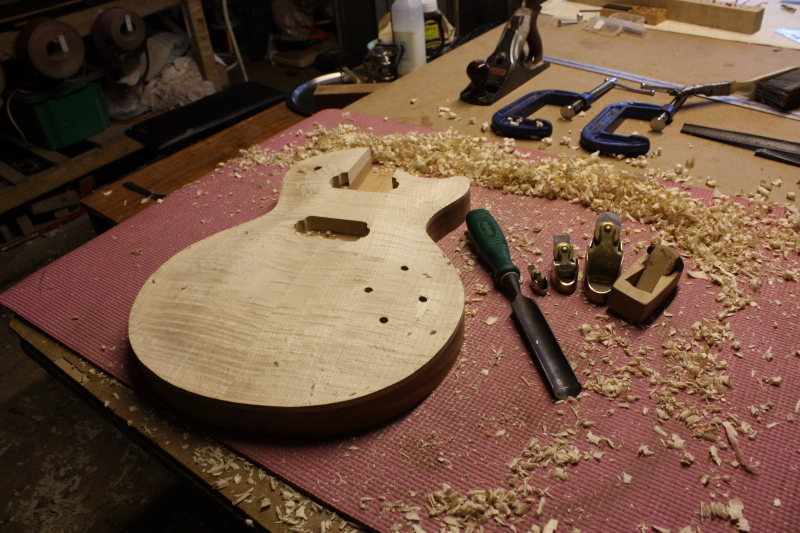
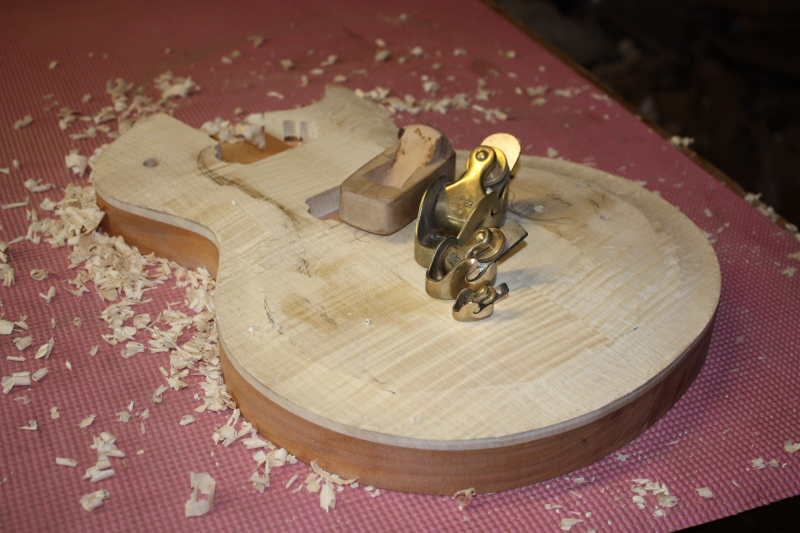
The body was carved by hand. I really enjoy this part as I get to use the little curved planes which are reserved only for this purpose. Well, there is one other thing I do with them….I like to whip them out to show off to visitors. I always get a few oohs and ahhs. They are the guitar makers equivalent to puppies…..would you like to see my little planes? Trust me I’m a guitarmaker………
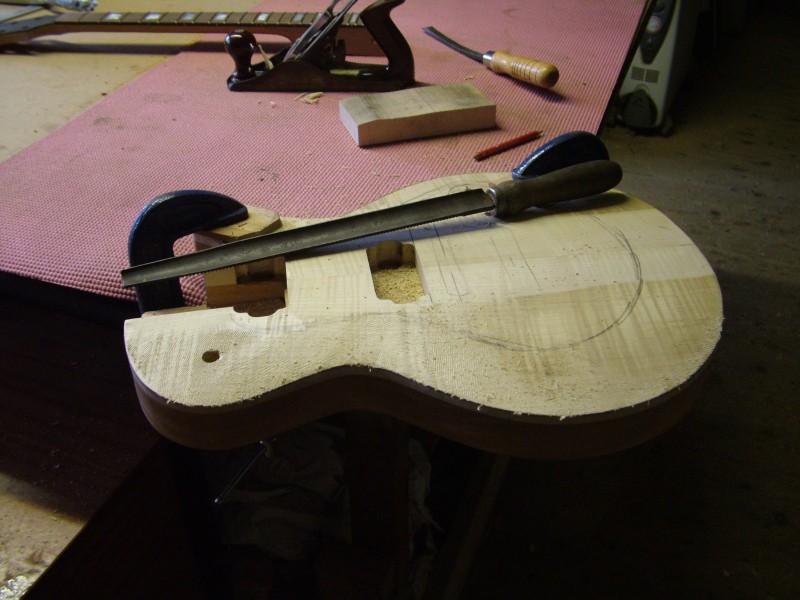
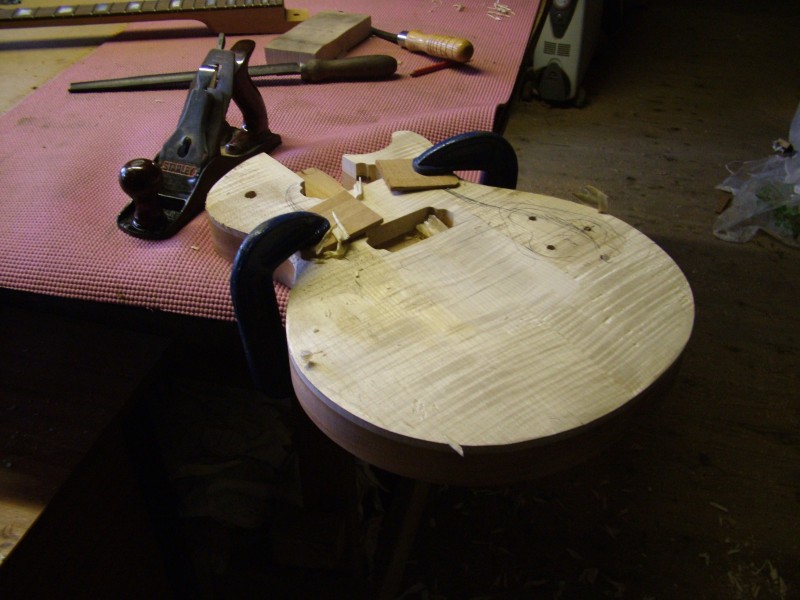
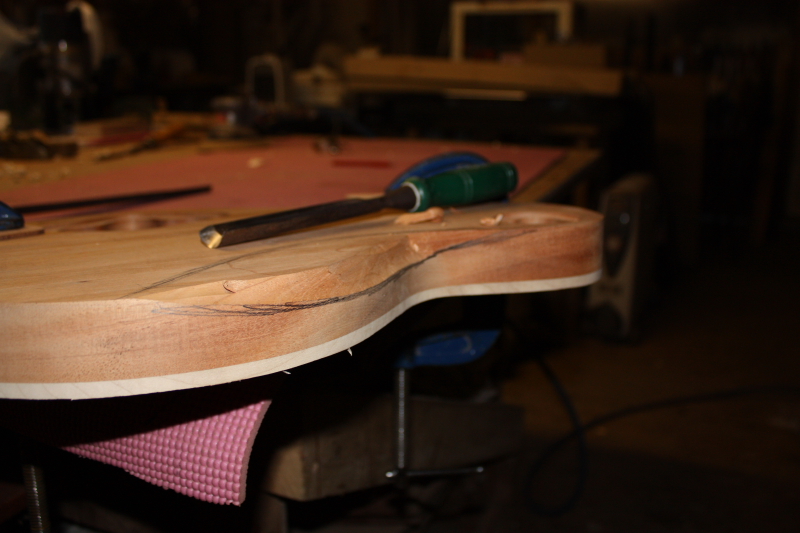
There are a couple of different types of top carve – this is what I call a full carve – it has a ‘recurve’ – that is a flat or slightly concave ridge all the way round the edge. This is done in stages:
- First draw two lines – one around the side to determine the thickness of the cap at the edge and one around the top to define the top edge of the carve.
- Join the lines with a flat facet – This is done with a rasp and a flat plane. As it is impossible to watch both line at the same time I always work down to one line first by increasing the carving angle, then the other by decreasing it. I am then left with a lump in the middle which is easy to carve off. This guitar has a flame maple cap which came wedge shaped so some of the work was already done for me.
- The recurve – The size of the recurve is marked out around the edge and a flat or slightly concave area is created with the small curved planes.
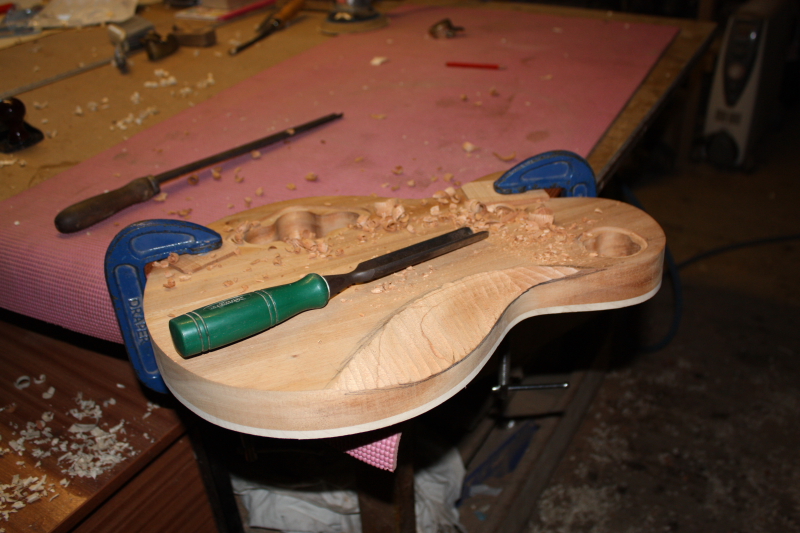
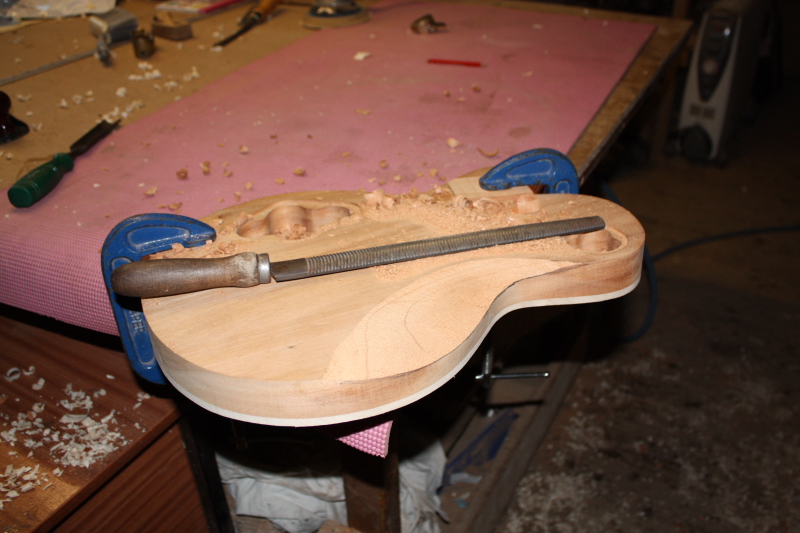
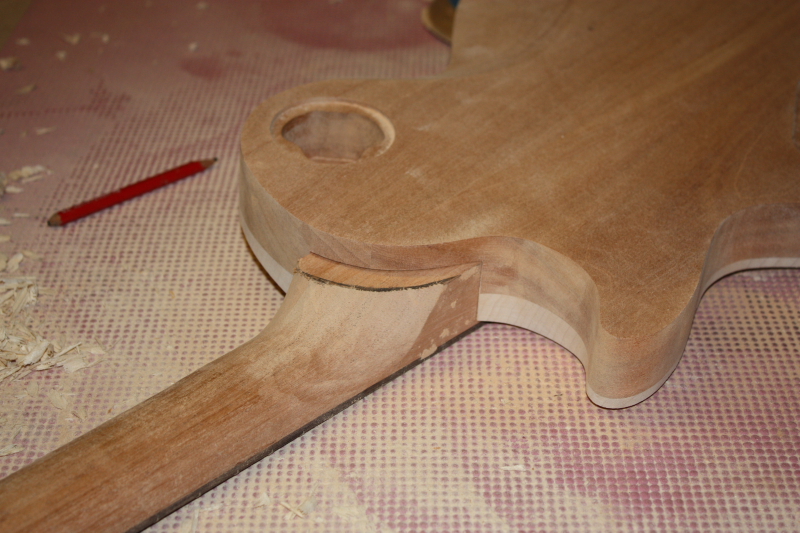
- Blending in – there are always a few lumps and bumps which need to be taken care of where the facets meet. I might decide to take a little more off here or there until I feel happy.
- Sanding – Smaller lumps and bumps can be removed by sanding with a block. A cork covered block is good for curvy bits. Only when it feels smooth will I go over it with a power sander. Mine is air powered and very powerful but the best results are achieved by rough sanding it by hand first.
Incidentaly, if you skip no.3 then you have what I call a semi carved top or half carve. The top just gets blended into a gentle curve all the way over.
Also:
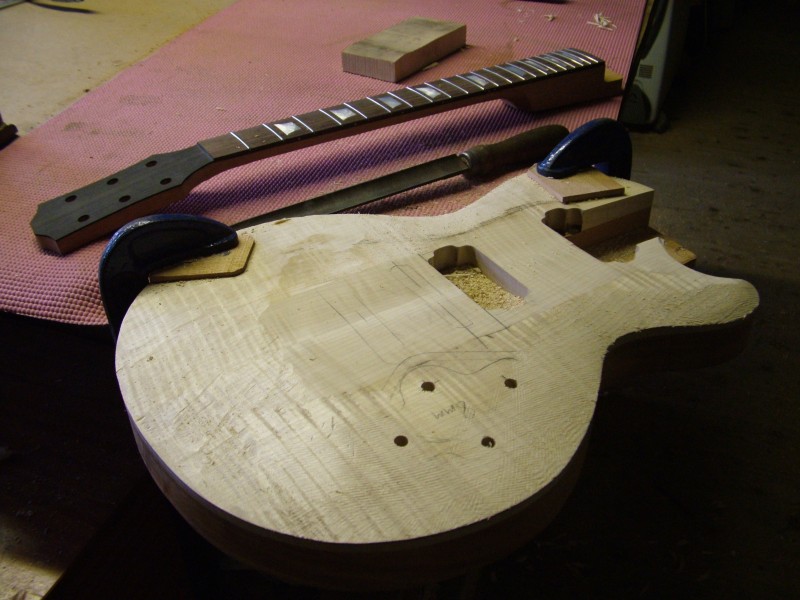
I got the confirmation about the neck modification so went ahead and did it – also the belly carve on the back. Both these should make the guitar more comfortable to play.
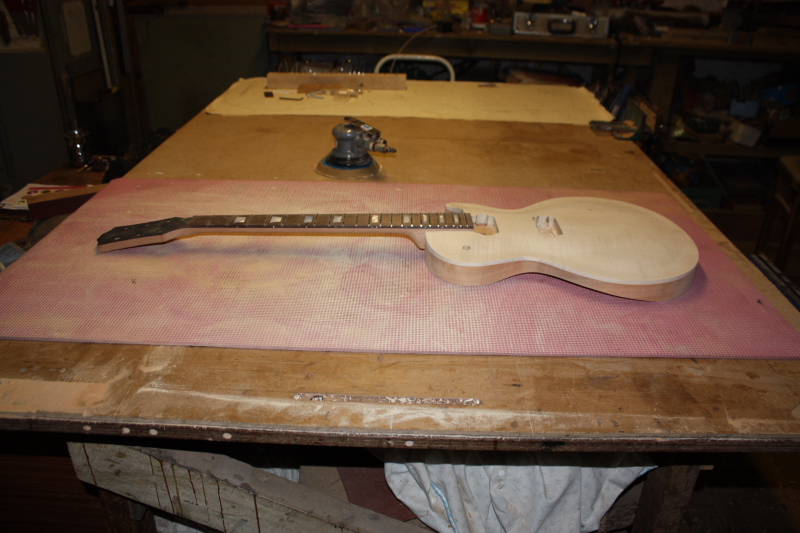
I still have some finishing touches to do before I glue the neck on but I’m on schedule for starting the spray job on Tuesday……………