-
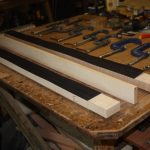
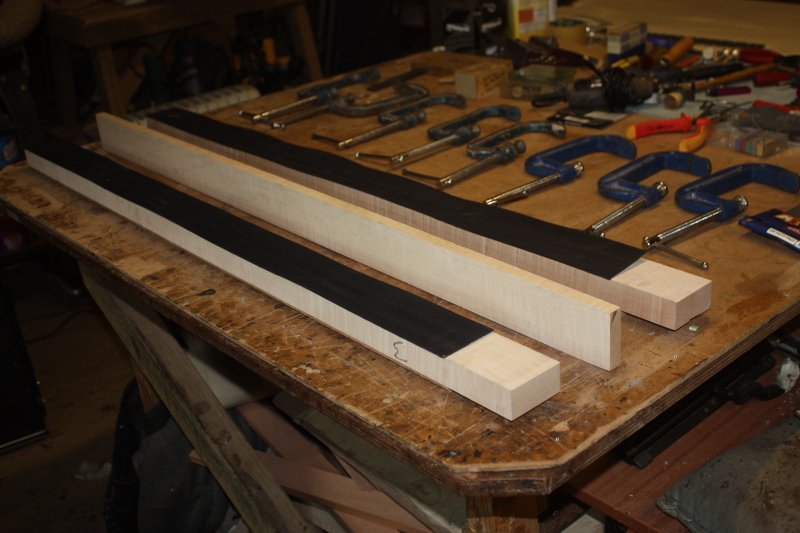
- Neck Laminates
-
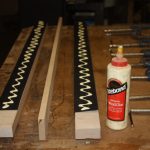
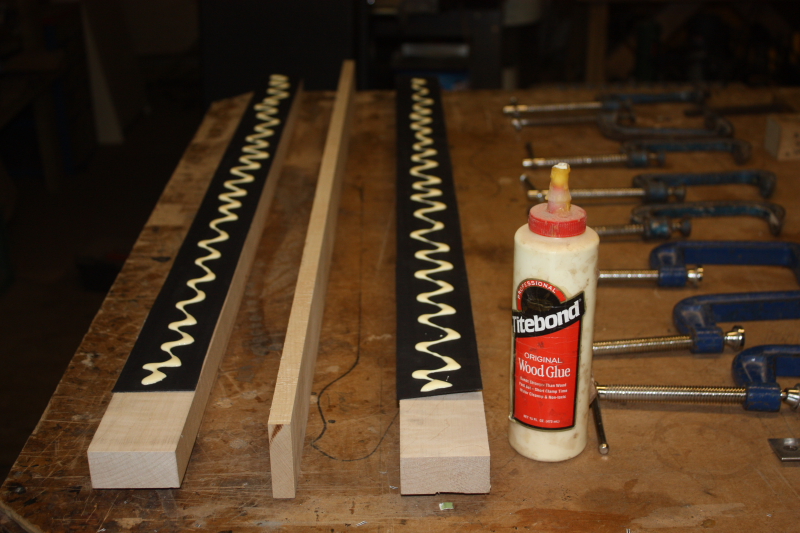
- Applying the glue
-
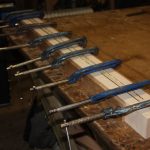
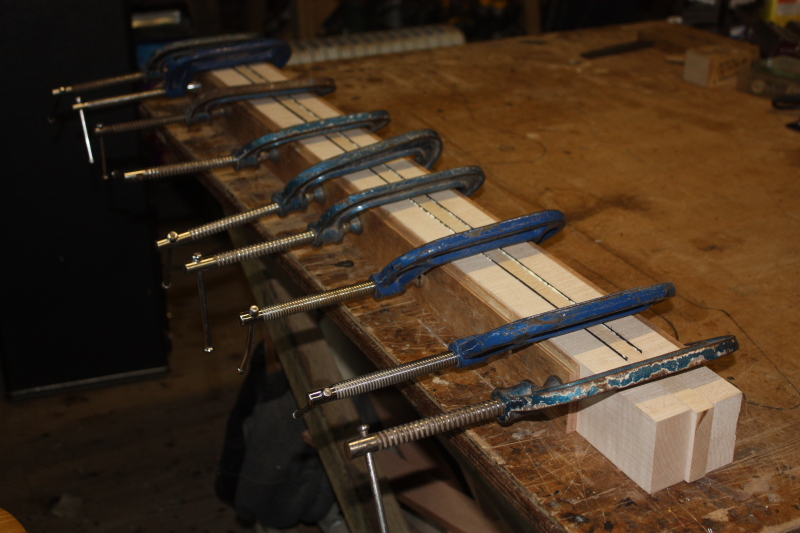
- Clamped
-
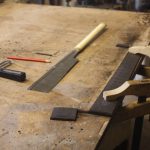
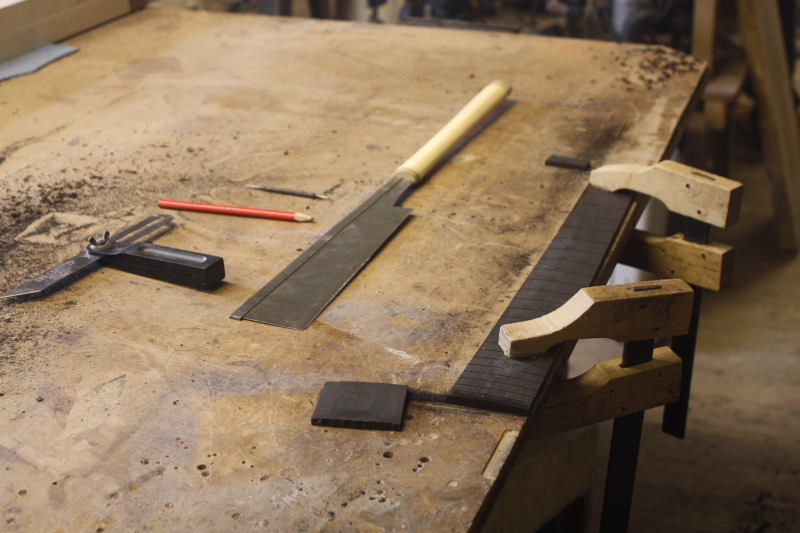
- Ebony Fretboard
-
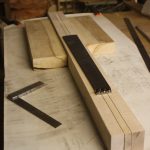
- Marking out
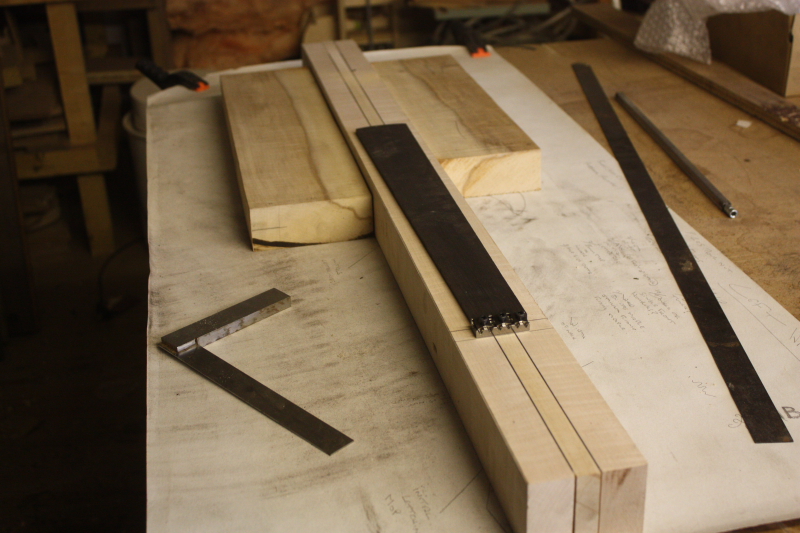
-
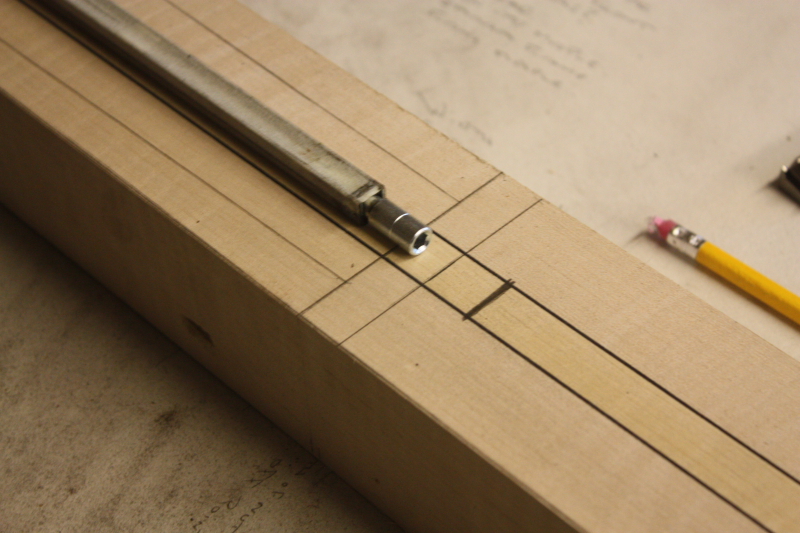
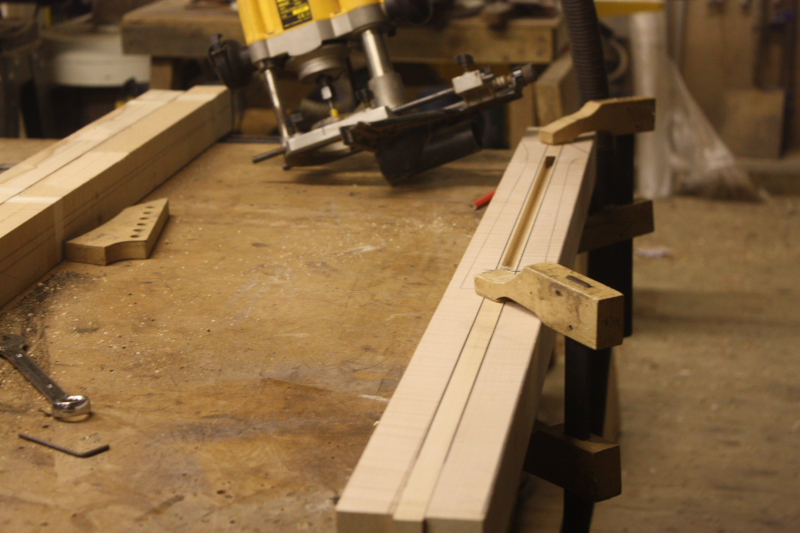
- Truss rod position
-
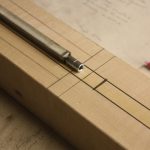
- Truss rod slot
-
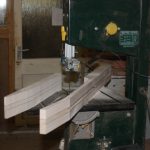
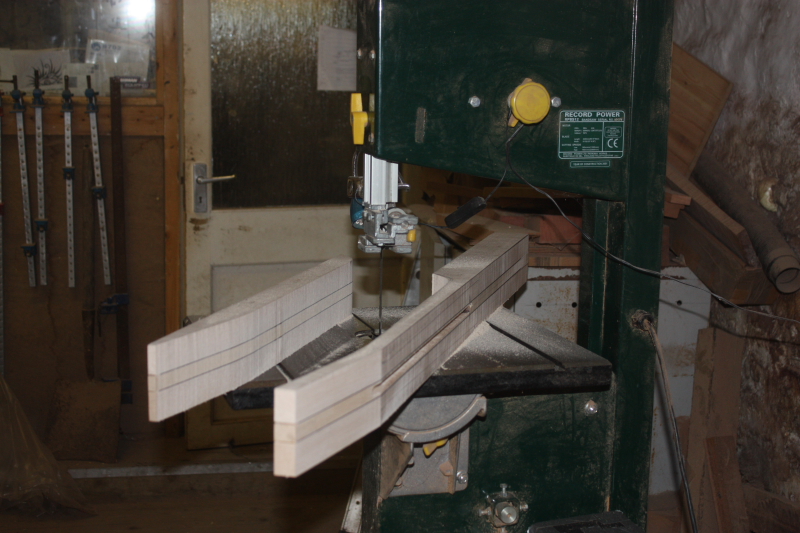
- Cutting out the Neck
-
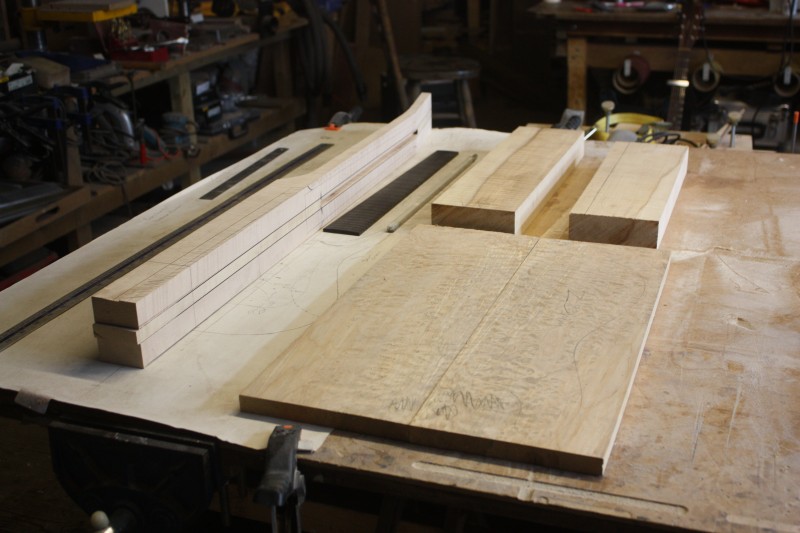
- The Body Wood
-
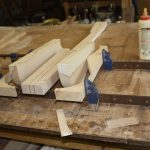
- Ready to Glue
-
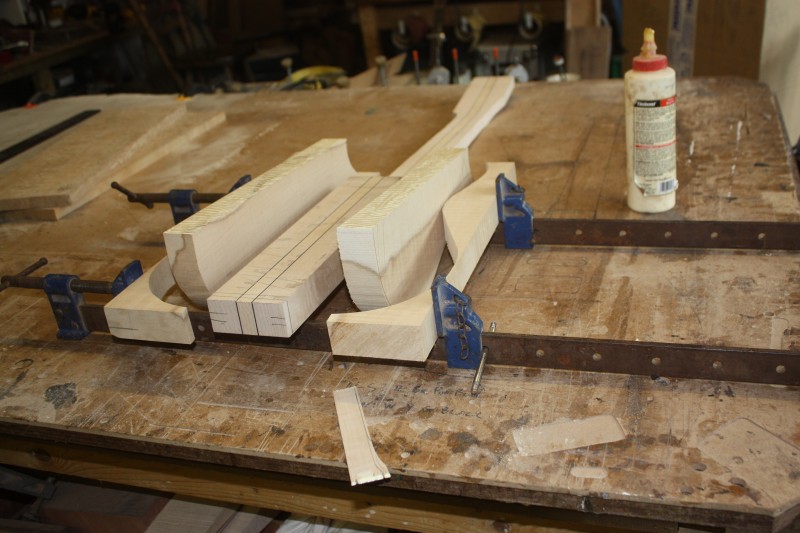
- Gluing the body wings
-
- Making the Body
-
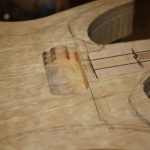
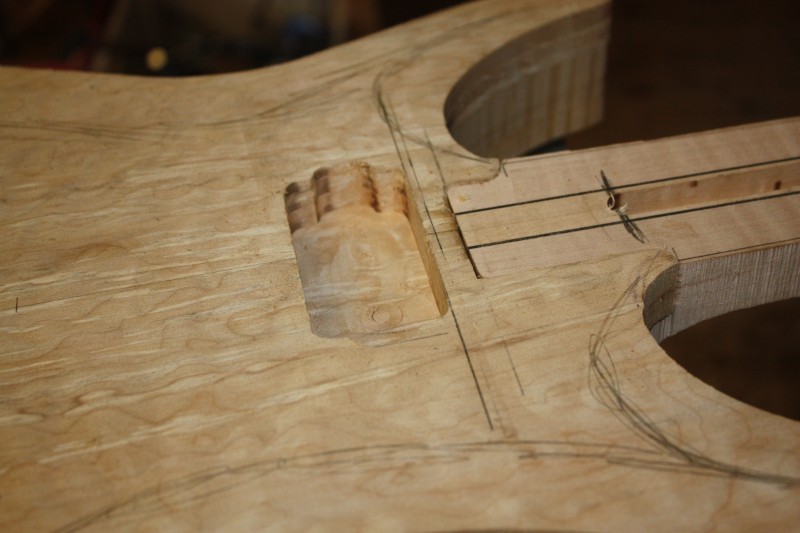
- Installing the truss rod
-
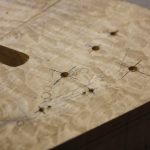
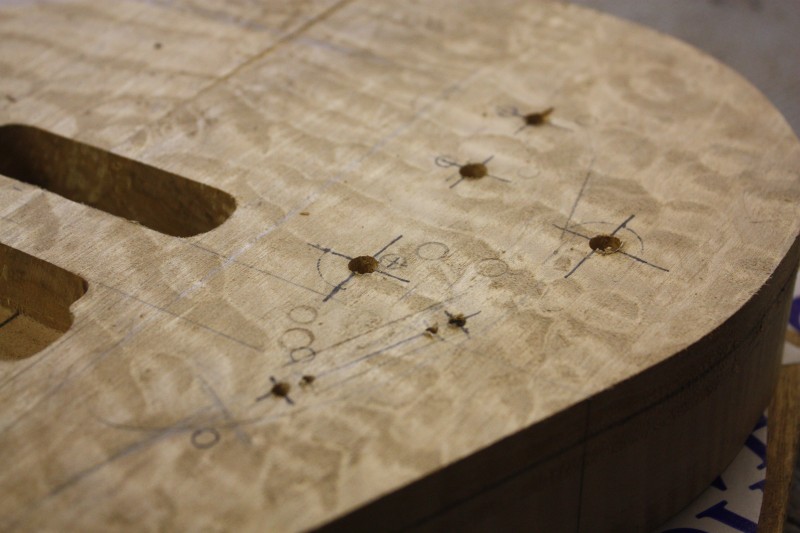
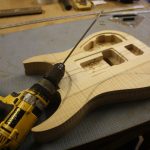
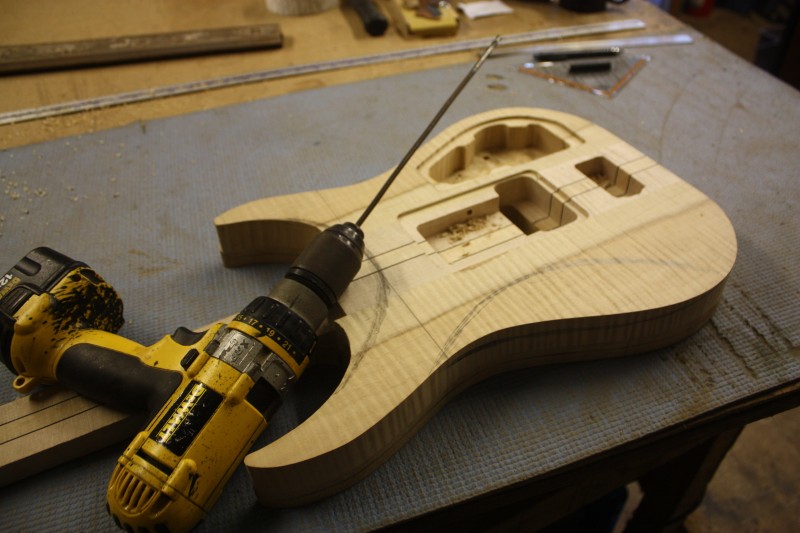
- The control holes
-
- Routing the Control Cavity

-
- Drilling the link holes
-
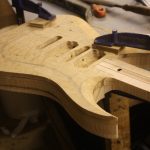
- Carving the top

Part 1| Part 2| Part 3| Part 4
Allan came on our 1 day Design Your Own Guitar course last year and I helped him draw this guitar which he then commissioned me to make. Not everyone wants to build their own which is good news for me – it does get a little frustrating at times running the courses, as I am watching other people building when I really want to get at it myself! It is always a happy time when a custom job comes in.
The design was inspired by this custom guitar I made for Simon Bradley, which was in turn based on the Bailey Exotica, but this one is left handed with quite a few custom options. Allan designed the body and headstock shape to be a little more pointy as he liked it.
The guitar will have a quilted maple cap with a deep carve, a Floyd Rose Trem and Fernandes Sustainer. It will have a custom inlay on the 12th fret and be sprayed with a full gloss nitro cellulose cherry burst with a matching cherry coloured strip up the back (good luck Billy!).
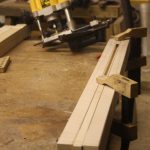
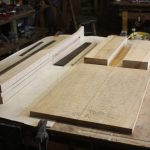
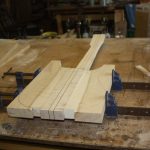
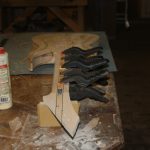
Starting the Neck
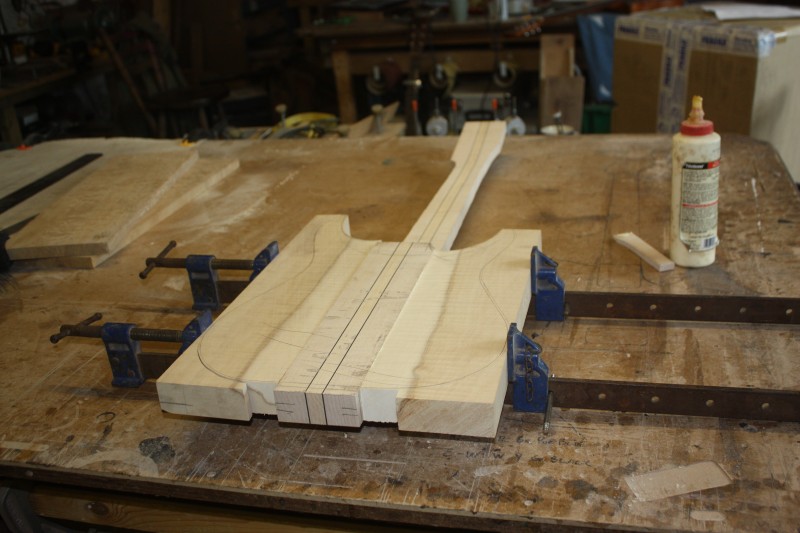
The neck was laminated from Maple with two black pinstripes – while the glue was drying I made the Fretboard. I like to do this early on so I can use it to mark out.
After the glue dries the block was planed flat to make the neck blank before routing the truss rod, then the neck could then be roughed out on the bandsaw.
Neck Thru with Full Cap
If it was to be a simple neck thru with body wings then I would Glue the Fretboard next but this was to have a cap which covered the whole front of the guitar – there are two ways to do this…
1. Glue the fretboard and fit the cap around it – it is very difficult to get the cap to fit perfectly around all three sides of the Fretboard. Any small gaps look terrible so I prefer not to do this.
2. Glue the cap on first – the cap is fitted so it extends under the fretboard by about 4-5mm – any slight gaps are hidden when the fretboard is glued on top
Either way a massive chunk of the neck ‘stick’ has to be cut away for the cap to fit into and this also incorporates an angle so the strings will arrive at the right height for the bridge during the setup process later on.
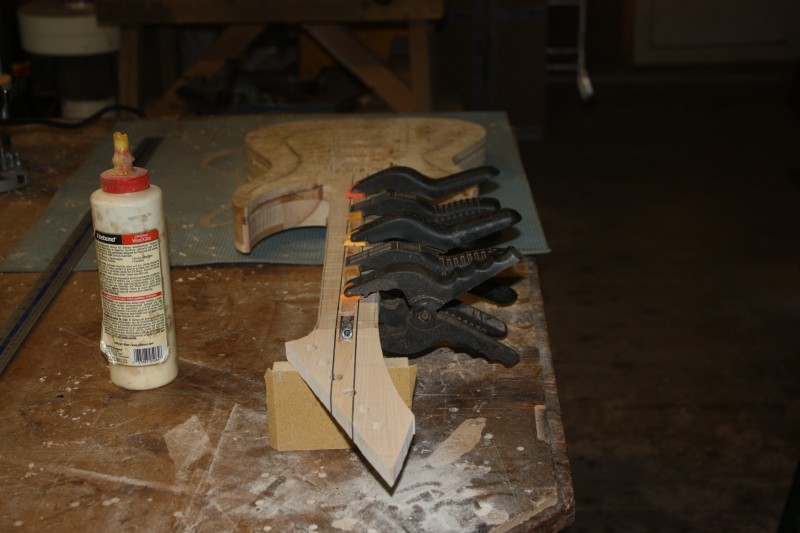
As you can see I went for the preferred option – this also means that I have to make the body before finishing the neck. As the fretboard is not fitted yet I cannot carve the neck, install the dots, or frets as I normally would with a simple thru neck.
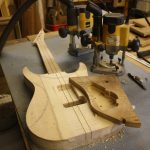
Making the Body
Before I glued the body wings I cut them roughly to shape – it can be awkward to get into the cutaways with the bandsaw after the event. I kept the offcuts to use as ‘cauls’ (shaped blocks used for clamping awkward shapes).
Next the cap is fitted and then the body can be routed for pickups controls etc. There was nothing stopping me from installing the truss rod so I did that before finishing the routing. The final picture is the body clamped up and ready for carving – I could glue the fretboard now at any point but I thought it would be easier to carve without worrying about damaging the fretboard.
Next in Part 2
Carving the top and completing the neck
Design Your Own Guitar| Build Your Own Courses| The Bailey Range| Buy a Bailey Guitar Online