…Getting the feel of it……
-
- Disassembled and ready for spraying
-
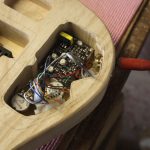
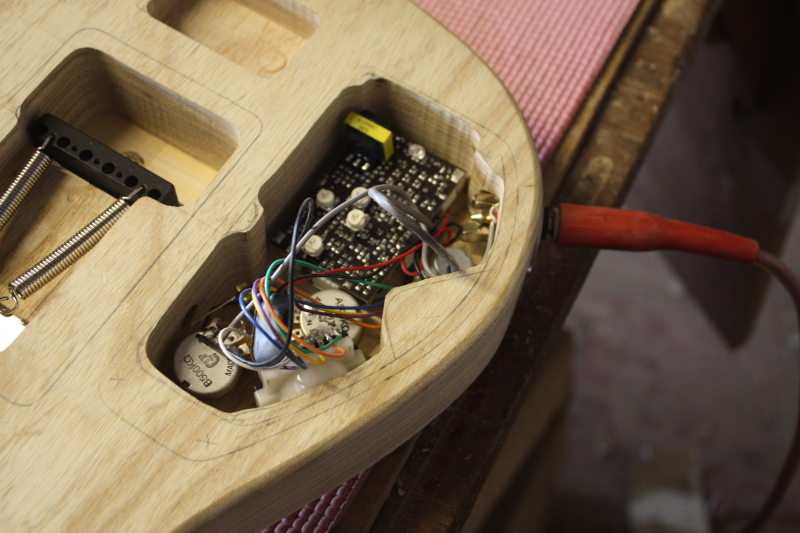
- I dropped the wiring loom in to check everything fitted Ok including plugging in the jack
-
- After fitting the trem I decided to assemble the guitar for a test before final sanding
-
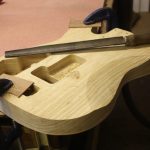
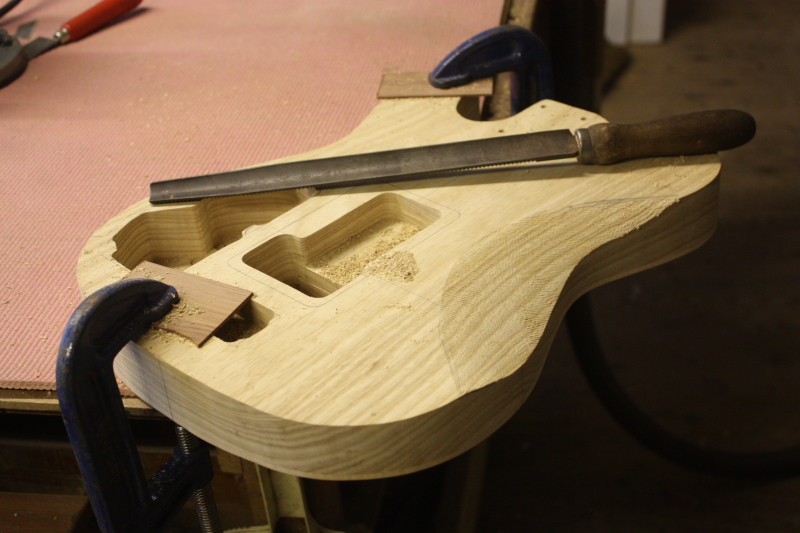
- The belly carve is done by and with a rasp
-
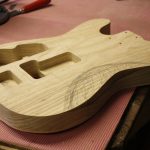
- Routing for the trem springs, controls, and battery box
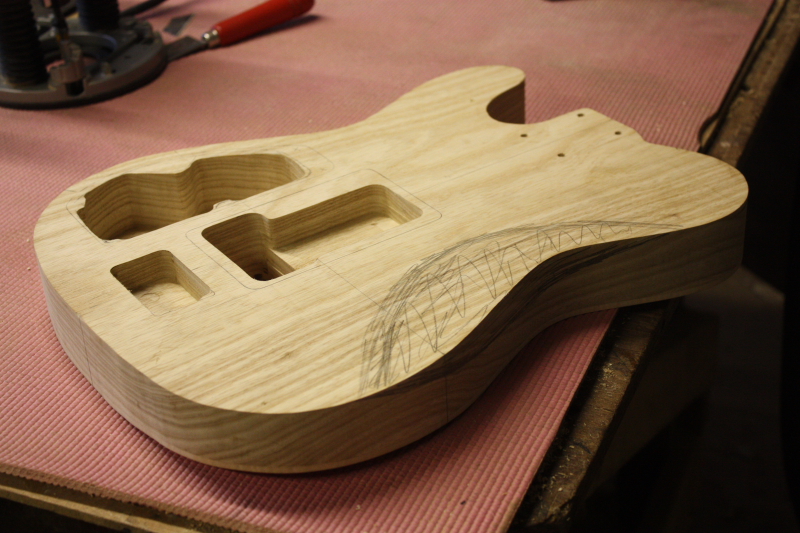
-
- The ‘trem hole’ completes routing work on the front of the body
-

- The ‘Fernandez sustainer’ comes with a pattern- I fixed it with double sided tape and used it as a guide to drill the control holes
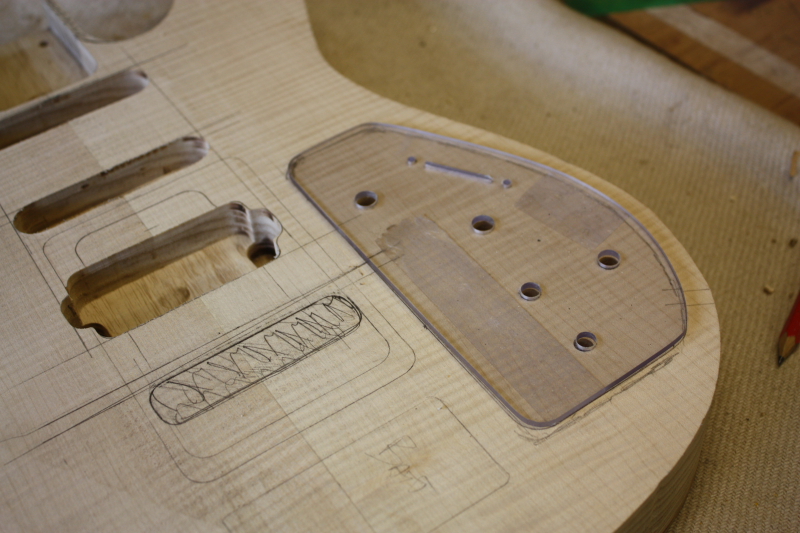
-

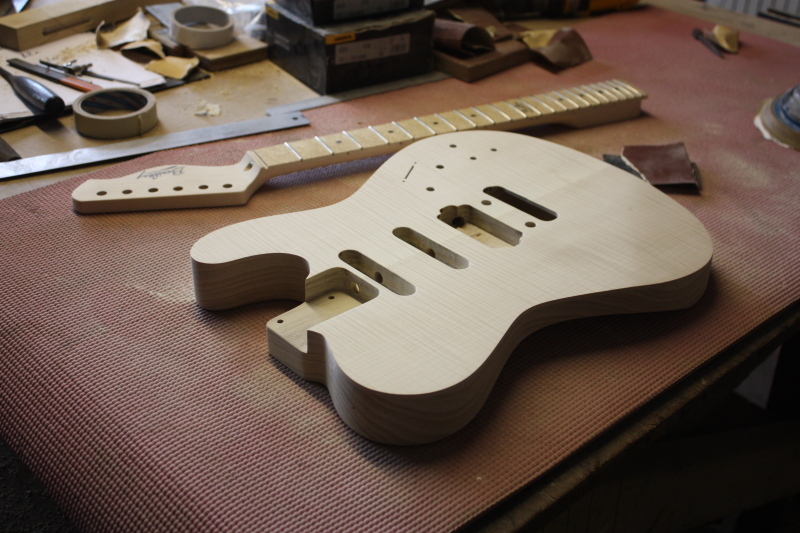
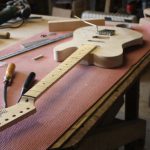
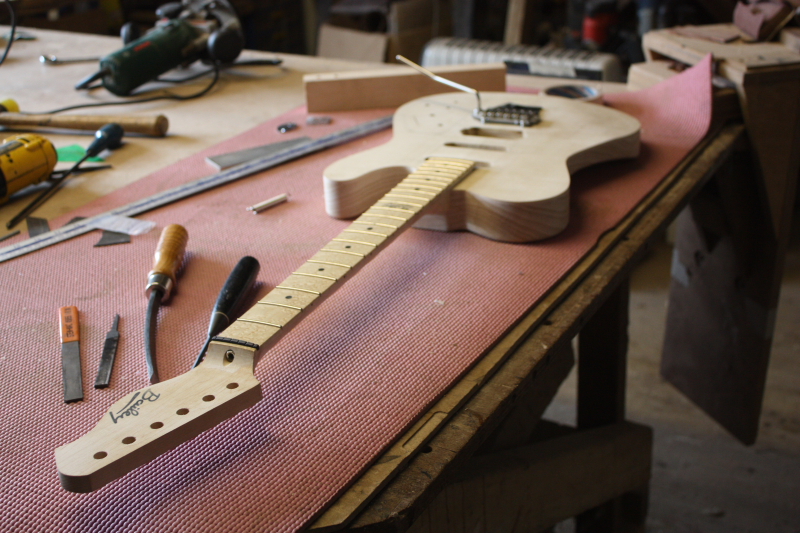
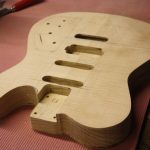
- I bolted the neck on so Alec could test it before I go any further
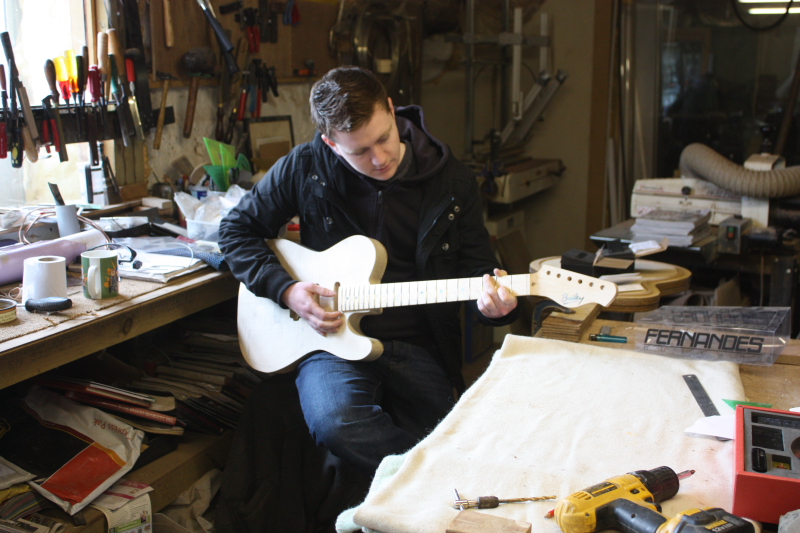
Alec from Skerryvore popped in to see how his custom job was going and finalise a few outstanding issues. The main point was to check the feel of the neck before it gets finished- after this it becomes more difficult. I bolted the neck on so he could try it and he was pleased enough that I didn’t have to make any adjustments to it at all. I checked he was happy with the position of the controls- not a lot of room for choice so we went with the recommended layout. Alec also confirmed the colour of the body which will be wine red.
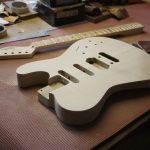
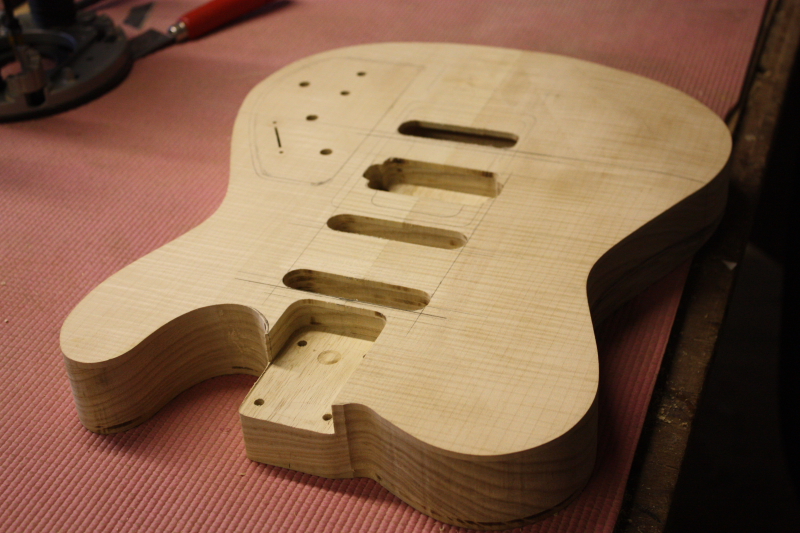
That just about covered everything, so after he left I spent the rest of the afternoon and the next day working on the body. This included routing for the tremolo and the control cavity, drilling all the holes: jack socket and pick-up link holes, and all the mounting holes for the hardware that is going on this guitar. It is best to drill all the holes before it gets sprayed to help prevent damaging the finish.
Just to make sure everything fitted and worked how it should, I strung it up for a test. As a result, I decided to change the neck angle slightly, a few small adjustments to the trem route and it all checked out brilliantly. After this the guitar was disassembled and then sanded ready for spraying.