Making the neck
Read part 1, part 2, part 3, part 4, part 5, part 6
-

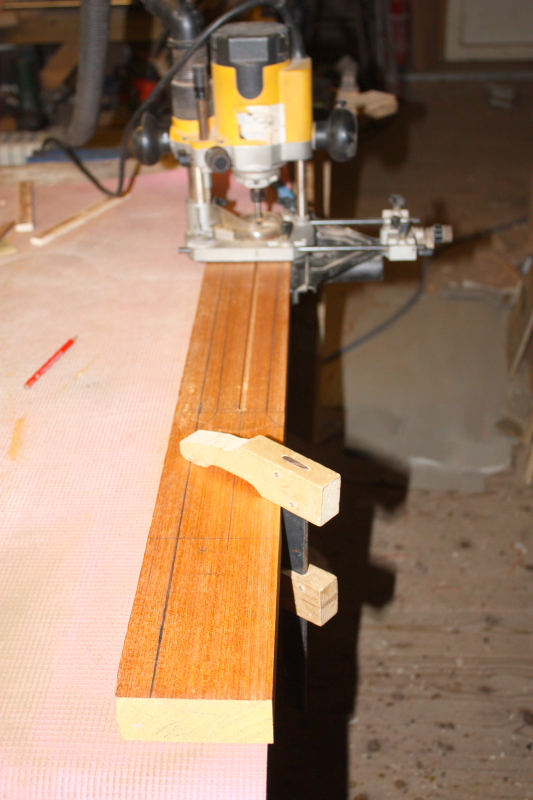
- Routing the truss rod slot
-
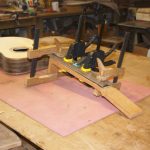
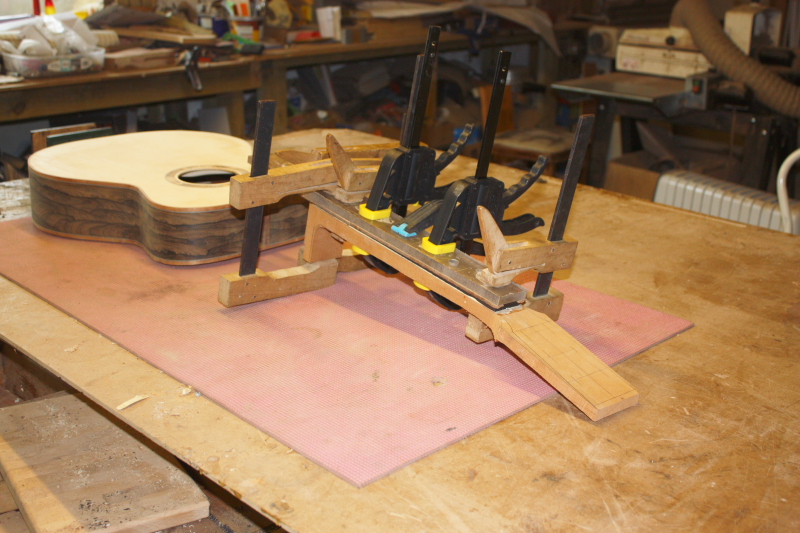
- Gluing on the fretboard
-
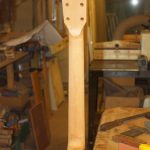
- Carving the heel
-
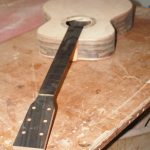
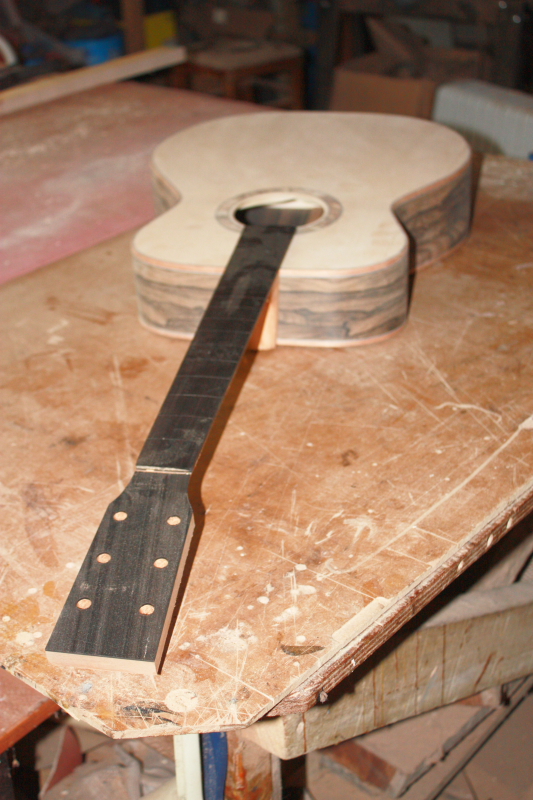
- The neck is test fitted
-
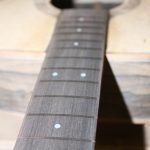
- Mother of pearl marker dots

-
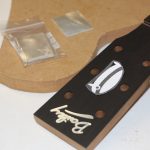
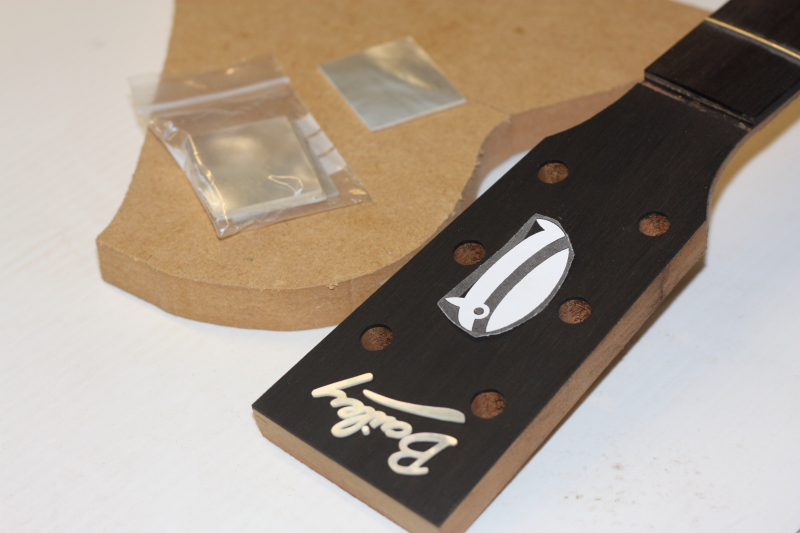
- Laying out the headstock inlays
-
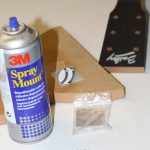
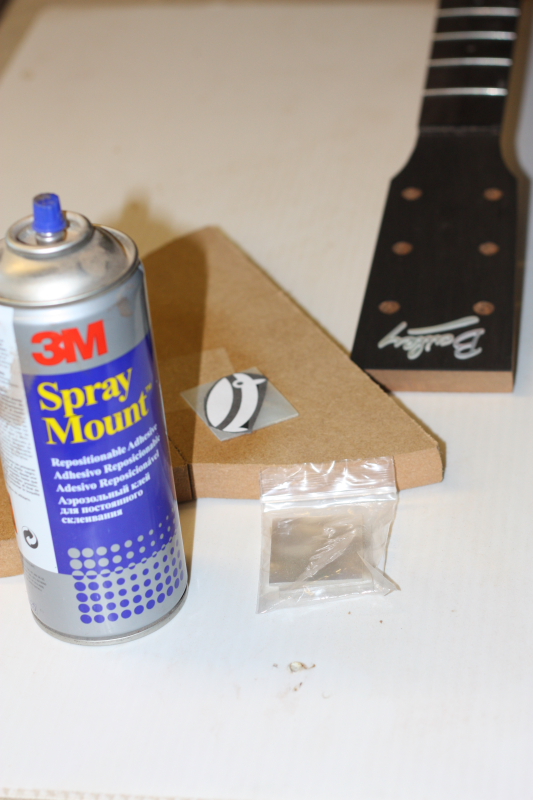
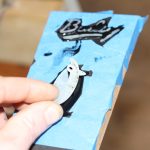
- The paper pattern is glued to the mother of pearl blank
-
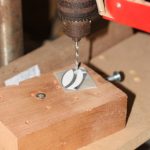
- Drilling the penguins eye
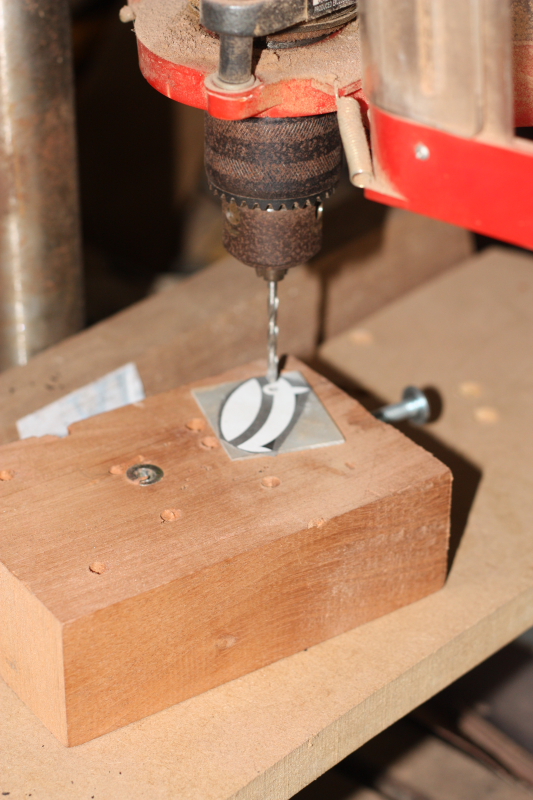
-
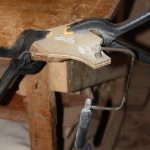
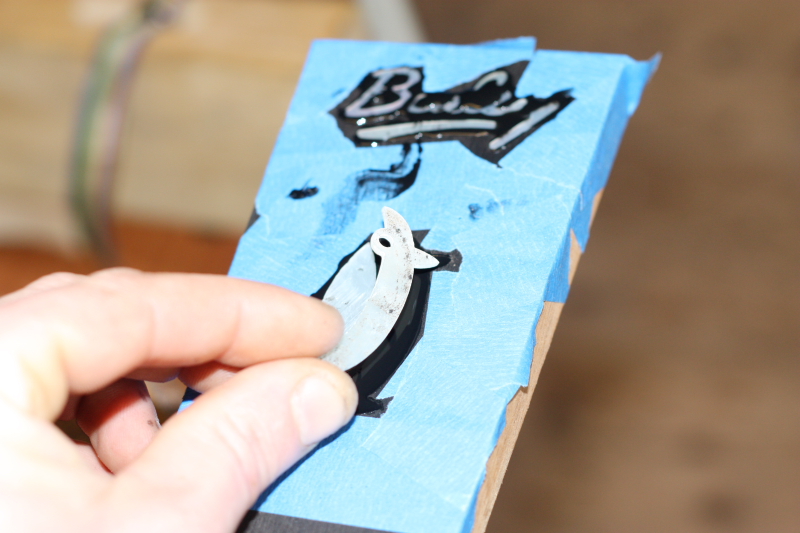
- Cutting out the inlay shape
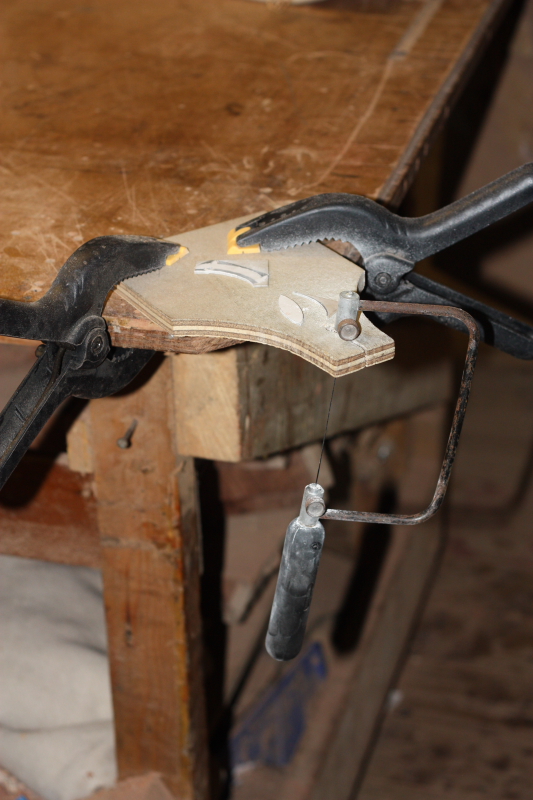
-
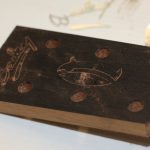
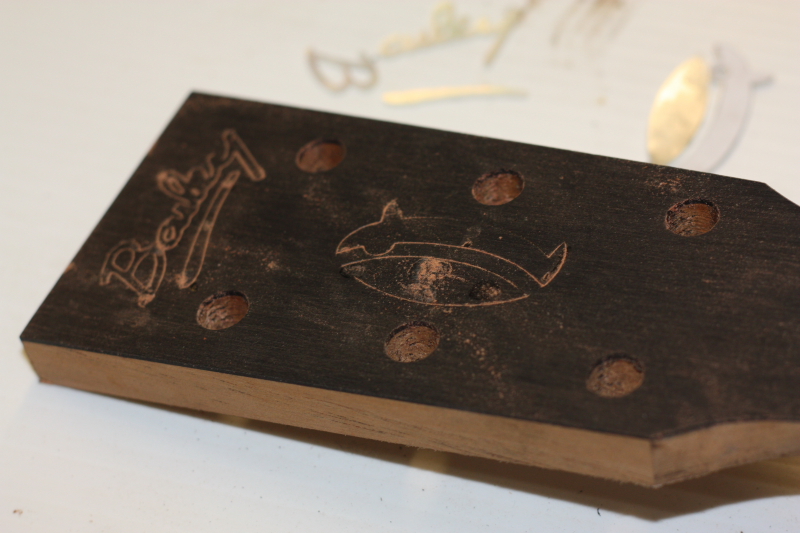
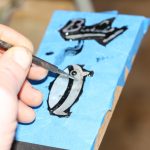
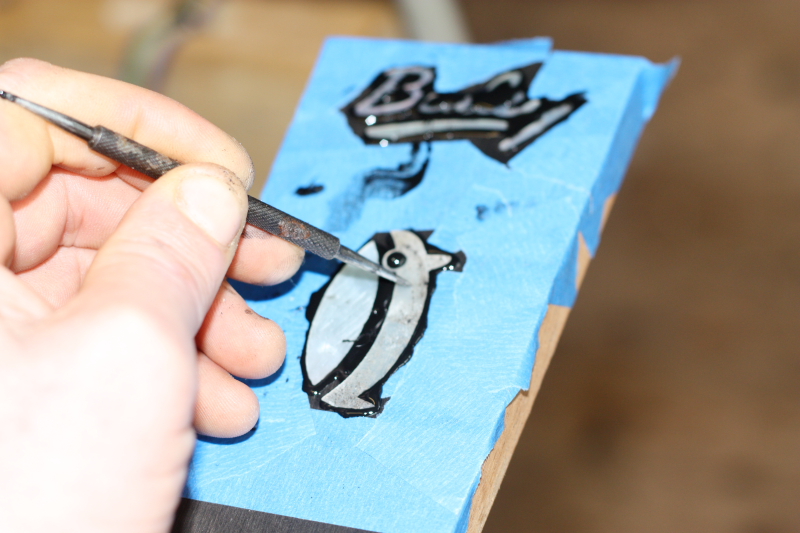
- The headstock is marked out
-
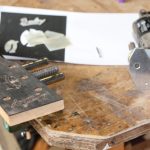
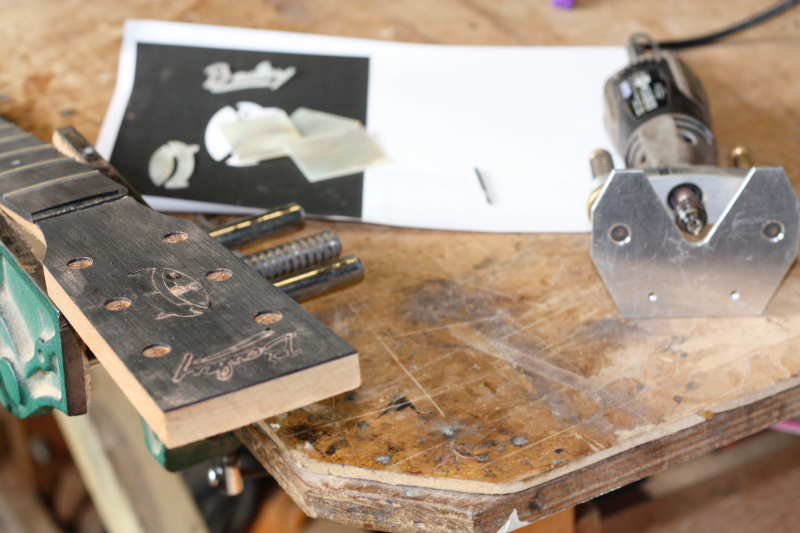
- Routing the headstock inlay
-
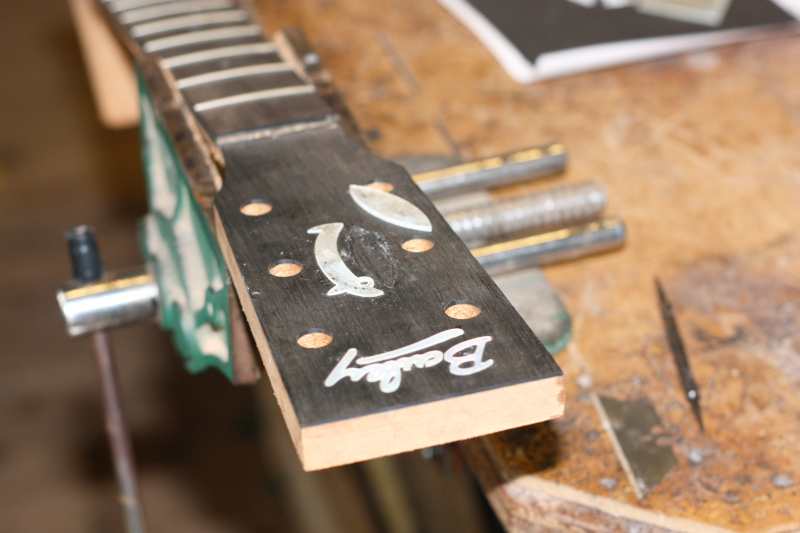
- Test fitting the pieces
-
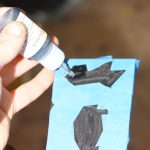
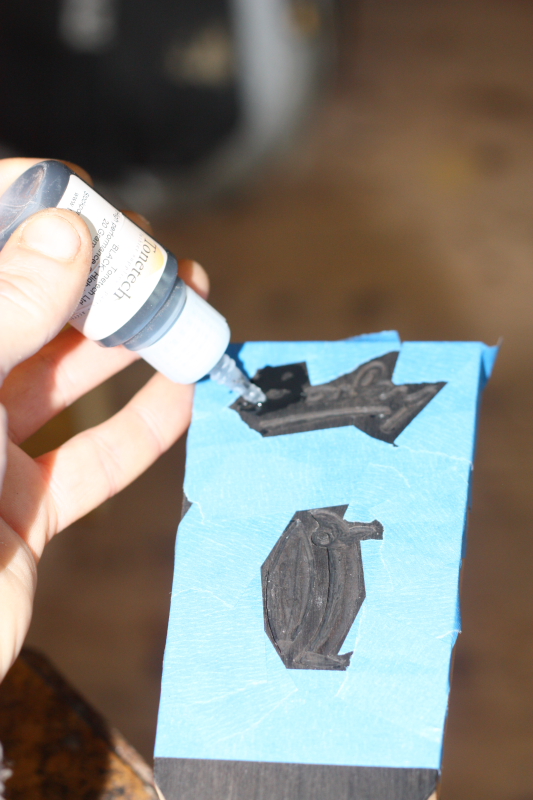
- Black superglue fills the hole
-
- The pieces are pressed in
-
- Inlay left to dry
-
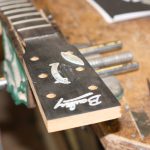
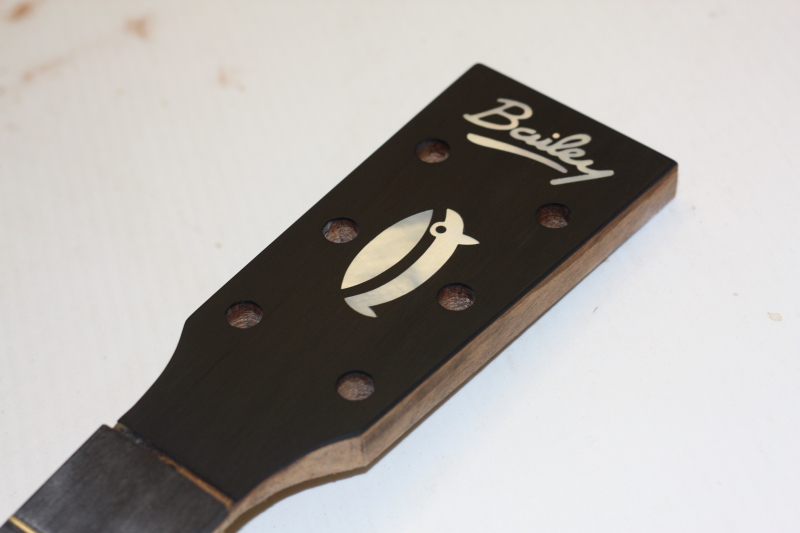
- The Finished ‘Penguin’ Headstock inlay
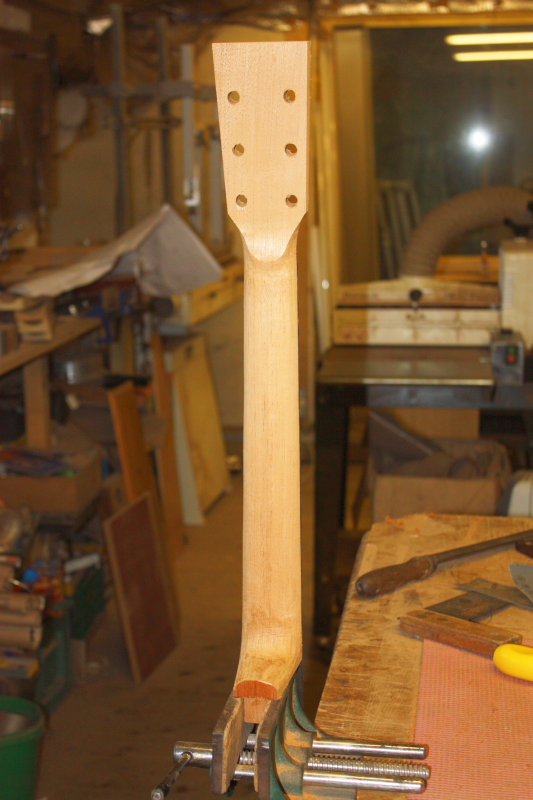
The neck started as a roughly 2″x4″ piece of mahogany which was first slotted for the truss rod, then the shape was roughly cut out and the tuner holes drilled before installing the truss rod and gluing on the fretboard.
The next stage was to carve the neck and finish shaping the heel, then the neck was test fitted to check everything lined up OK before levelling the fretboard, and installing the position dot markers, after which the frets were installed.
Finally the headstock inlays were made and fitted- Our Bailey Logo’s are usually made by Small Wonder Music, but the ‘Penguin’ I handmade myself:
The paper pattern (picture of Penguin) was glued to a mother of pearl blank before being cut out with a jewellers saw, and the edges cleaned up with a file. The piece was temporarily fixed in place onto the headstock with just enough glue to hold them for marking out, which was done with a pointy scribe. The pieces were then carefully pried loose with a chisel and a mini router was used to remove the material between the lines. Black super glue was used to fix in the pieces as it will be virtually invisible against the ebony background. I used masking tape to keep things tidy and when the glue was dry the headstock was sanded flat to reveal the finished design. Now the guitar is ready for spraying.
The ‘Penguin’ inlay was designed by Eaun’s wife Beth who is obviously a great designer and currently ‘about to give birth any minute’- Best of luck and best wishes from all at Bailey Guitars!