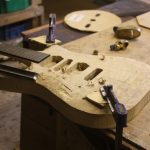
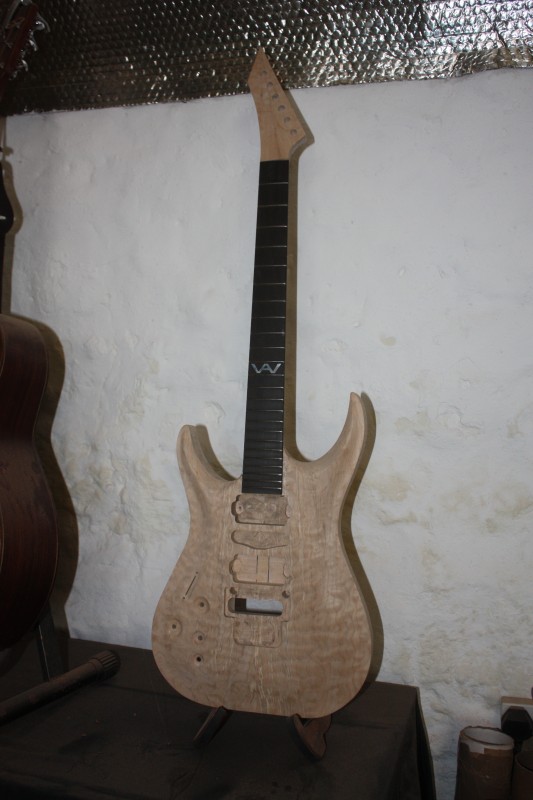
All the woodwork complete and ready for spraying!
-
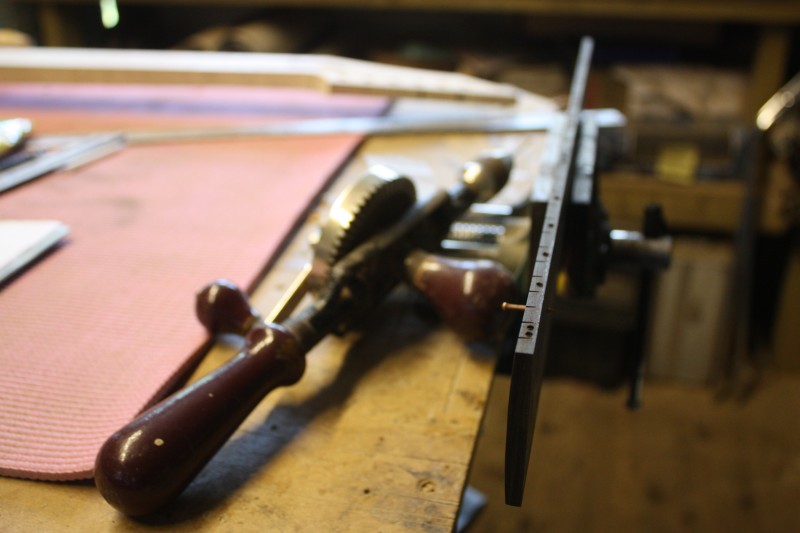
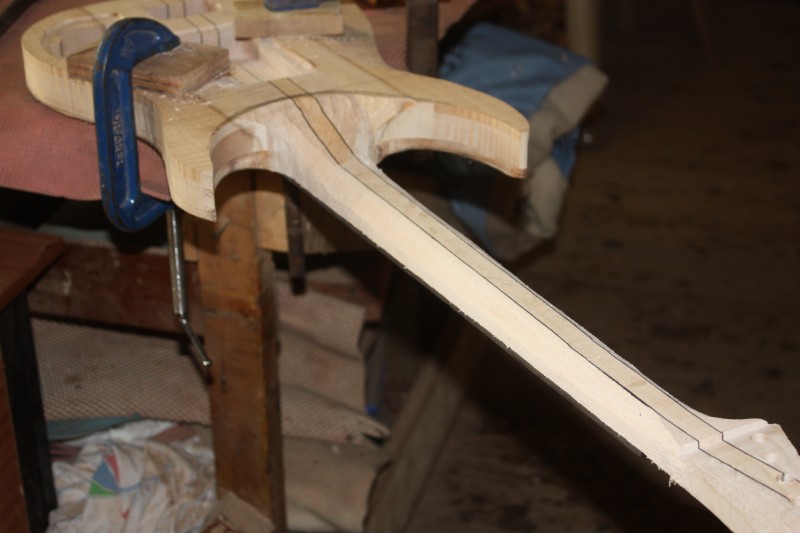
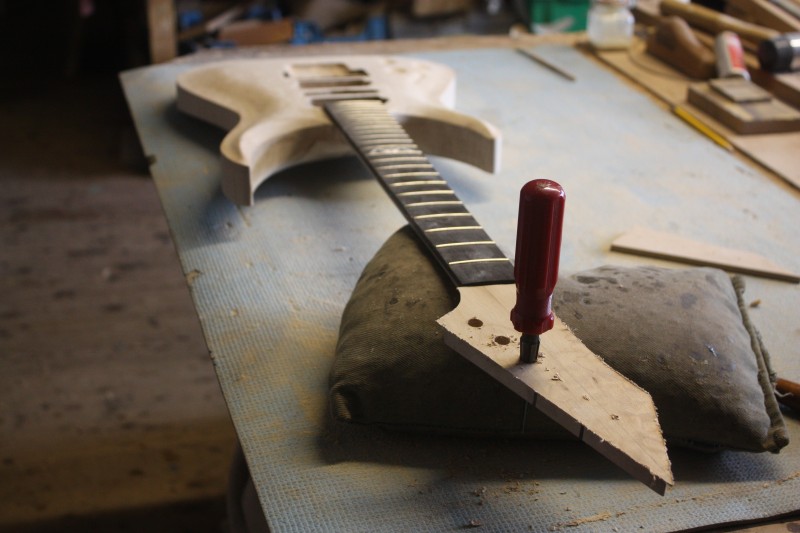
- Side inlays drilled
-
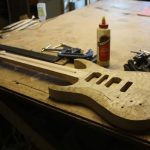
- Ready to glue

-
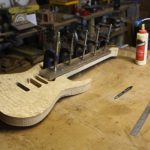
- Gluing the fretboard

-

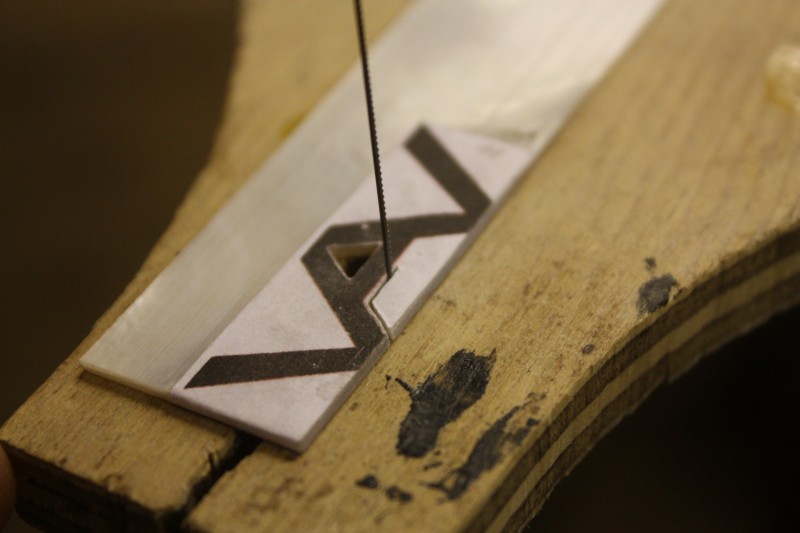
- Making the Inlay
-
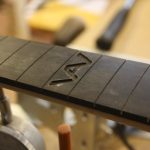
- The inlay slot
-
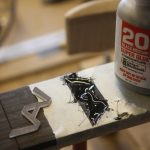
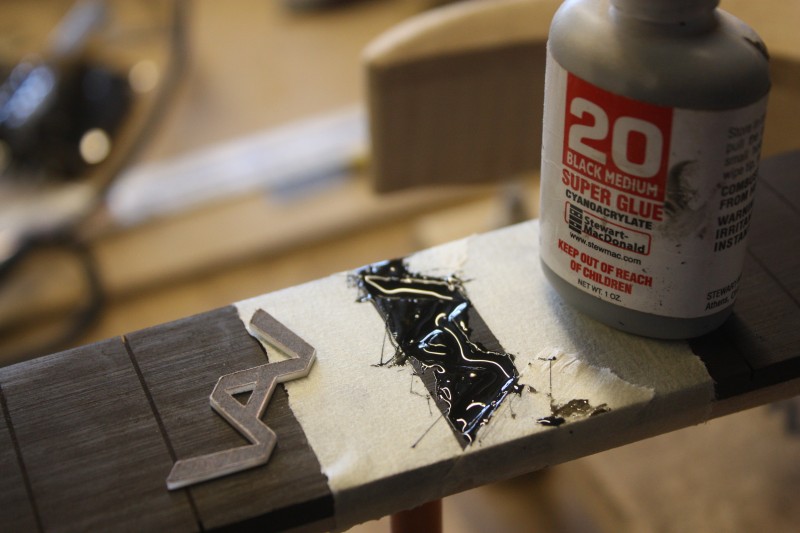
- Gluing the inlay
-
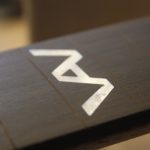
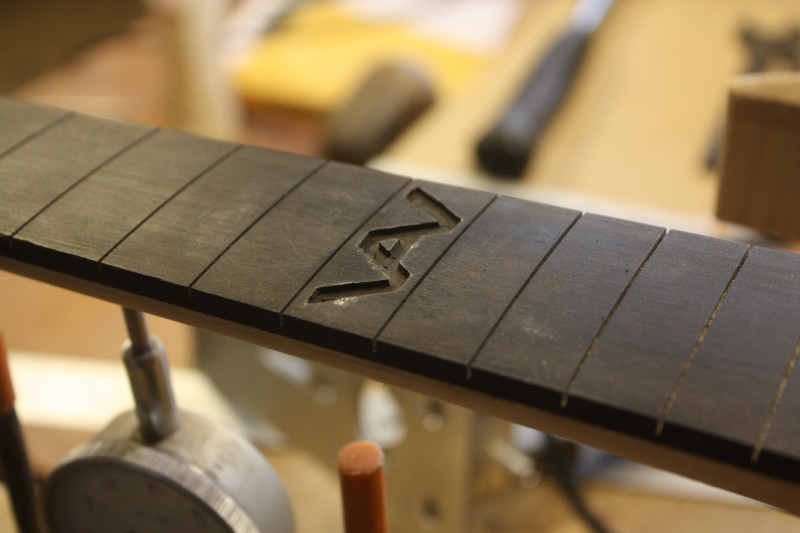
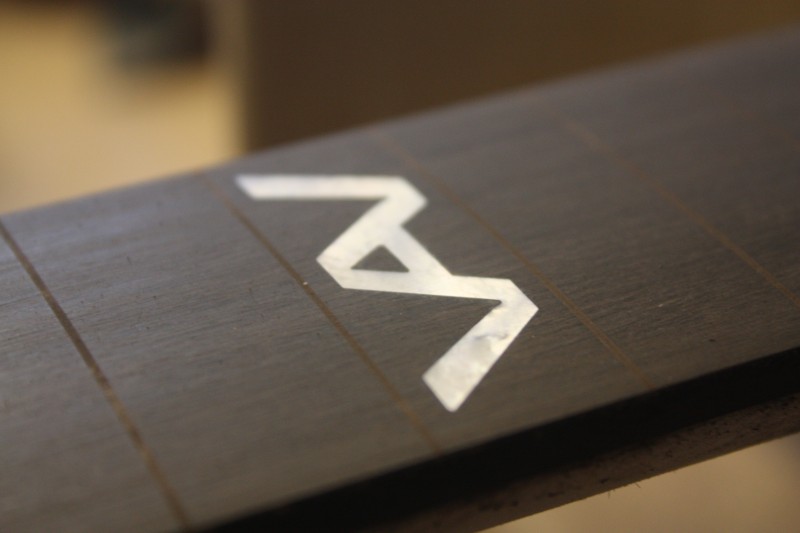
- Completed Inlay
-
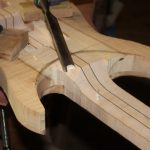
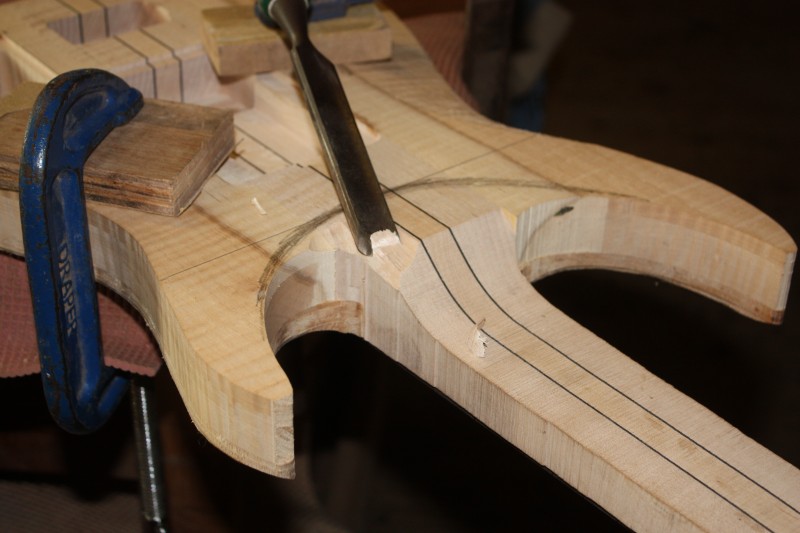
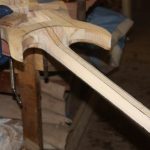
- Making the Re-curve
-
- The Recurve

-
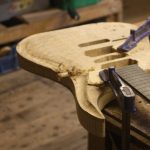
- The neck heel
-
- The neck thru heel
-

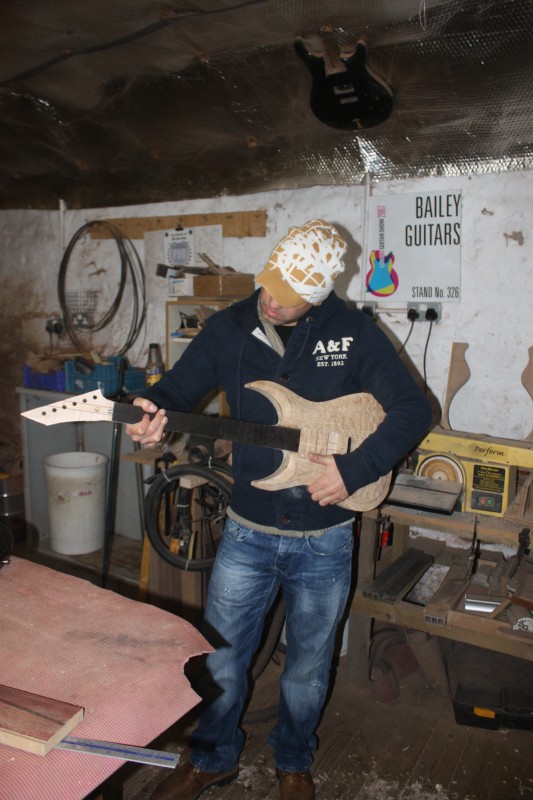
- Visitors rights
-
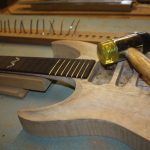
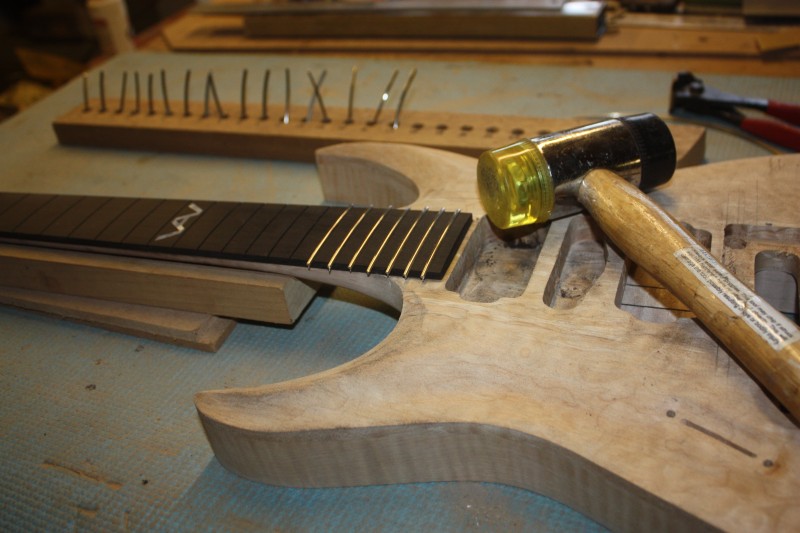
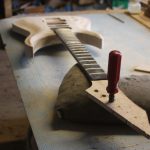
- Installing the frets
-
- Jack socket hole
-
- Headstock veneer
-
- Ready for spraying
Part 1| Part 2| Part 3| Part 4
As I mentioned in Part 1 last week, Allan came on our 1 day Design Your Own Guitar course where I helped him design this guitar.
Most of the woodwork was done but I still had to glue on the fretboard before the rest could be completed.
With a neck thru guitar like this it is very difficult to get in and drill the holes for side dots after the fretboard is glued, which is when I would normally do it, so I drill them first.
The fretboard was the glued as usual.
While the glue dried I got on with making the custom inlay – looks pretty cool doesn’t it? The shape was made on the computer then printed out and ‘spray fixed’ to a piece of Mother of Pearl. I use a really fine jewelers saw to cut it out and a set of needle files to clean up the edges if needed. A slot is routed into the fretboard and the piece glued in with black superglue. After some sanding and cleaning up it looks like it grew there!
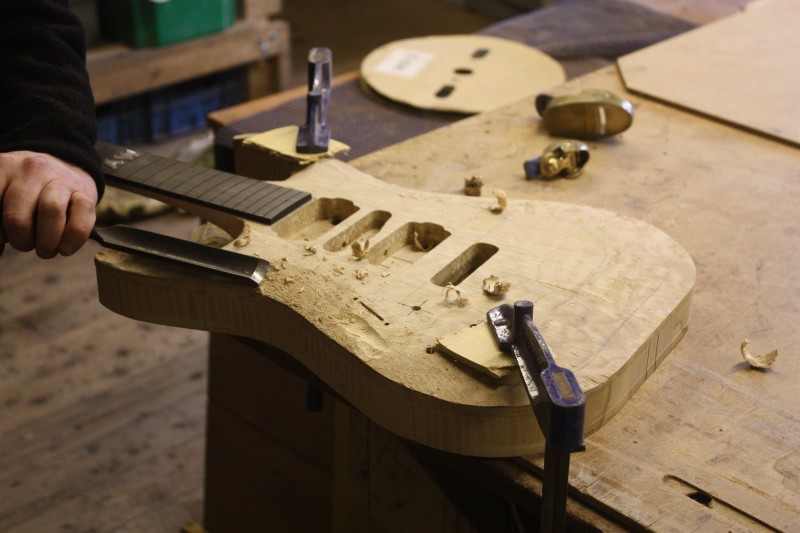
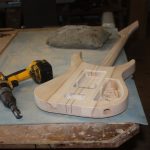
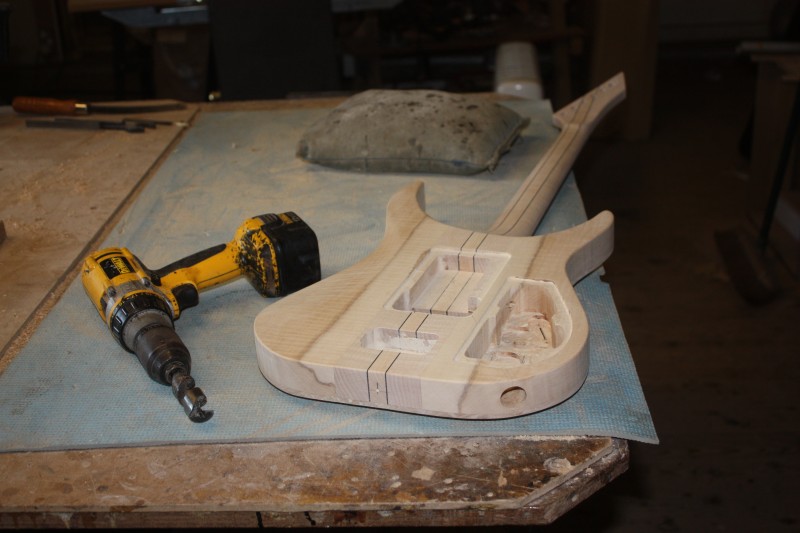
I have already rough carved the body but now it was time to make the re-curve. This was carved by hand with a gouge.
I then flipped the guitar over to carve the heel and the rest of the neck. Allan stopped by to check on progress and have a feel – he seemed pretty happy with it!
The frets were hammered in and jack socket drilled then a matching quilted maple headstock veener glued on and cleaned up before final sanding.
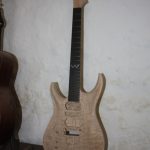
All the woodwork is now complete!
Next:
The guitar is now ‘in the white’ which means sanded and ready for spraying – it will have a dark cherry burst with a matching cherry stripe up the back of the neck – I will show this exciting process in part 3
Maybe you have your own ideas for a custom guitar? We are here to help!