…Bracing the soundboard…
Read part 1, part 2, part 3, part 4, part 5, part 6
-
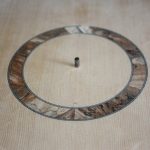
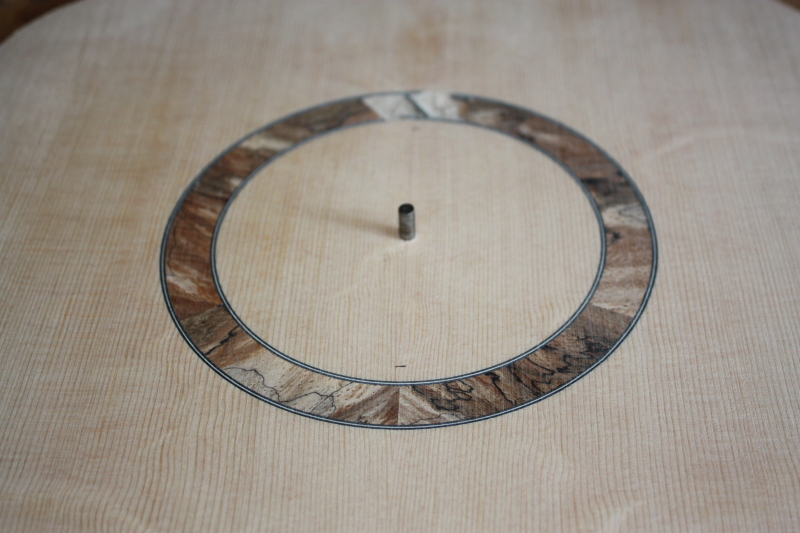
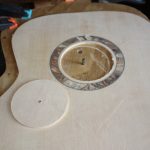
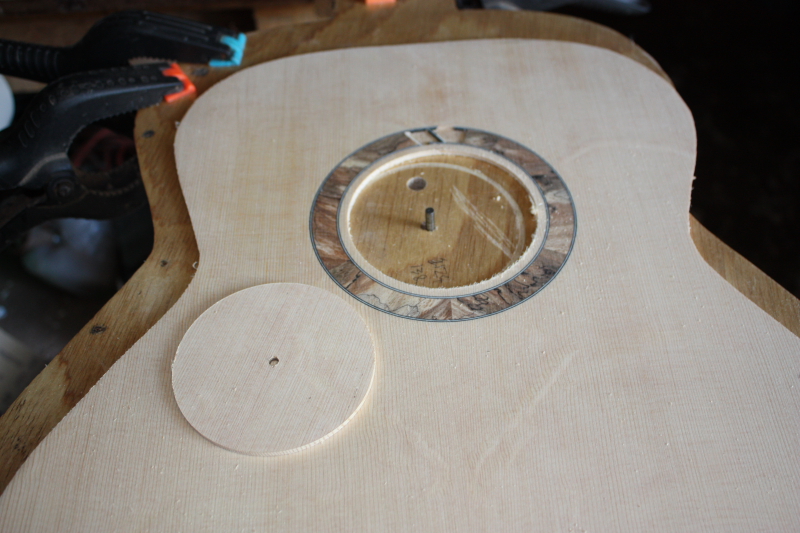
- The rosette has now been sanded flat
-
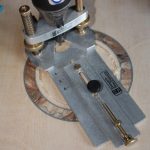
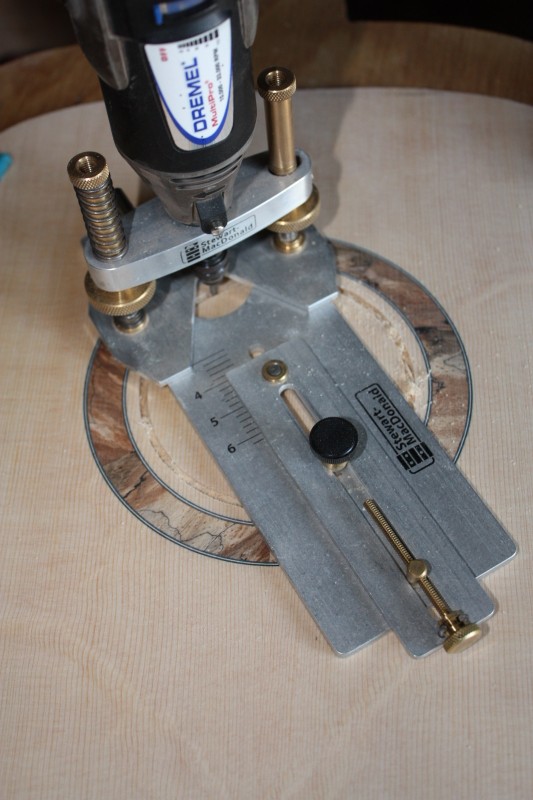
- Cutting the soundhole
-
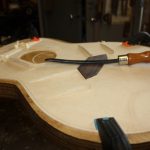
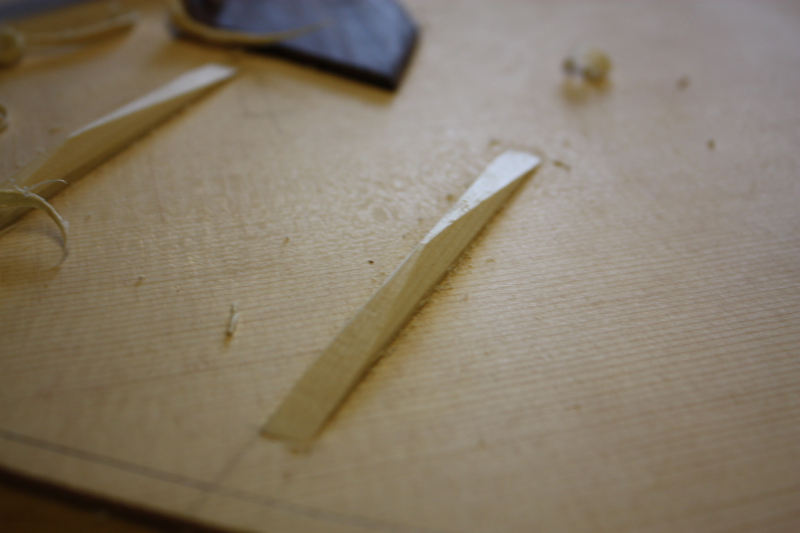
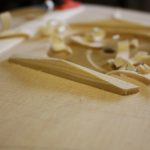
- The ‘change’
-
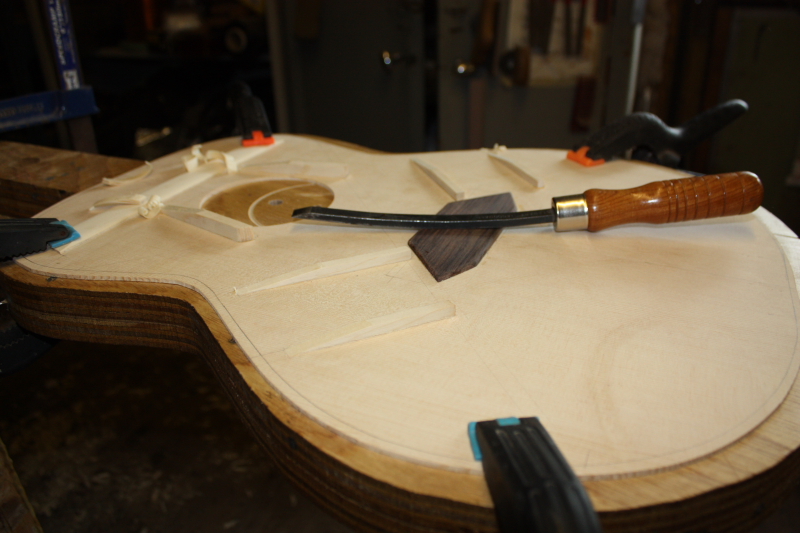
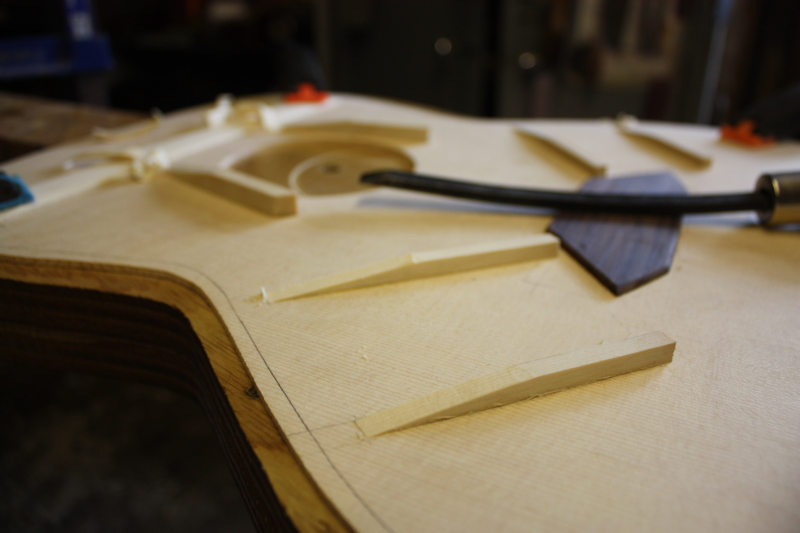
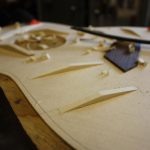
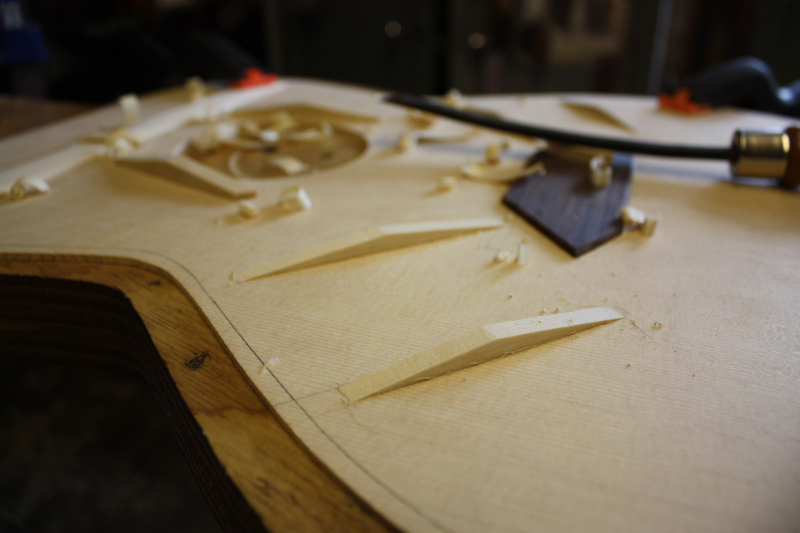
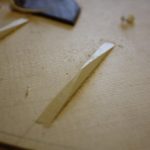
- The flat braces are glued and ready for carving
-

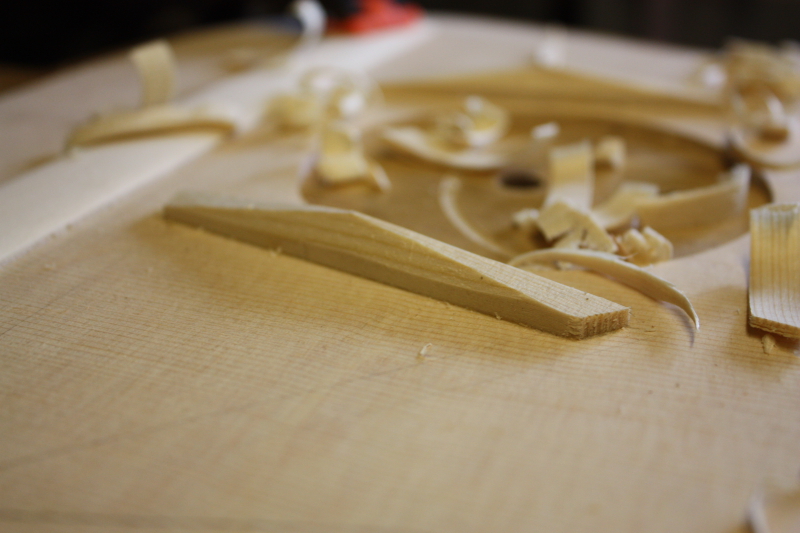
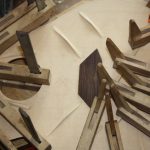
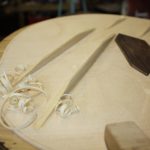
- The finger braces are carved from full height in the middle down to nothing at the ends
-
- This is repeated on both ends
-
- An angle is carved into the sides to form a pyramid shape
-
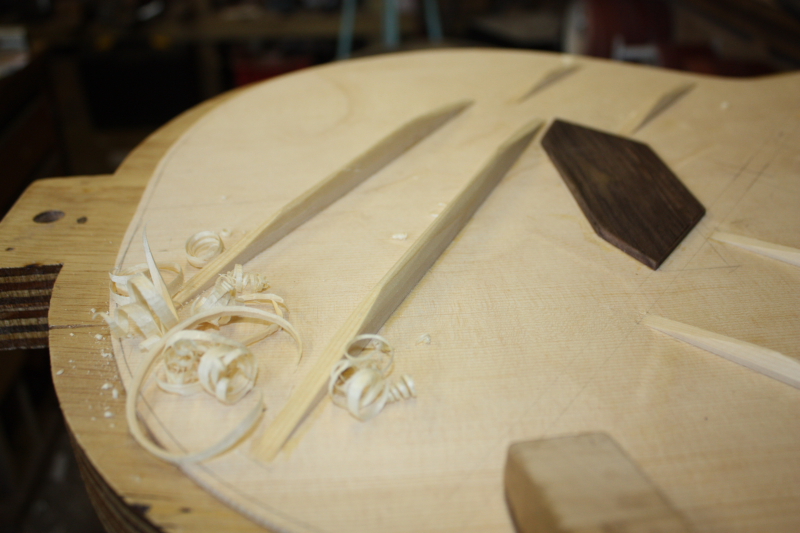
- The soundhole braces are treated similarly but the ends are left 1/8″ thick
-
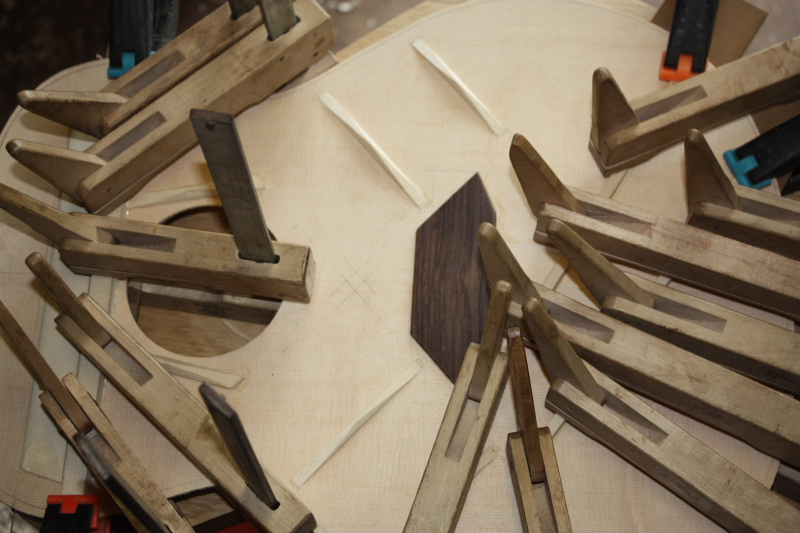
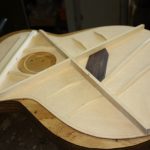
- The upper and lower face braces are glued next
-
- …Then carved
-
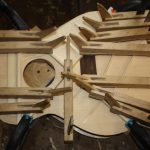
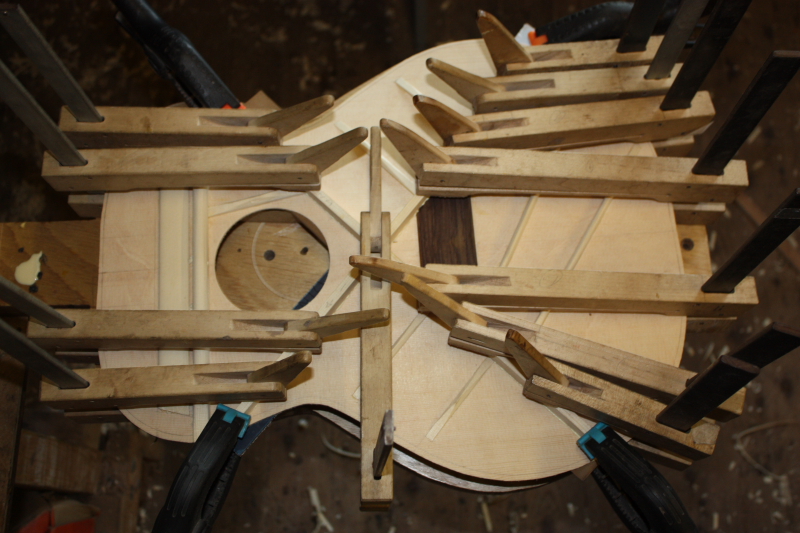
- Then the x-braces are glued
-
- The large x-braces wil be carved and graduated before assembly
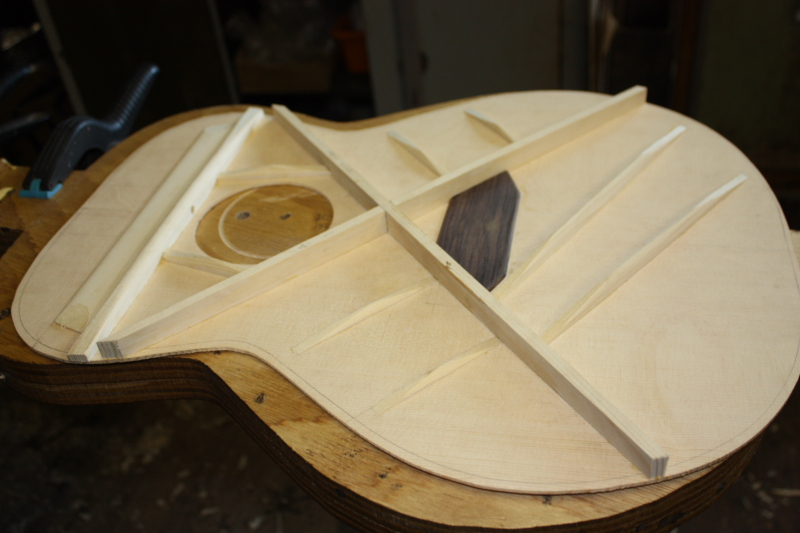
After the rosette is sanded flat and sound hole cut out then the top can be braced.
The braces are glued on and carved in three stages. It is easier to carve them unobstructed before the next ones are glued. First the flat soundhole and finger braces, then the curved upper and lower face braces, and finally the x-braces are glued on and carved.
The ends of the soundhole braces are left 1/8″ thick to butt up against the upper face brace and the x-braces.
The x-braces are usually left uncarved until just before the body is ready to be assembled.