…Installing the truss rod…
I was asked recently how I install the truss rod. There are many types of rod design each suiting a different style of guitar. The method outlined below is for necks with ‘parallel’ headstocks only.
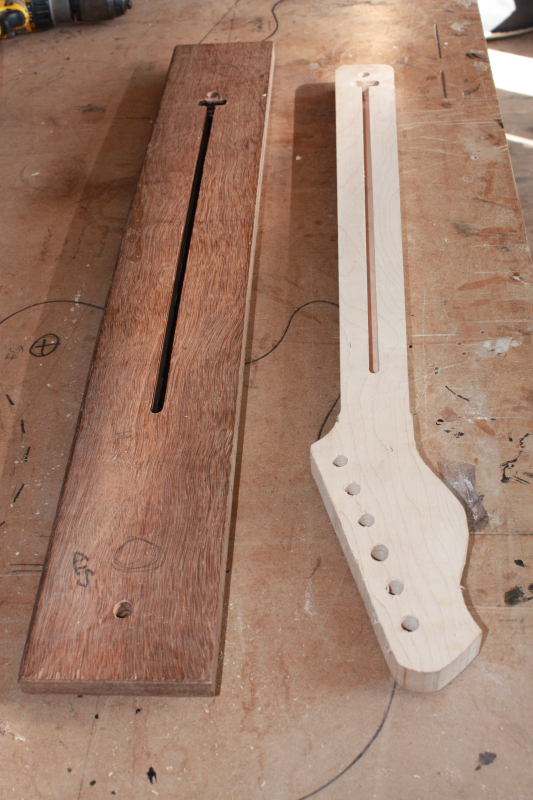
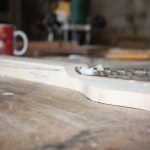
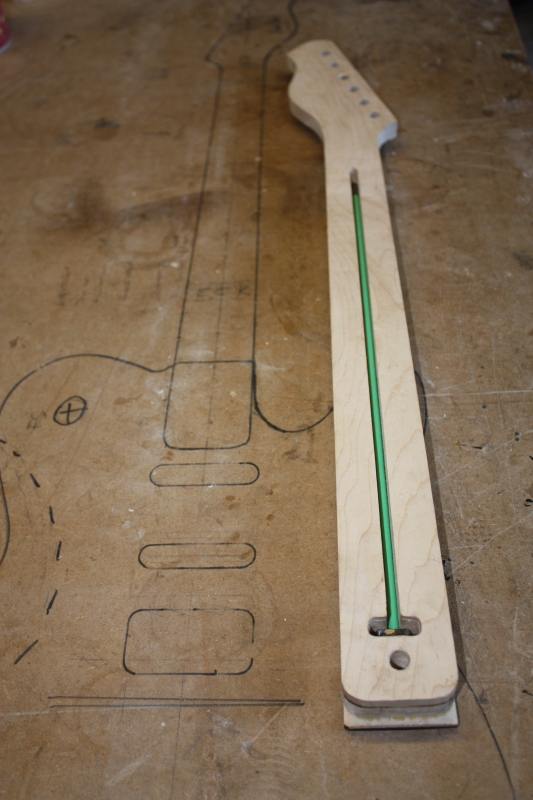
This is not the easiest type of rod to install. It fits into a curved slot in the back of the neck with a fillet of wood glued over it called the ‘Skunk stripe’- I chose a prize piece of snakewood which will look great when the neck has been carved and polished.
I designed a ‘truss rod slot’ jig for doing this which we always use for this type of neck (parallel headstock). We use the same method on the ‘build your own’ course- You can see it in action on our DVD.
There are easier ways to do this, but my method enables me to install a rod into a pre-shaped neck rather than needing a large ‘square’ piece of wood necessary to route it with an edge guide, which is more wasteful. Also If the truss rod should ever need to be removed I can just re-jig it and route out the fillet.
The method detailed below is not for the faint hearted- it relies on drilling holes which align perfectly with the curve of the slot, or the truss rod may not work. To make it easier you can make a drill guide to hold the drill at the correct angle, or get a friend to help ‘spot’ if you are drilling straight.
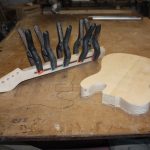
-

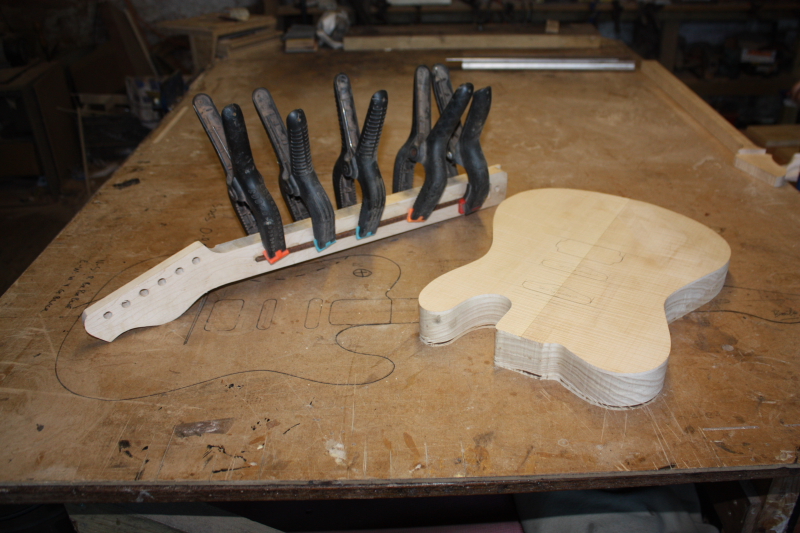
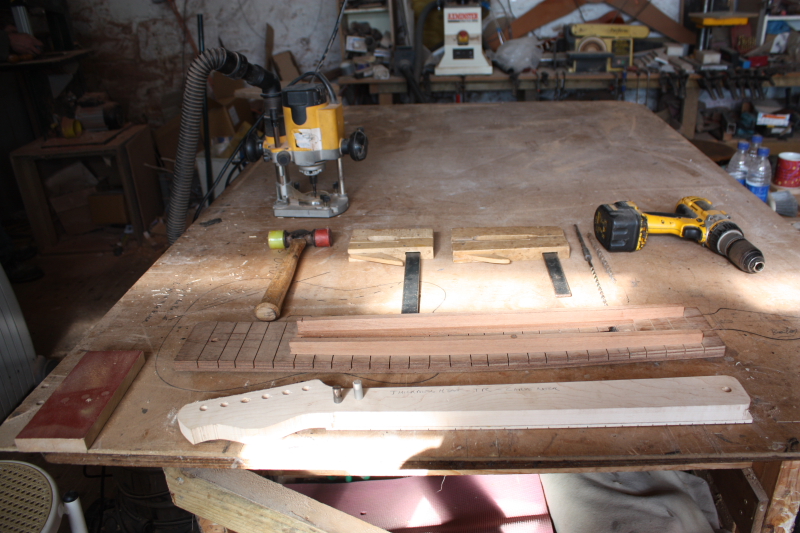
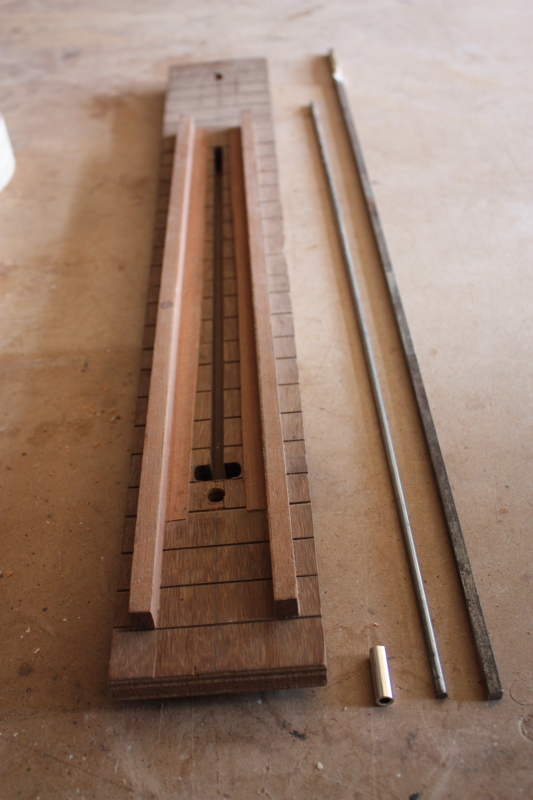
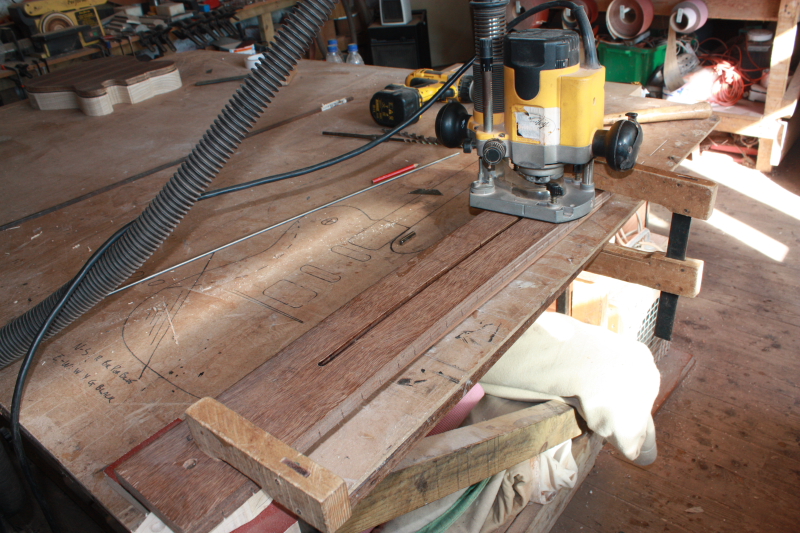
- Router, hammer, clamps, drills, truss rod jig. The neck is at the front with 2x10mm pins on top of it
-
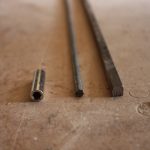
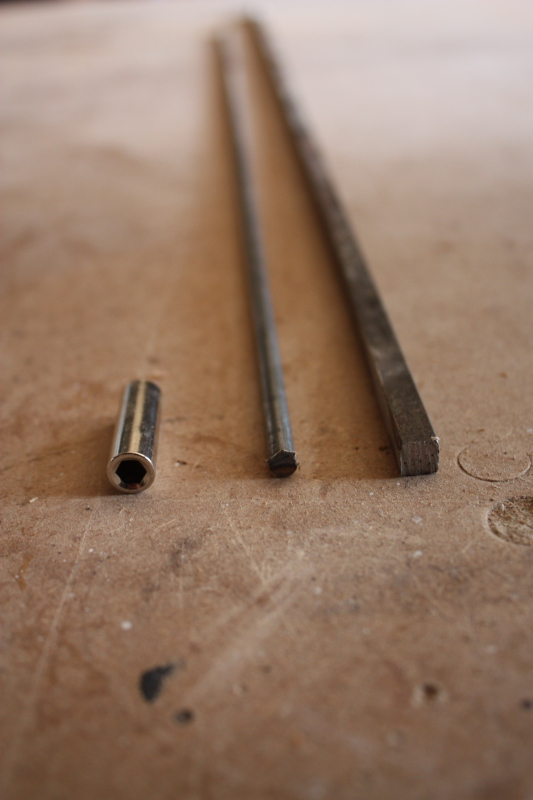
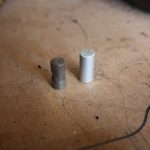
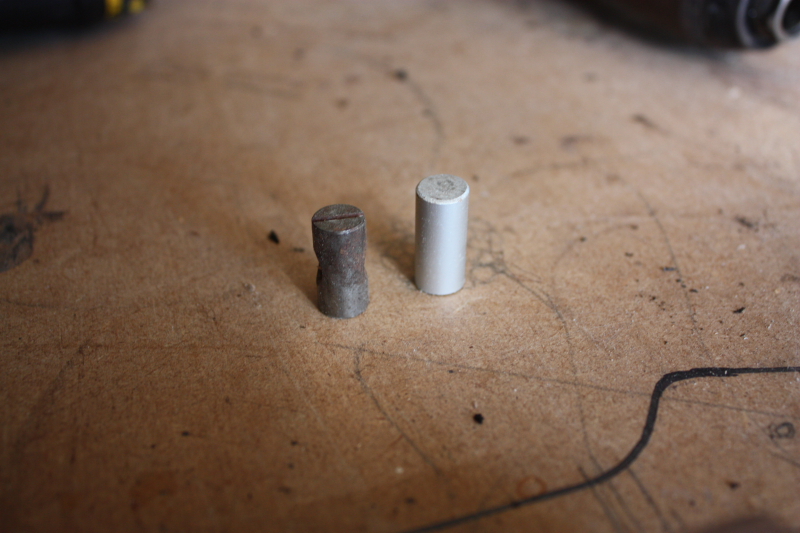
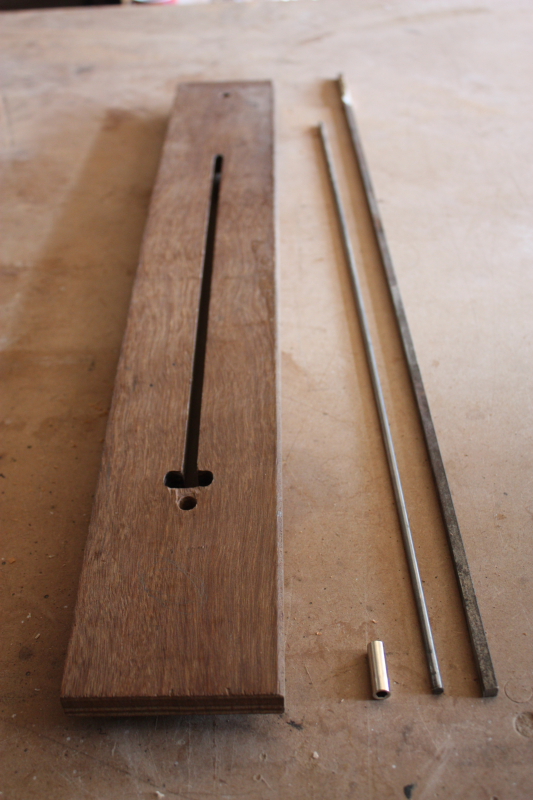
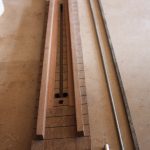
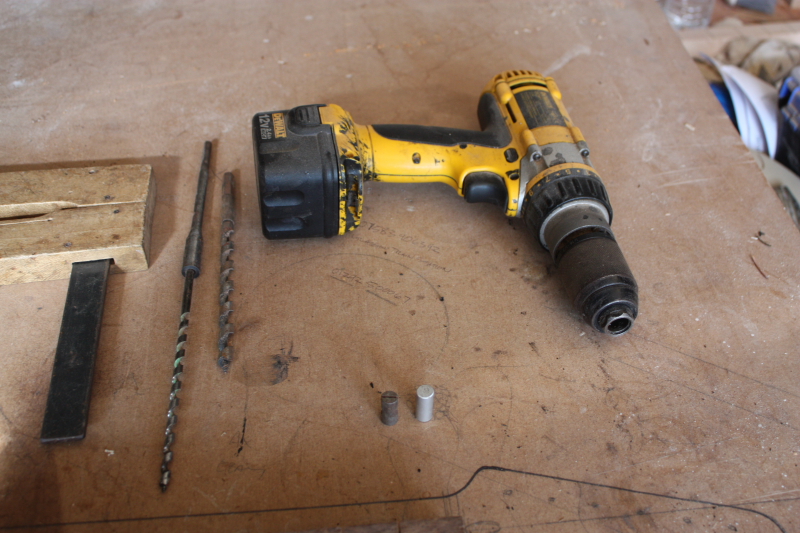
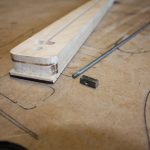
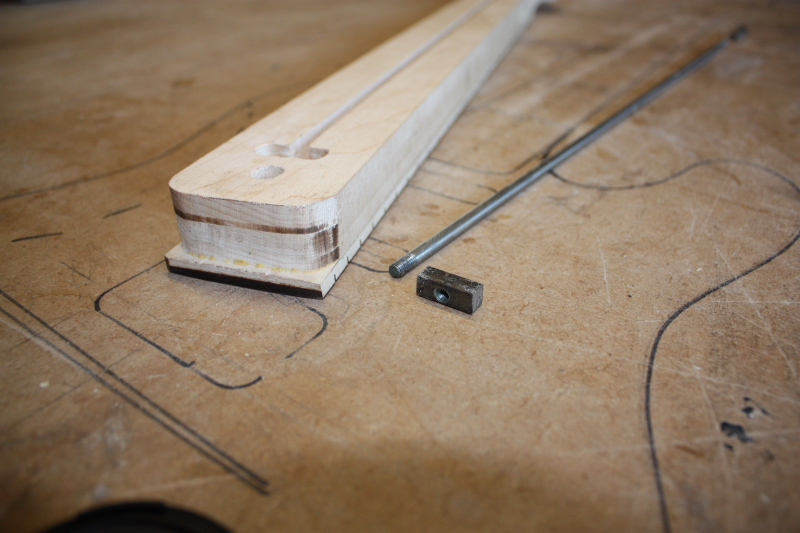
- Materials for making the truss rod: A truss rod nut, 5mm round bar, and 8mm square bar
-
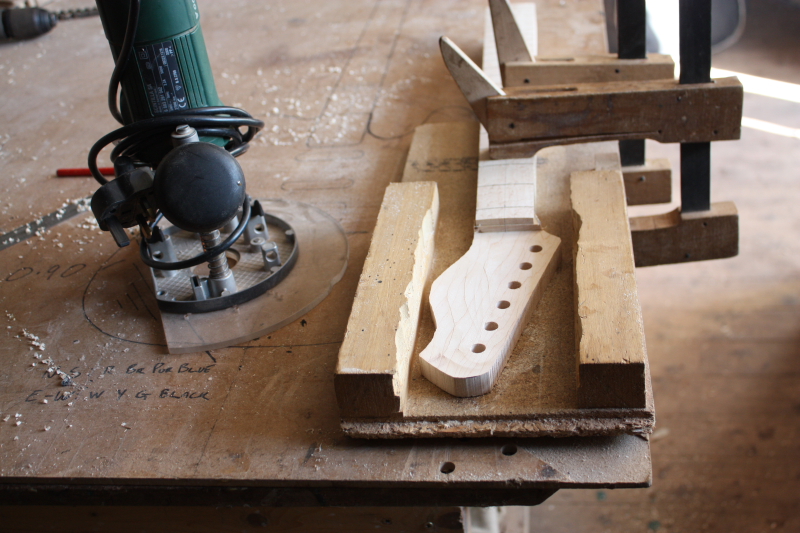
- 2x10mm location pins are used to fix the neck into the jig
-
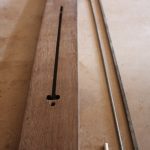
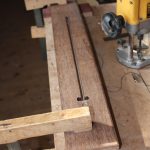
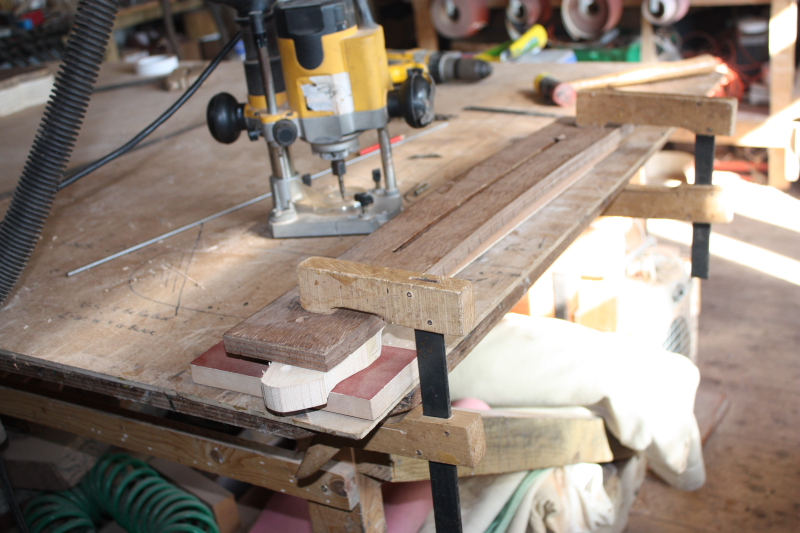
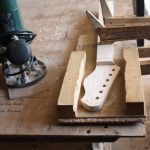
- The truss rod jig is used to as a guide for the router to make the slot in the back of the neck
-
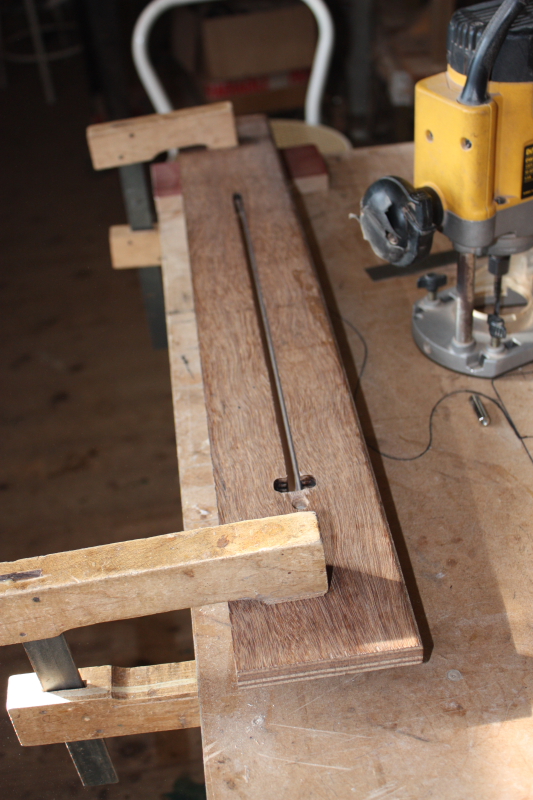
- The neck sits between two rails to help keep it in place
-
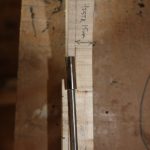
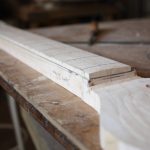
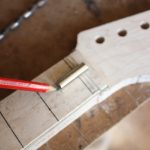
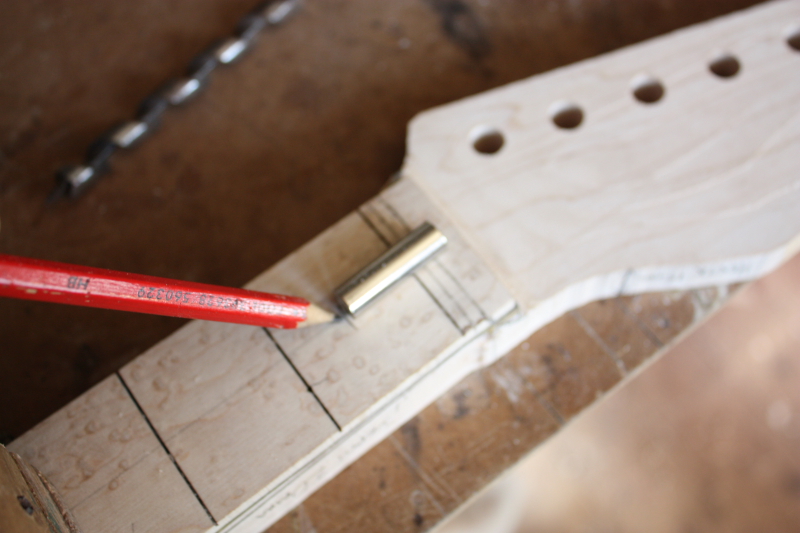
- The depth is carefully marked so the nut comes out above the surface of the headstock, but not too close to the top of the fretboard

-
- The location pins are tapped into place- the hole in the heel is drilled solely for this purpose. Another pin fits into the hole for the g-tuner
-
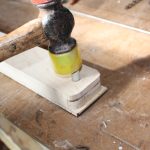
- The assembly is clamped ready for routing the truss rod slot
-

- The fretboard was already radiused so I used a block under the headstock to hold it flat
-
- The router copies the shape into the back of the neck
-

- You can see the curve in the jig -this is also copied into the neck
-
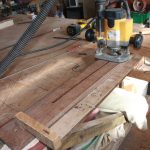
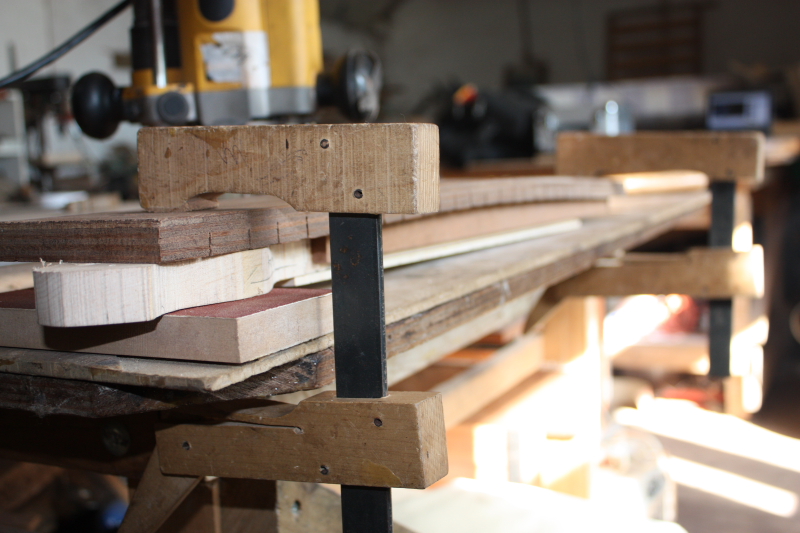
- Routing in progress- an extractor takes away the dust and chips
-

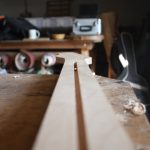
- The neck is removed to reveal the truss rod slot
-
- The headstock is routed to the correct thickness leaving a ‘step’ which is easy to drill into
-
- Holes must be drilled for the truss rod nut and the 5mm bar

-
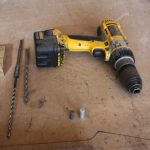
- Drill and auger bits- 3/8″ for the nut and a 5mm for the round bar
-
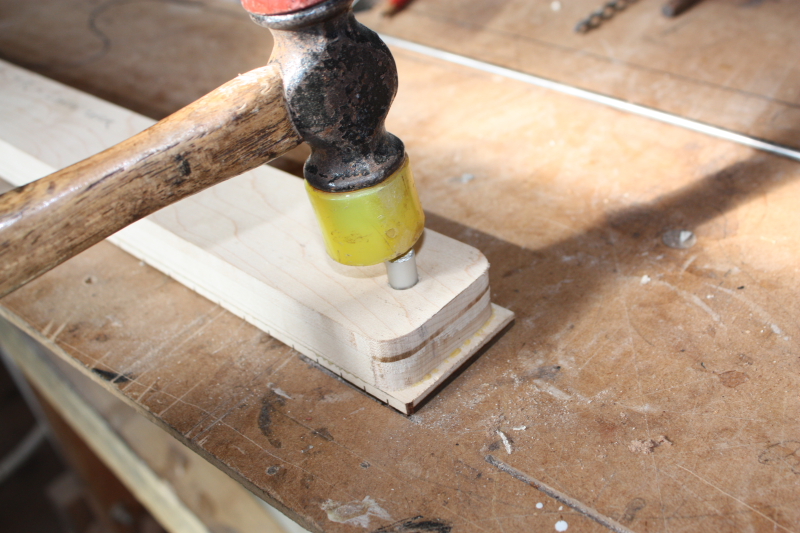
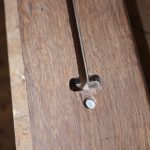
- First a 3/8″ hole must be drilled for the truss rod nut- here I am marking the depth
-
- Then a 5mm hole is made to meet up with the truss rod slot
-

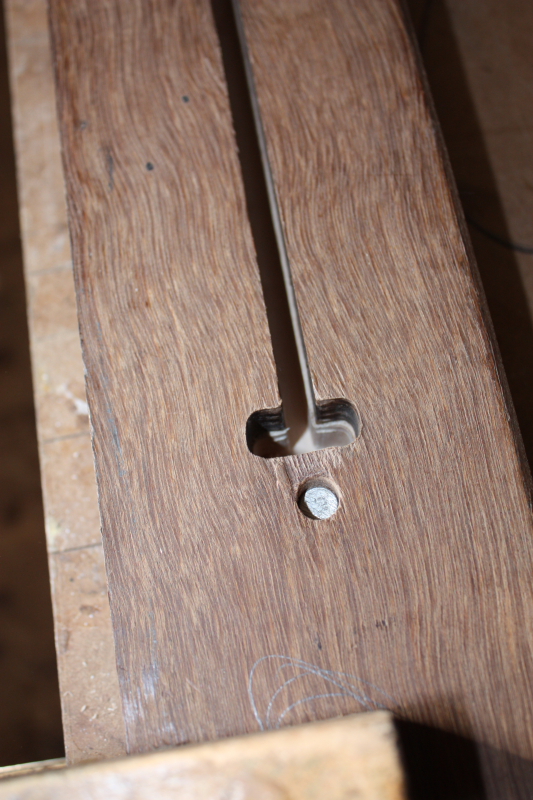
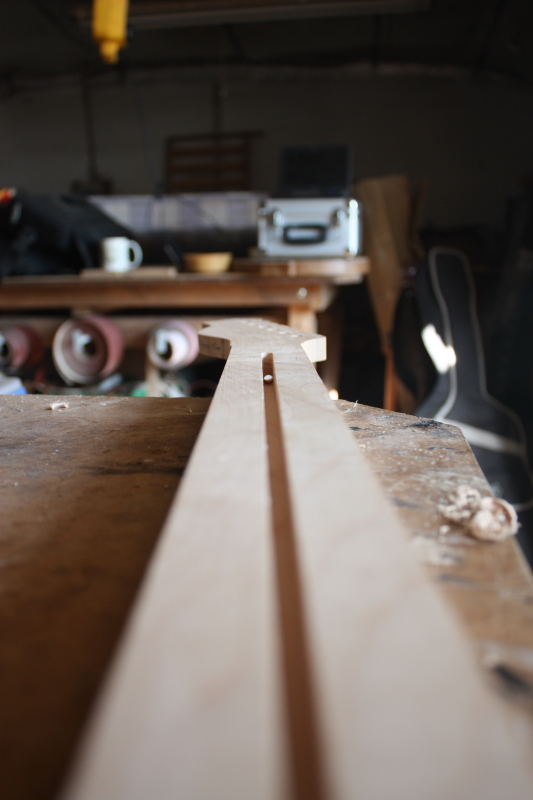
- A hole cutter is used to make the curve from the top of the headstock to the top of the fretboard
-
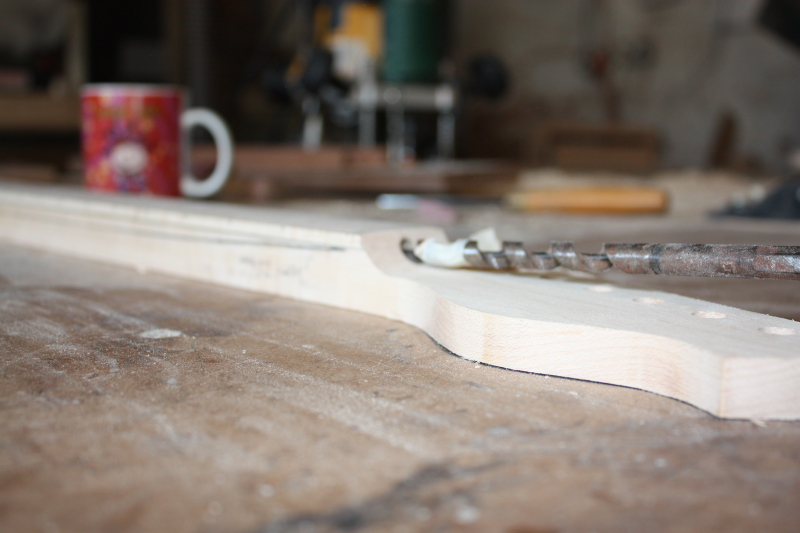
- I put the large drill back in just to show the angle needed to join up with the curved slot
-
- A short length of the 8mm bar is threaded onto end of the rod. The rod just pokes through and is then centrepunched to prevent it ever coimng loose
-
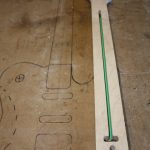
- A straw is placed over the rod to prevent any glue getting on it
-
- The other end of the rod is threaded so the nut can be adjusted
-
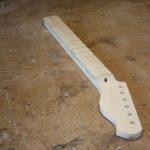
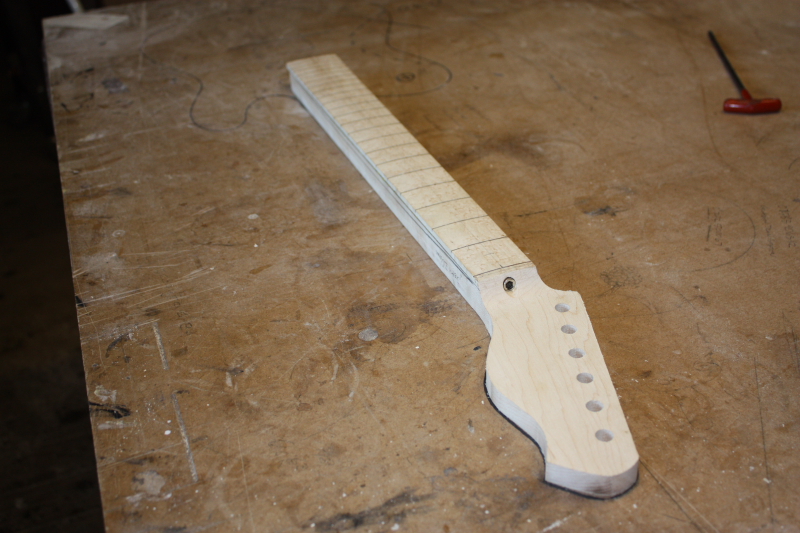
- A fillet of wood is glued over the rod and held in place with spring clamps