…..Last Kick of the ball….


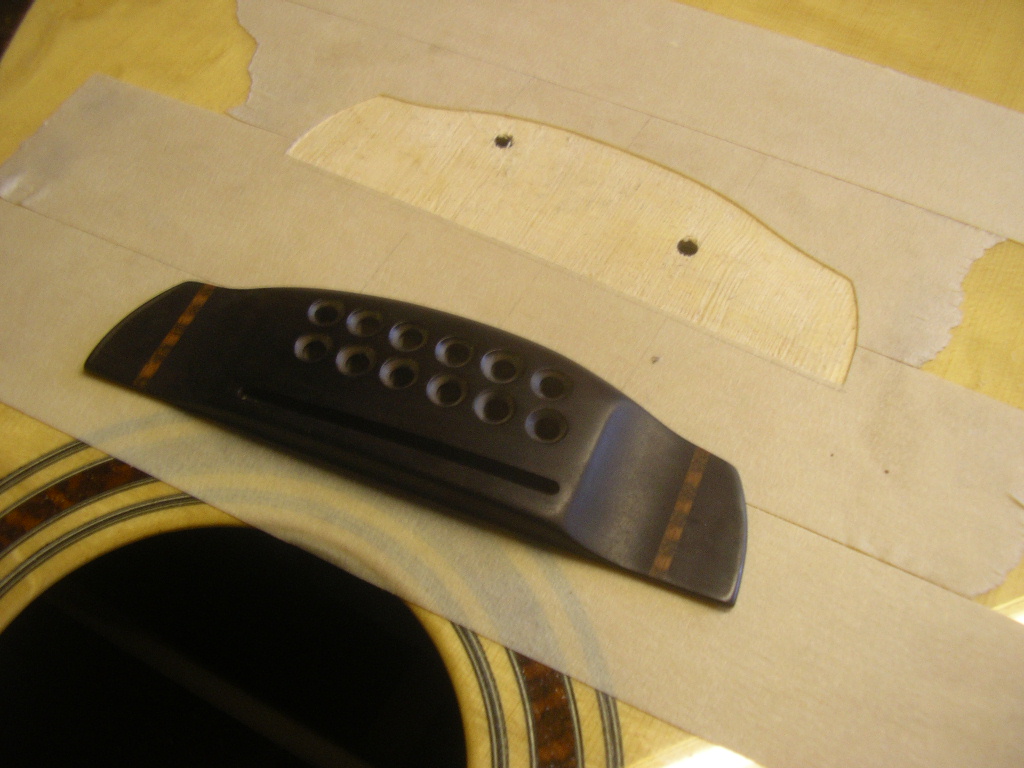
The bridge must be located very accurately – it’s a one shot deal. If it goes in the wrong place the strings will be over to one side or won’t play in tune.The only fix if this happens is to remove the bridge and make a new larger one to cover it up which is no fun at all.
To ensure it goes in the right place this is what I do:
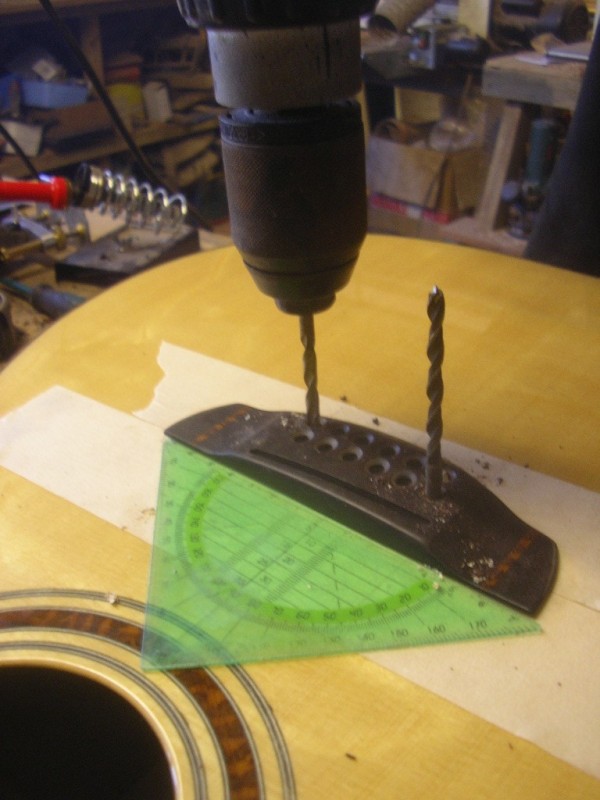
The area where the bridge will sit is masked off to protect the finish and two small squares of double sided tape are used to fix the bridge exactly in position. I always check this at least 3 times to be sure.
Then I drill the outside two string holes right through the body and use pins (same size drills) to hold it in position so it cannot move.
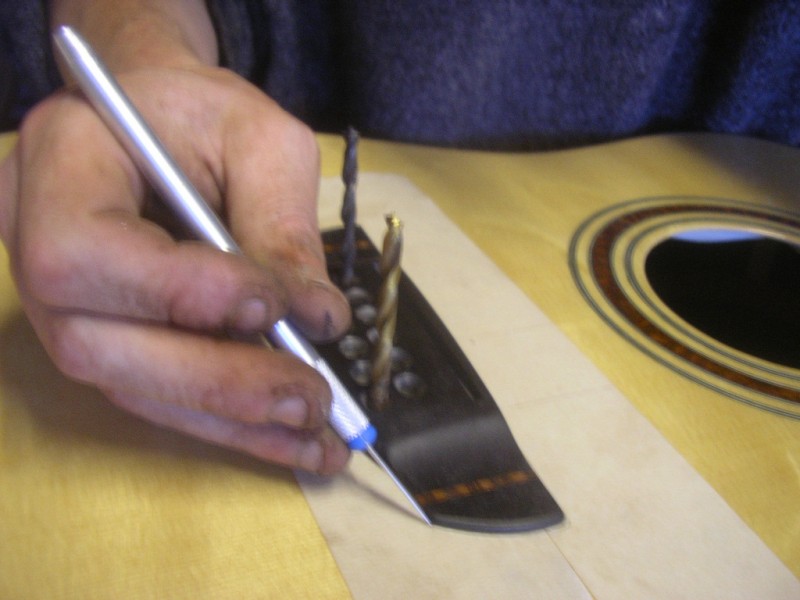
A scalpel is used to cut through the finish around the outside of the bridge and mark its position, then I can carefully remove the bridge and the masking tape underneath.
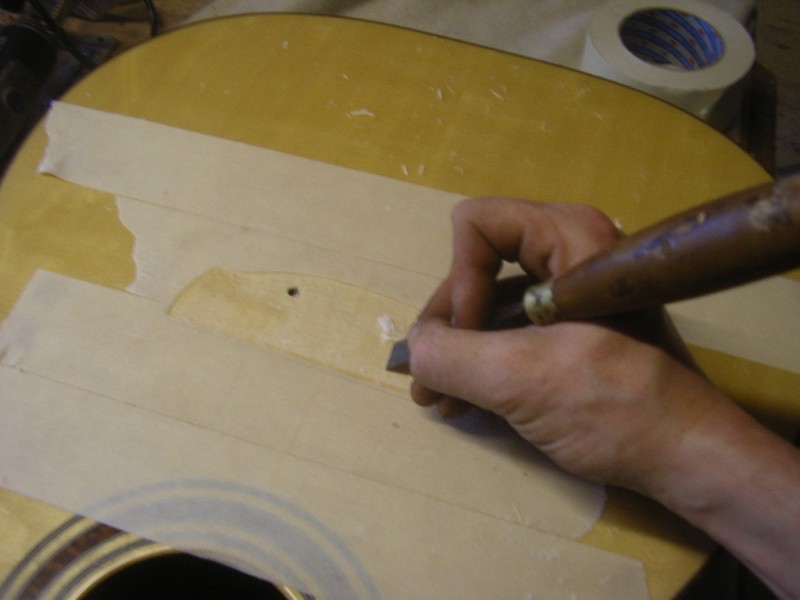
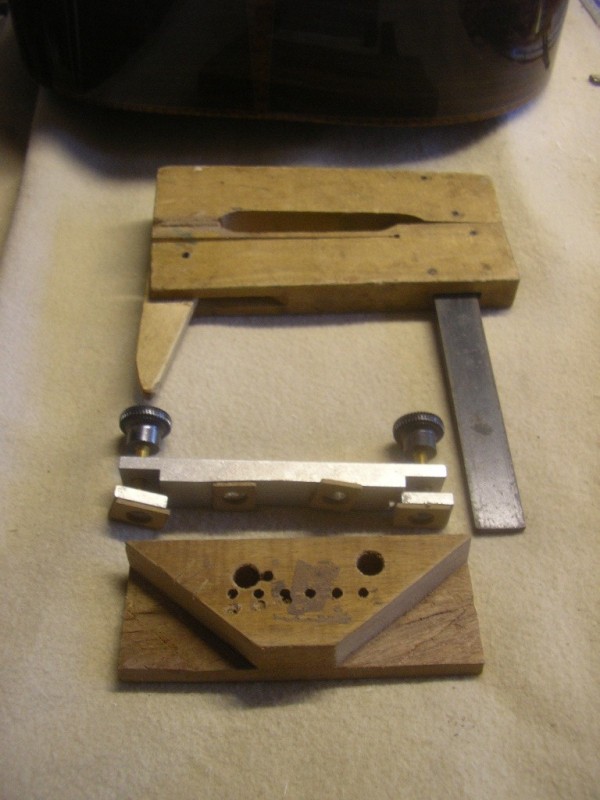
A mini router is used to remove the finish under where the bridge will sit – this is essential to get a good glue bond as the glue only works if there is good wood to wood contact. The router is set to cut just the lacquer and not into the wood. A chisel is used to clean off any excess and get right into the corners.
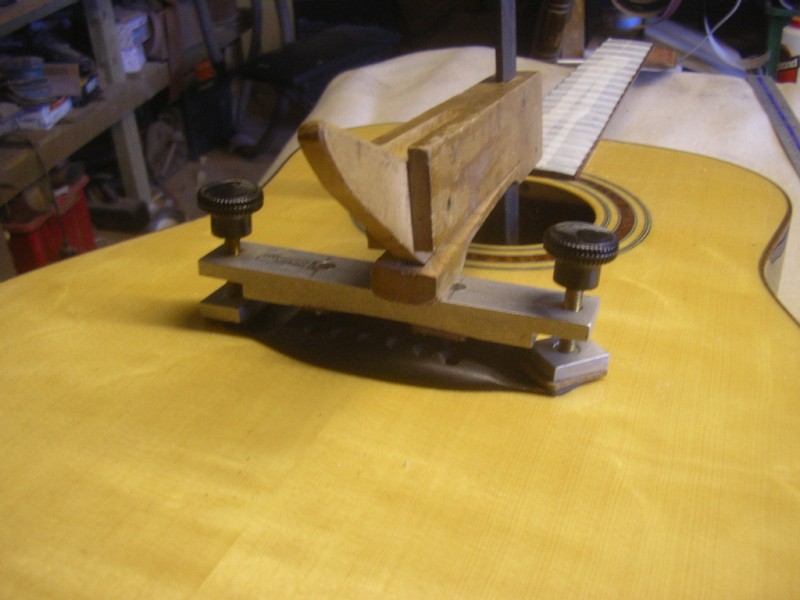
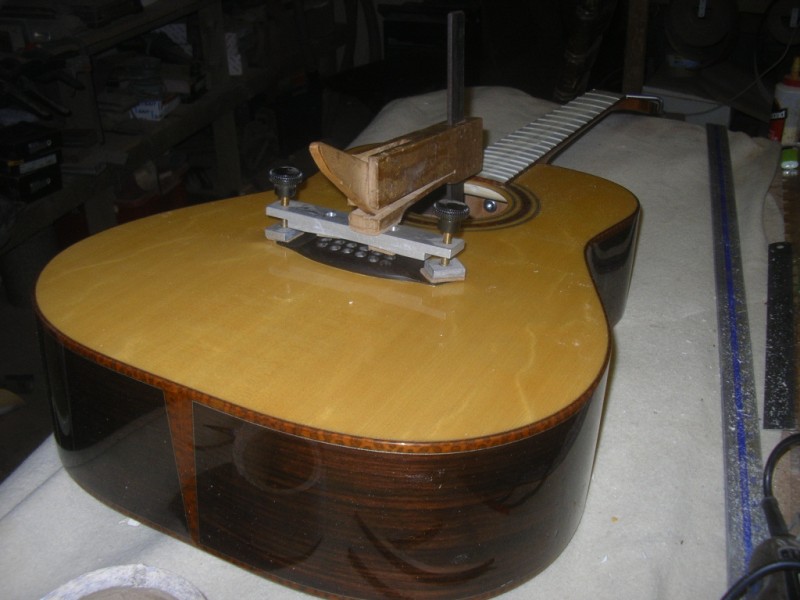
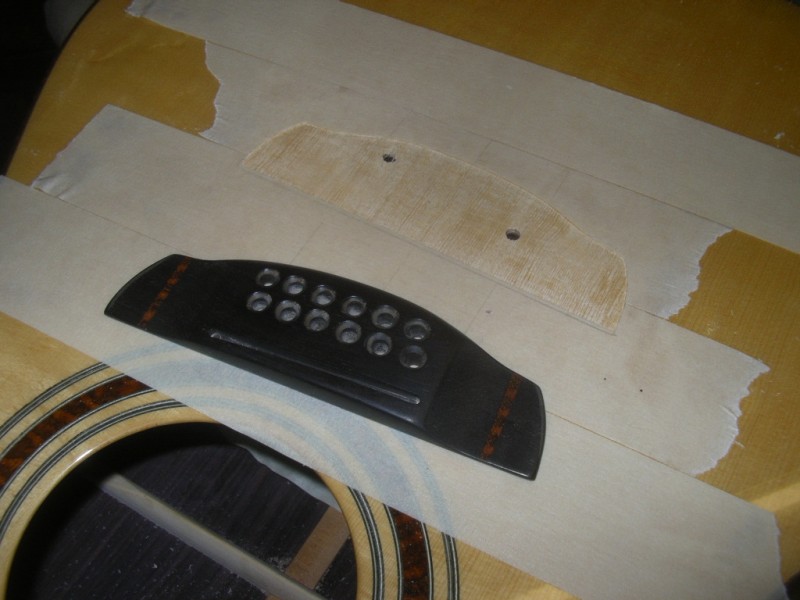
Now it is ready for gluing I always ‘dry (with no glue) clamp’ it first to make sure I have everything I need at hand and also to check how it looks with the clamps on. Once the glue is applied there is no going back!
A shaped block or caul is needed to go over the braces on the inside so you have a flat surface to clamp down onto. The pins are re insterted and the clamps are applied. If everything checks out ok then I remove the clamps and bridge and repeat the procedure with the glue.
The bridge needs to be left overnight for the glue to dry before putting the strings on.