…How I made the Celtic Knot lattices for Martin’s guitar…


Jun 5, 2009 @ 11:32
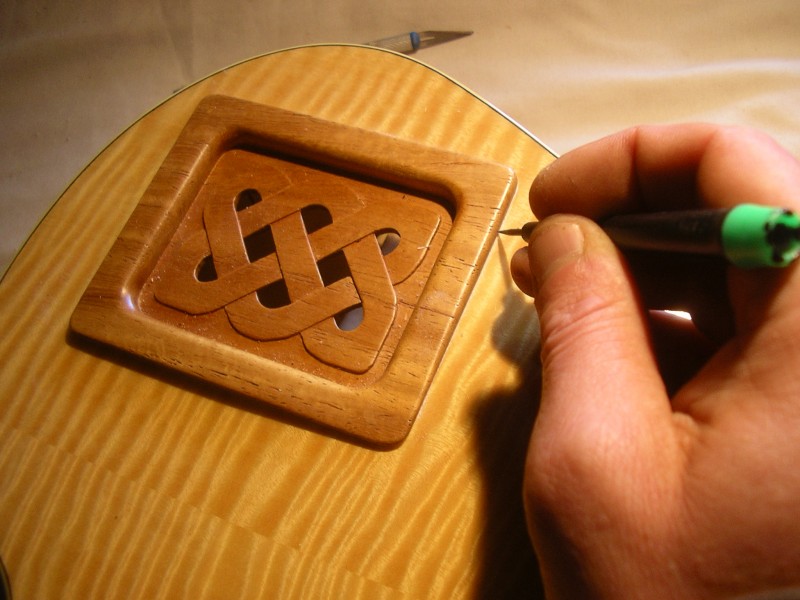
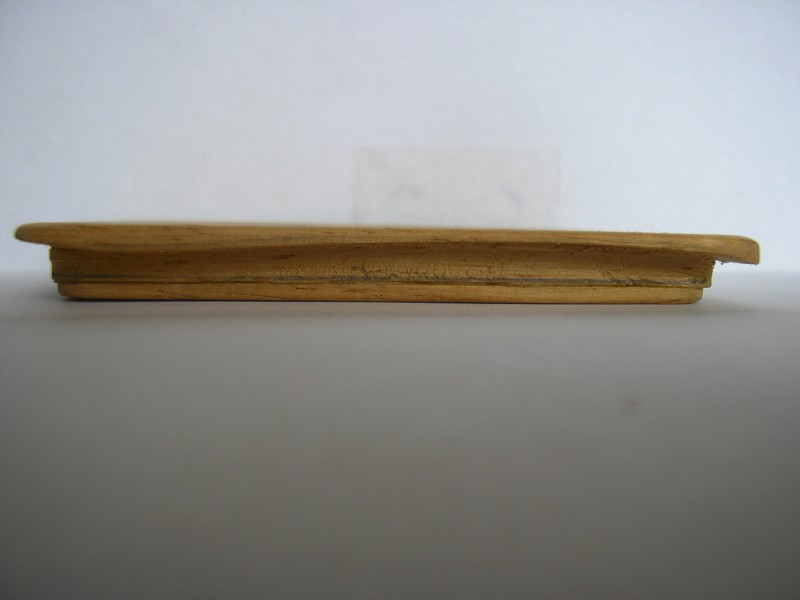
Martin liked the pics of the test pieces I sent him and chose the Koa over the ebony for the lattices to replace the original nasty plastic cover plates. That decision made I got on with making them. Each one is made from two separate pieces – the knot-work is carved into a ‘panel’ and this is then glued to a ‘frame’. Here’s how I did it:
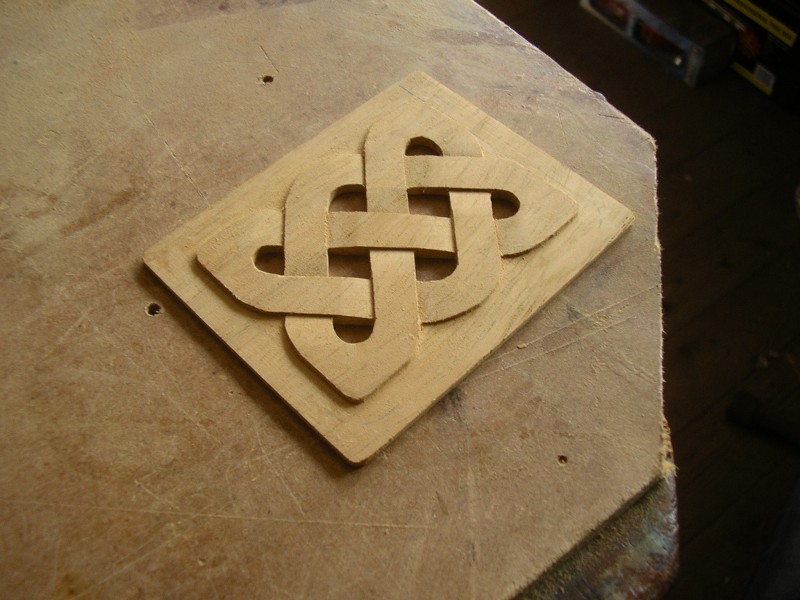
Making the Celtic Knot panels:
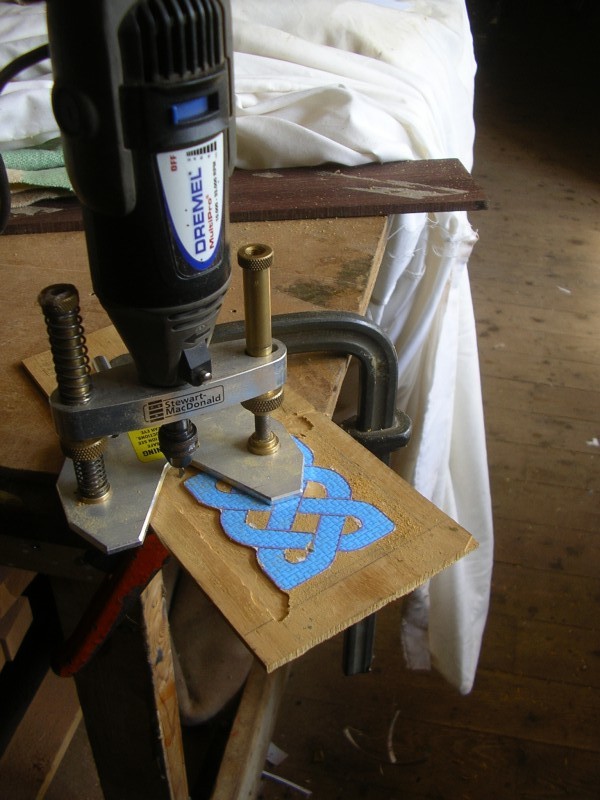
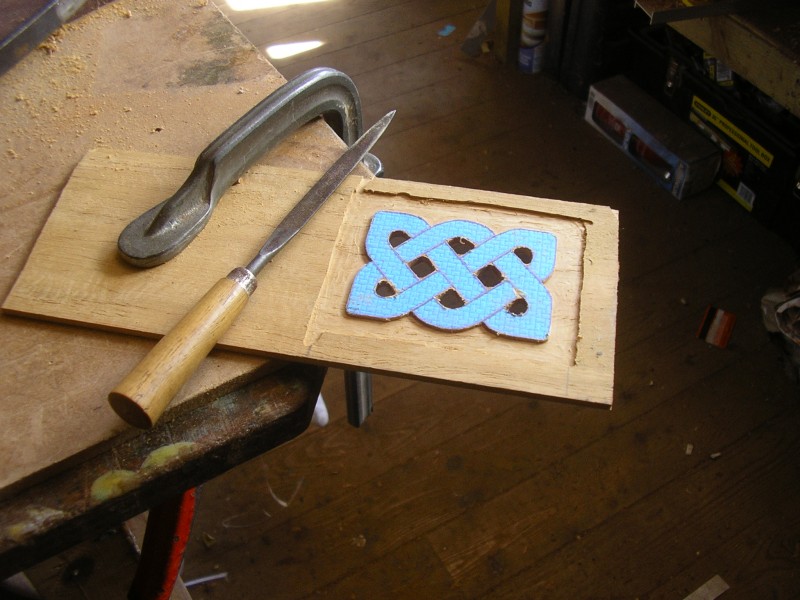
- To make the pattern I printed the design from the computer scaled to the right size, and then used spray glue to stick it to the workpiece.
- I used a small router to remove a layer of material outside the pattern, so the carving will stand out, and to give a flat surface to glue it to the frame.
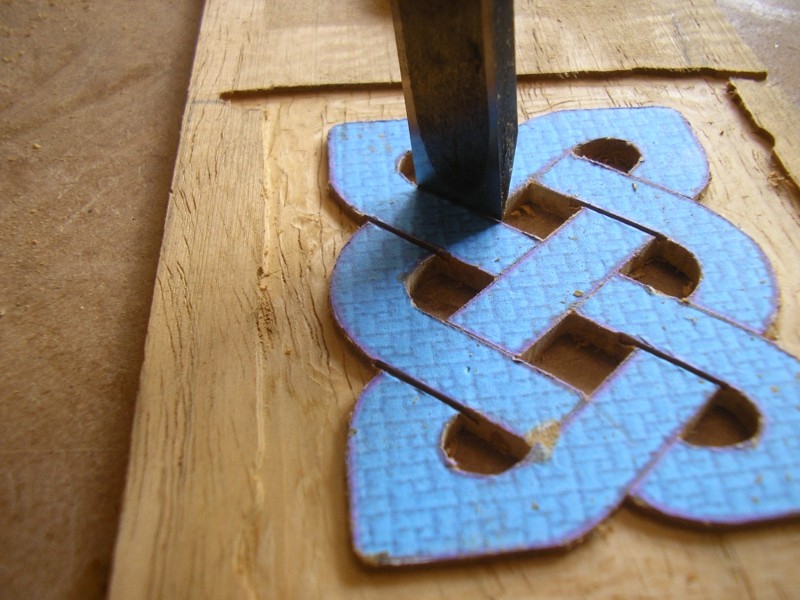
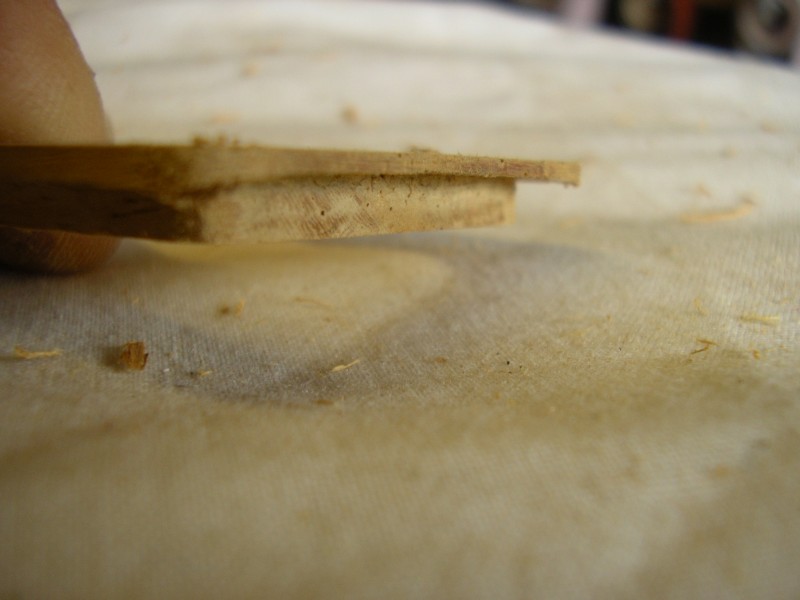
- I used a drill to make hole right through the piece in between the knot-work, then filed down to the line with a set of needle files.
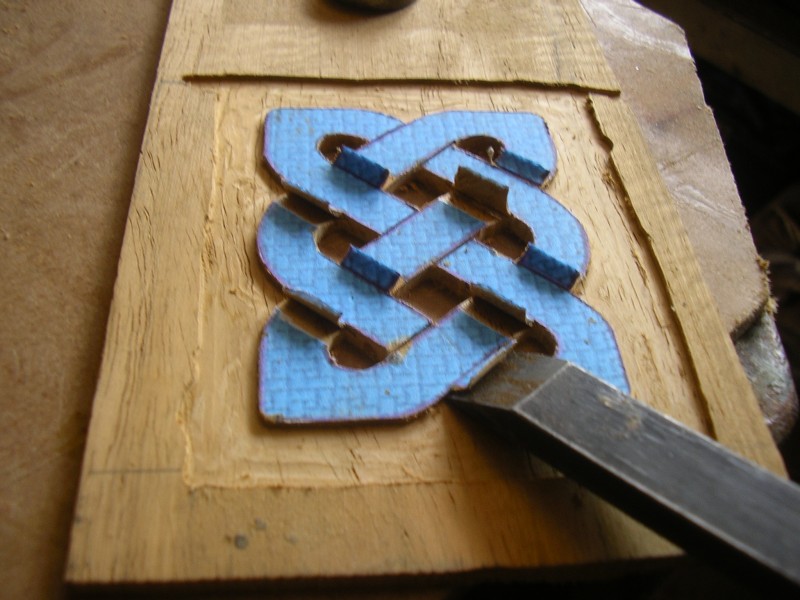
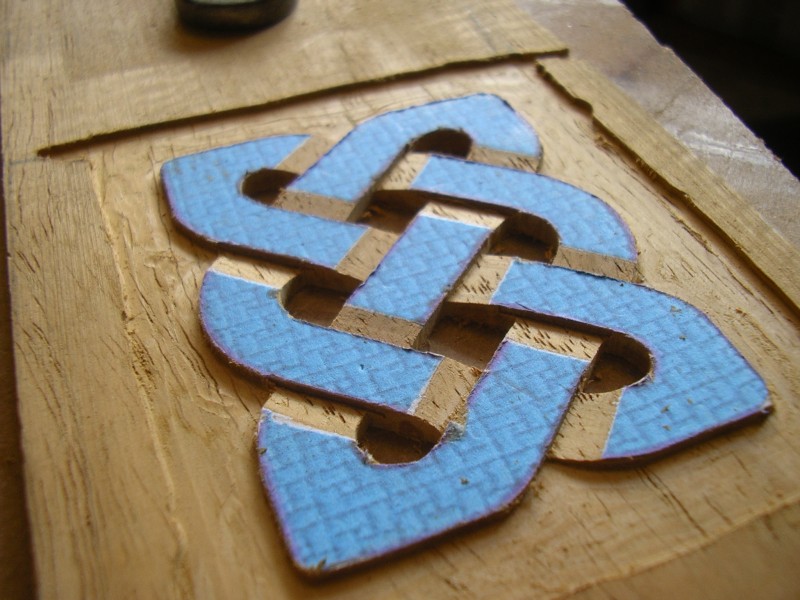
- A sharp chisel held at 90 degrees cuts down, and then in at an angle, to join up and remove the wedge shaped pieces for where the knot goes ‘under’
- Final shaping and sanding to clean it up and it’s done
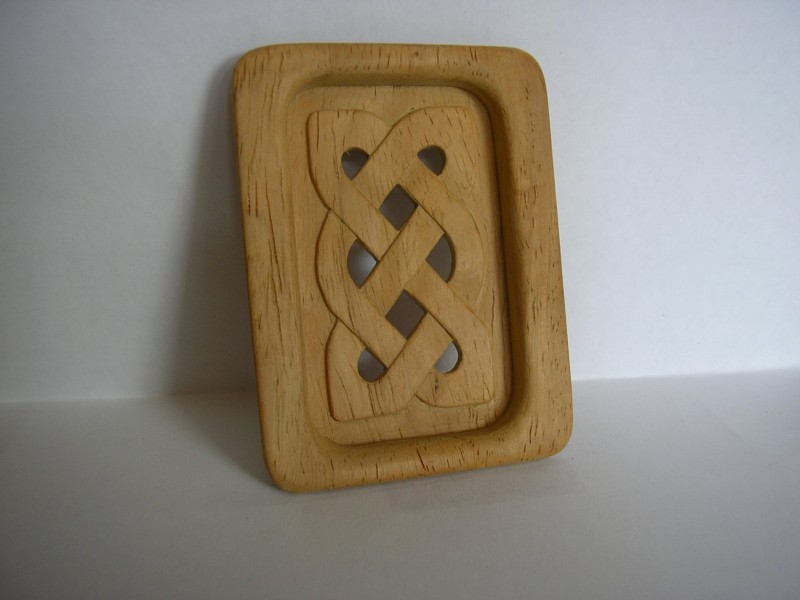
Making the Frames:
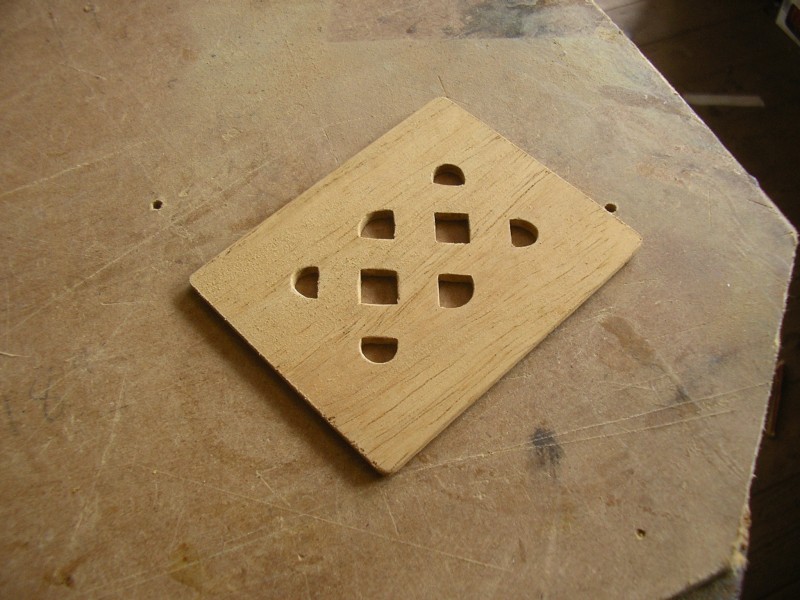
- First I cut a hole using a router for the middle of the frame
- Then I used a band-saw to cut out the outside shape of the frame
- The shelf around the edge of the frame is made using a small router
- The shelf is shaped by hand to match the curve of the body – they are all different!
- I Rounded the corners off and sanded them
Gluing ’em up
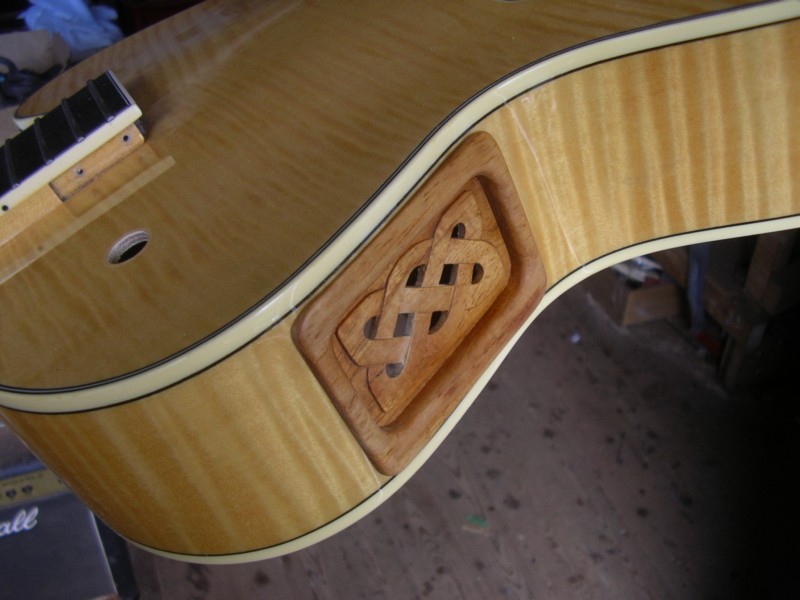
The panels were then glued to the frames and held in place with small spring clips until dry. A coat of sealer was applied, before a final coat of matt lacquer.
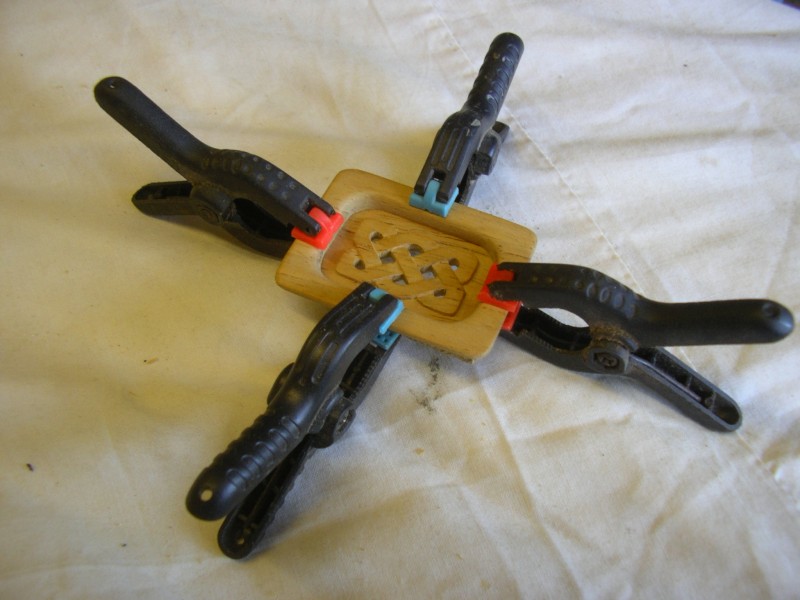
Gluing ’em in
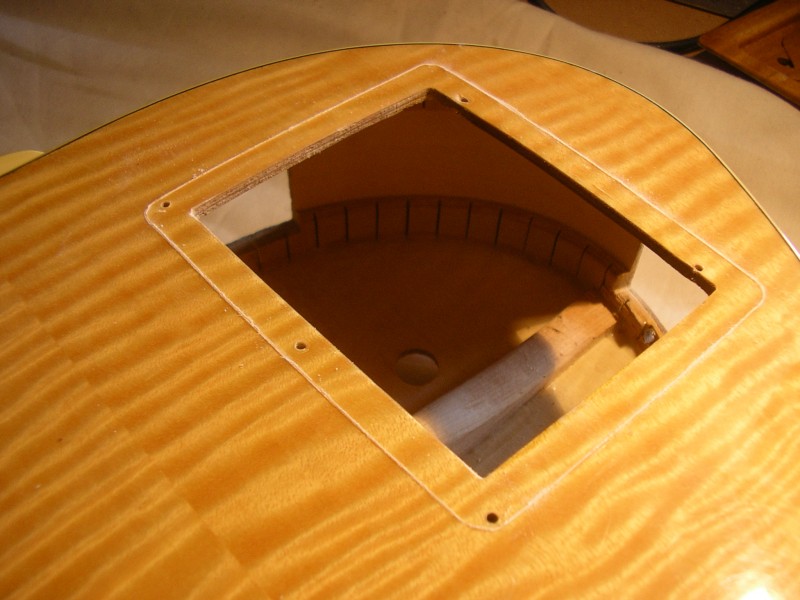
To fit the finished ‘lattice’ into the guitar I had to remove the lacquer underneath where they sit so that the glue would stick:
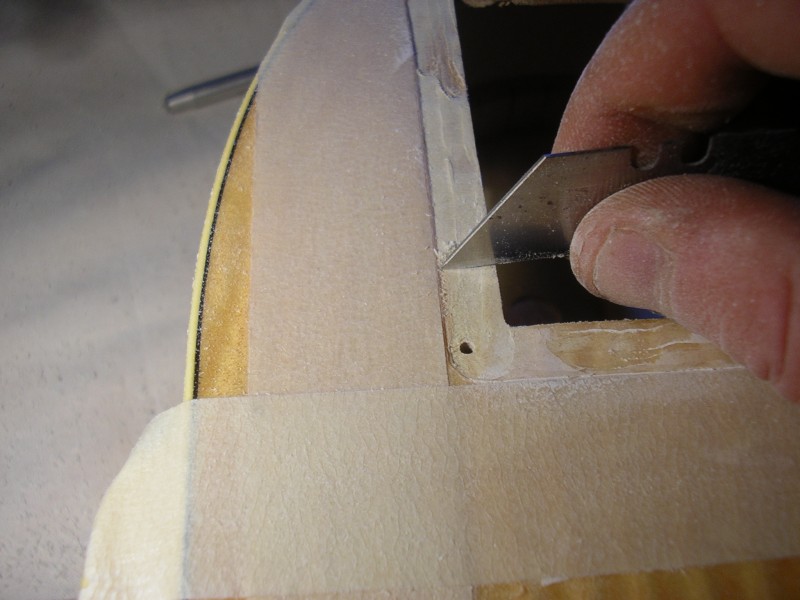
- I Test fit the panel and scored around the edge to mark it’s position
- The small router removes most of the lacquer to reveal the bare wood necessary for a good bond
- A razor blade cleans up the rest
- I spread glue over the contact area and refit the ‘lattice’
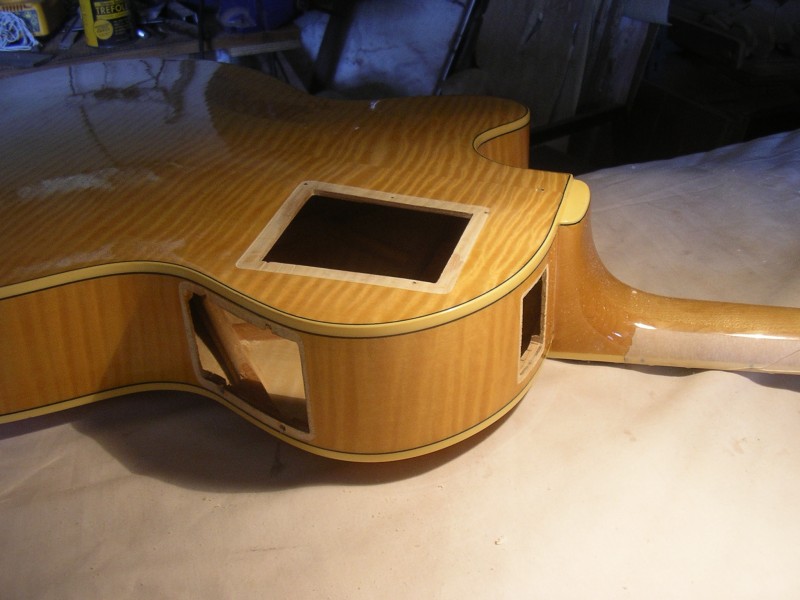
- The pieces were held in place while the glue set with a combination of clamps and magnets – whatever worked…. Sellotape in the case of the triangular knot to hide the jack socket
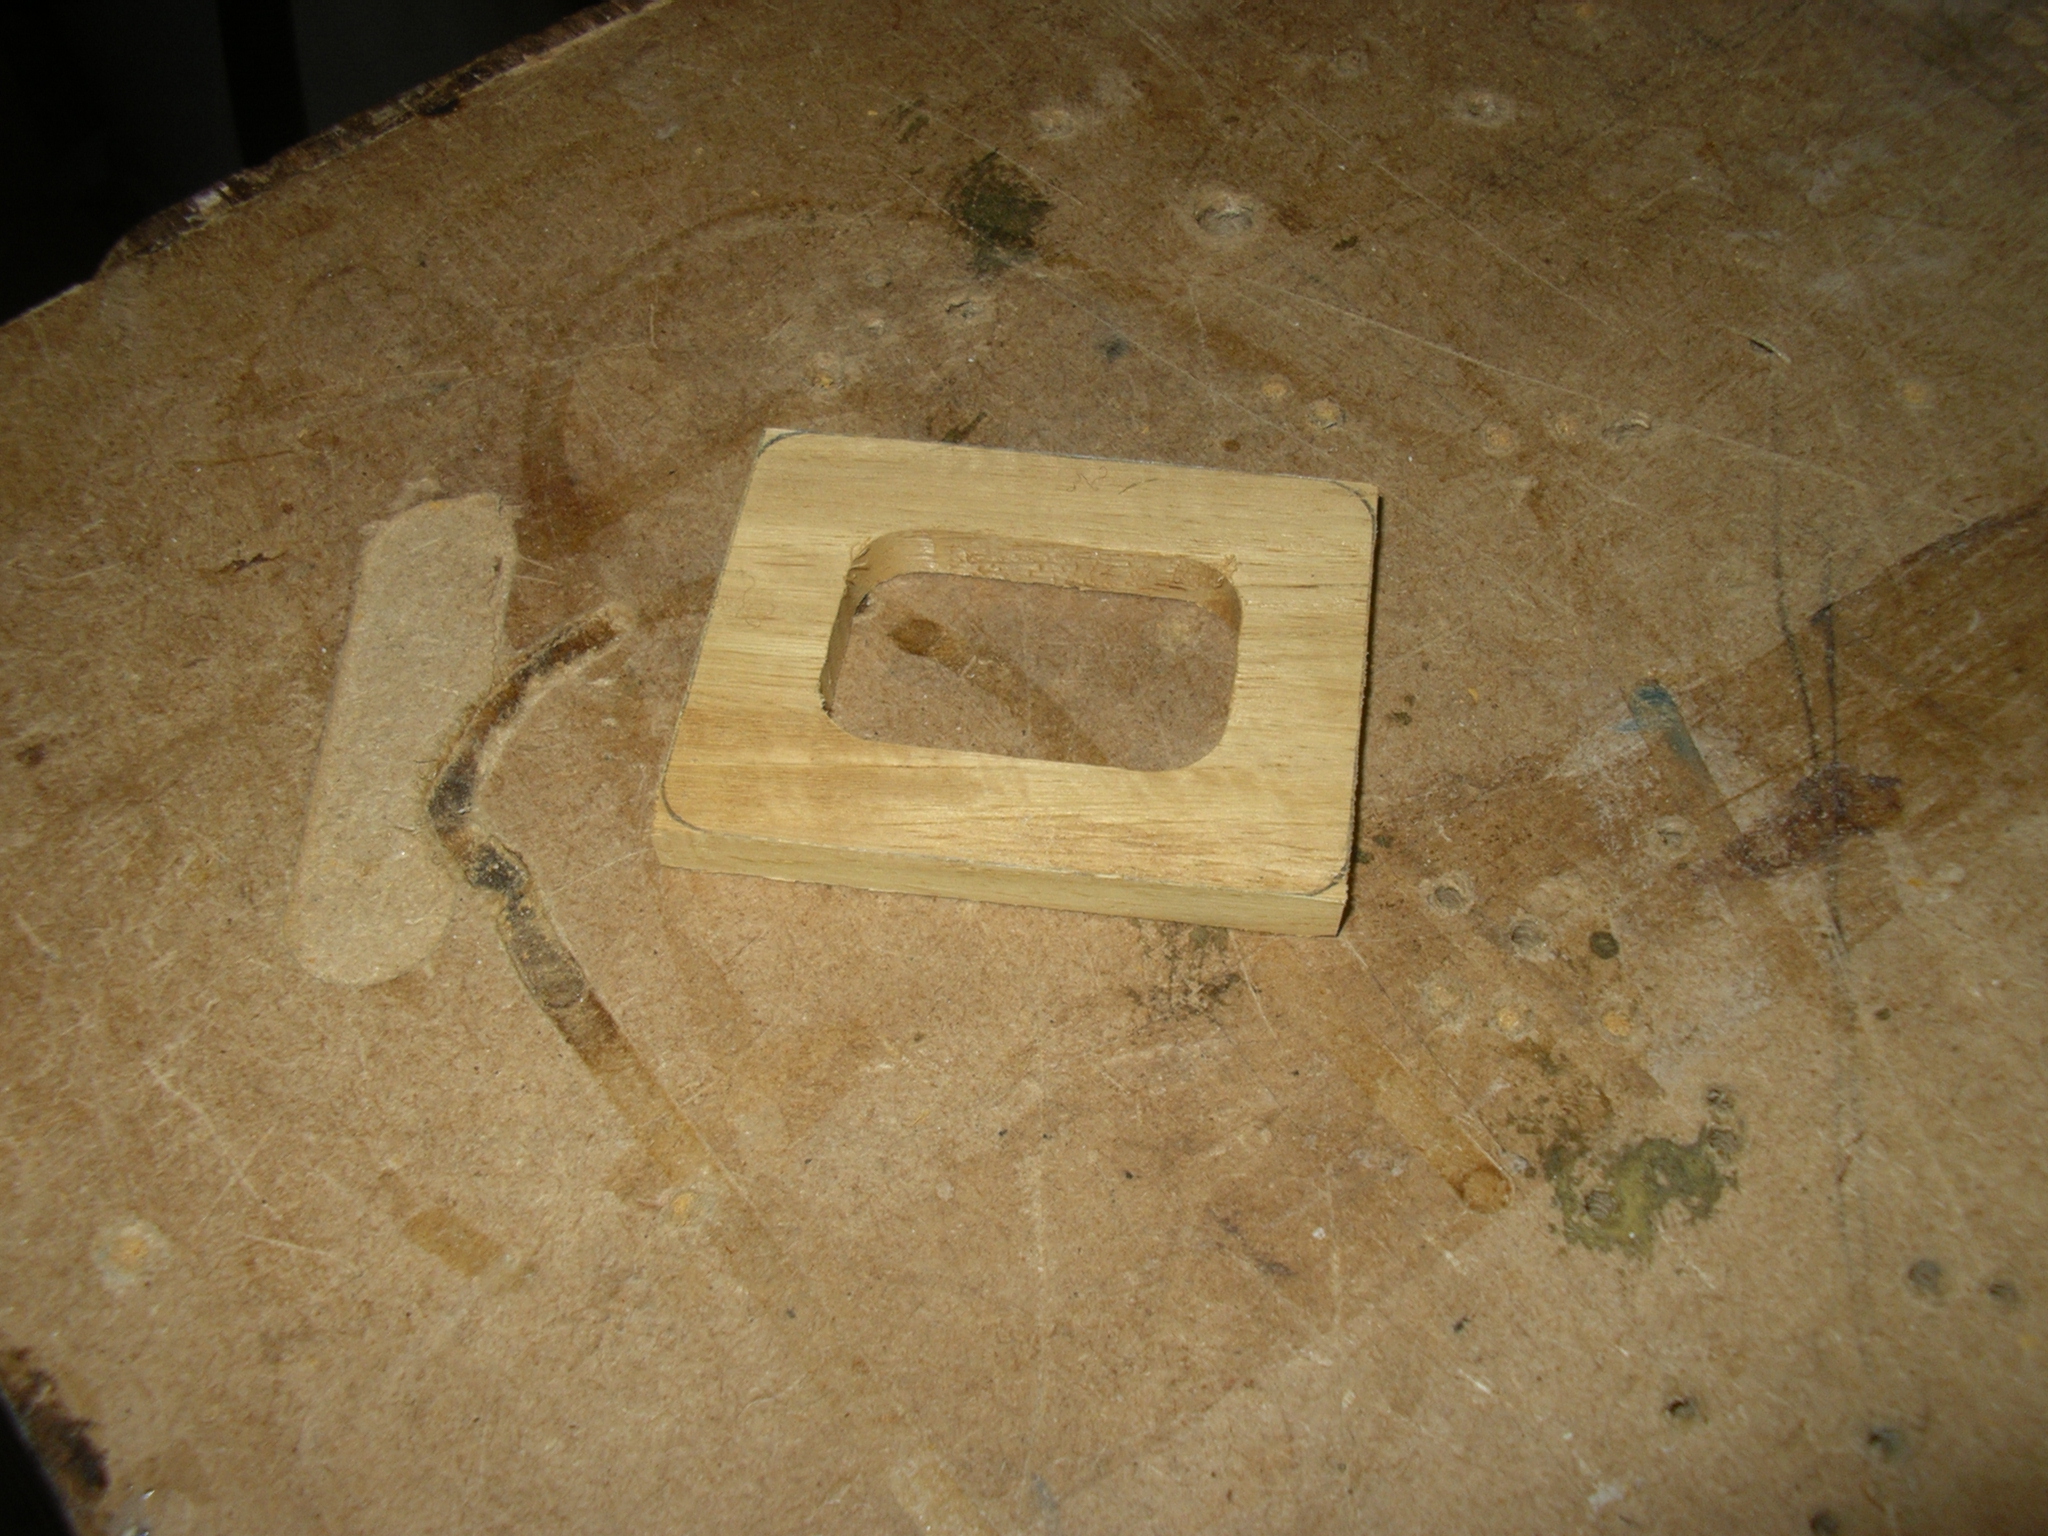
The side panel in the last picture was left unglued so I could still get acces to the inside for wiring the guitar up …..